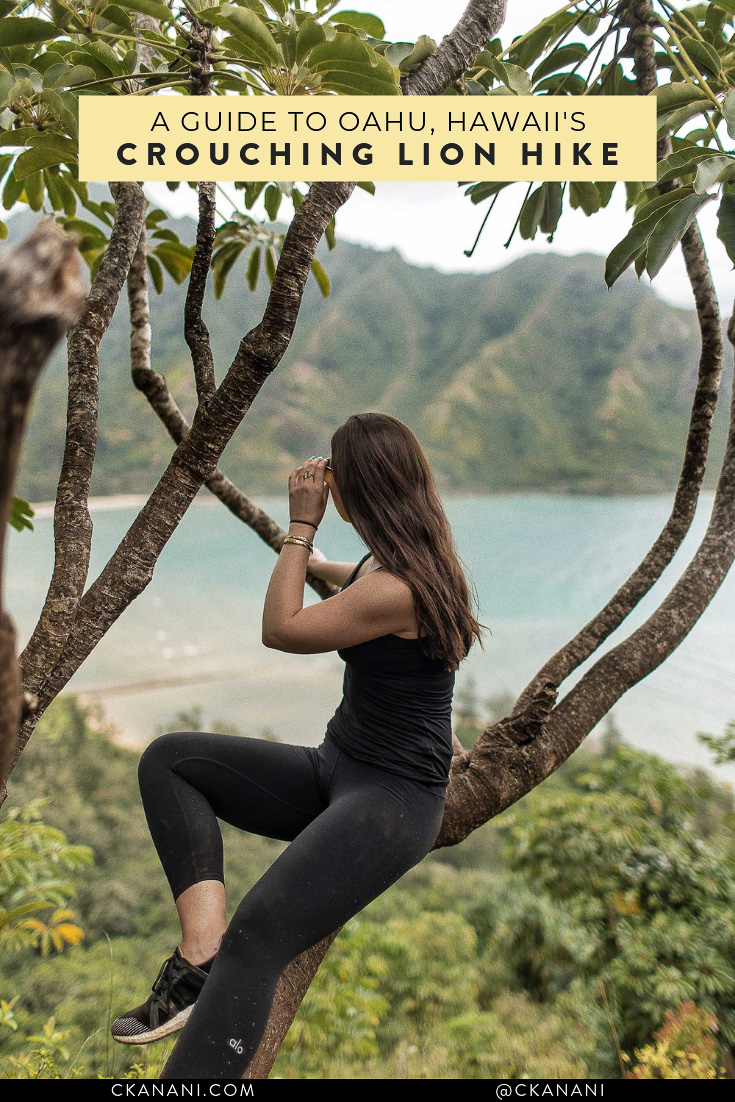
Crouching Lion Hike Oahu: Everything You Need to Know
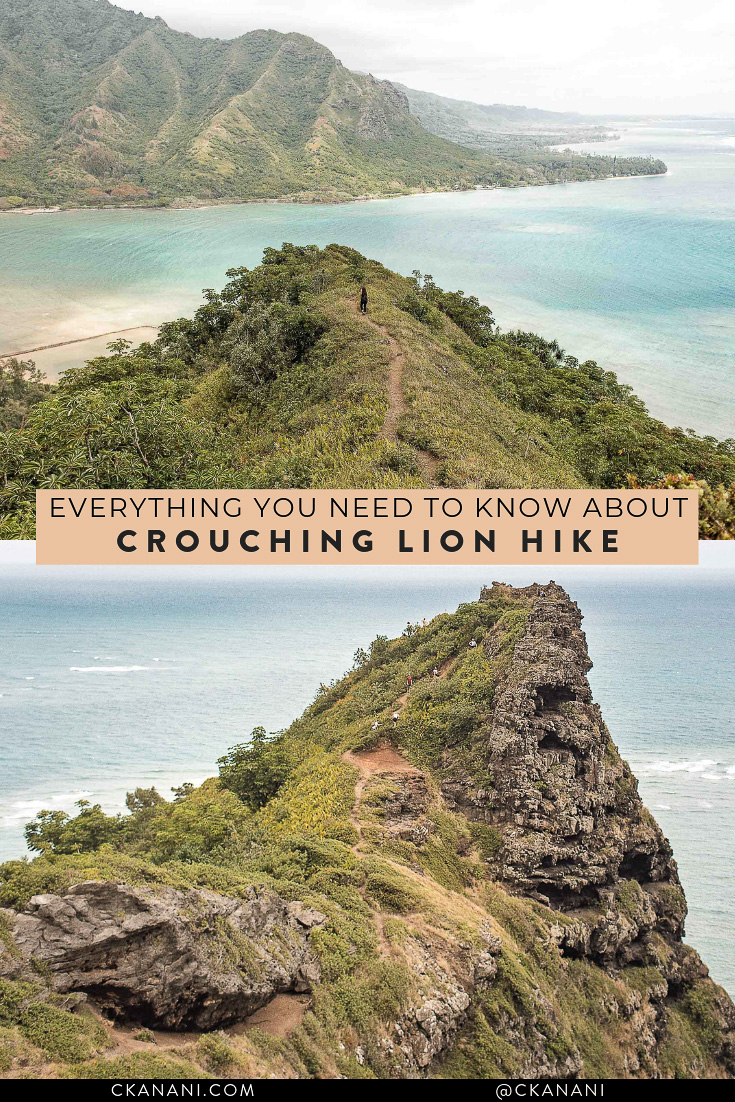
The Crouching Lion Hike on Oahu is, in my humble opinion, the best hike on the island. With an incredible view and just 20-30 minutes of hiking (and climbing) to get there, there is nothing more worth it. Plus the terrain changes so much and the entire trail is not exposed to direct sun like most hikes on the island.
If you have visited my site before then you know that I am a frequent visitor of Hawaii. My mom was born and raised on Oahu, my family has lived there for 70+ years, and I’ve visited 50+ times. It’s my home away from home and a place I’d consider myself local-ish.
But it wasn’t until my trip last month that I finally decided to do the Crouching Lion Hike. After a bit of trouble actually finding the hike, we made it to the top in about 30 minutes (including stopping to take photos every 30 seconds) and I could not believe my eyes!
It’s now my very favorite hike on the island and one that I will definitely be doing again when I return in June. Please note that people have died doing this hike and it is considered dangerous and apparently illegal. If you attempt this hike you are doing so at your own risk. We are not responsible for loss, damages, legal fees, medical fees, injury or death incurred as a result of your actions taken after visiting this website.
Crouching Lion Hike on Oahu: Everything You Need to Know

How to Get to the Crouching Lion Hike
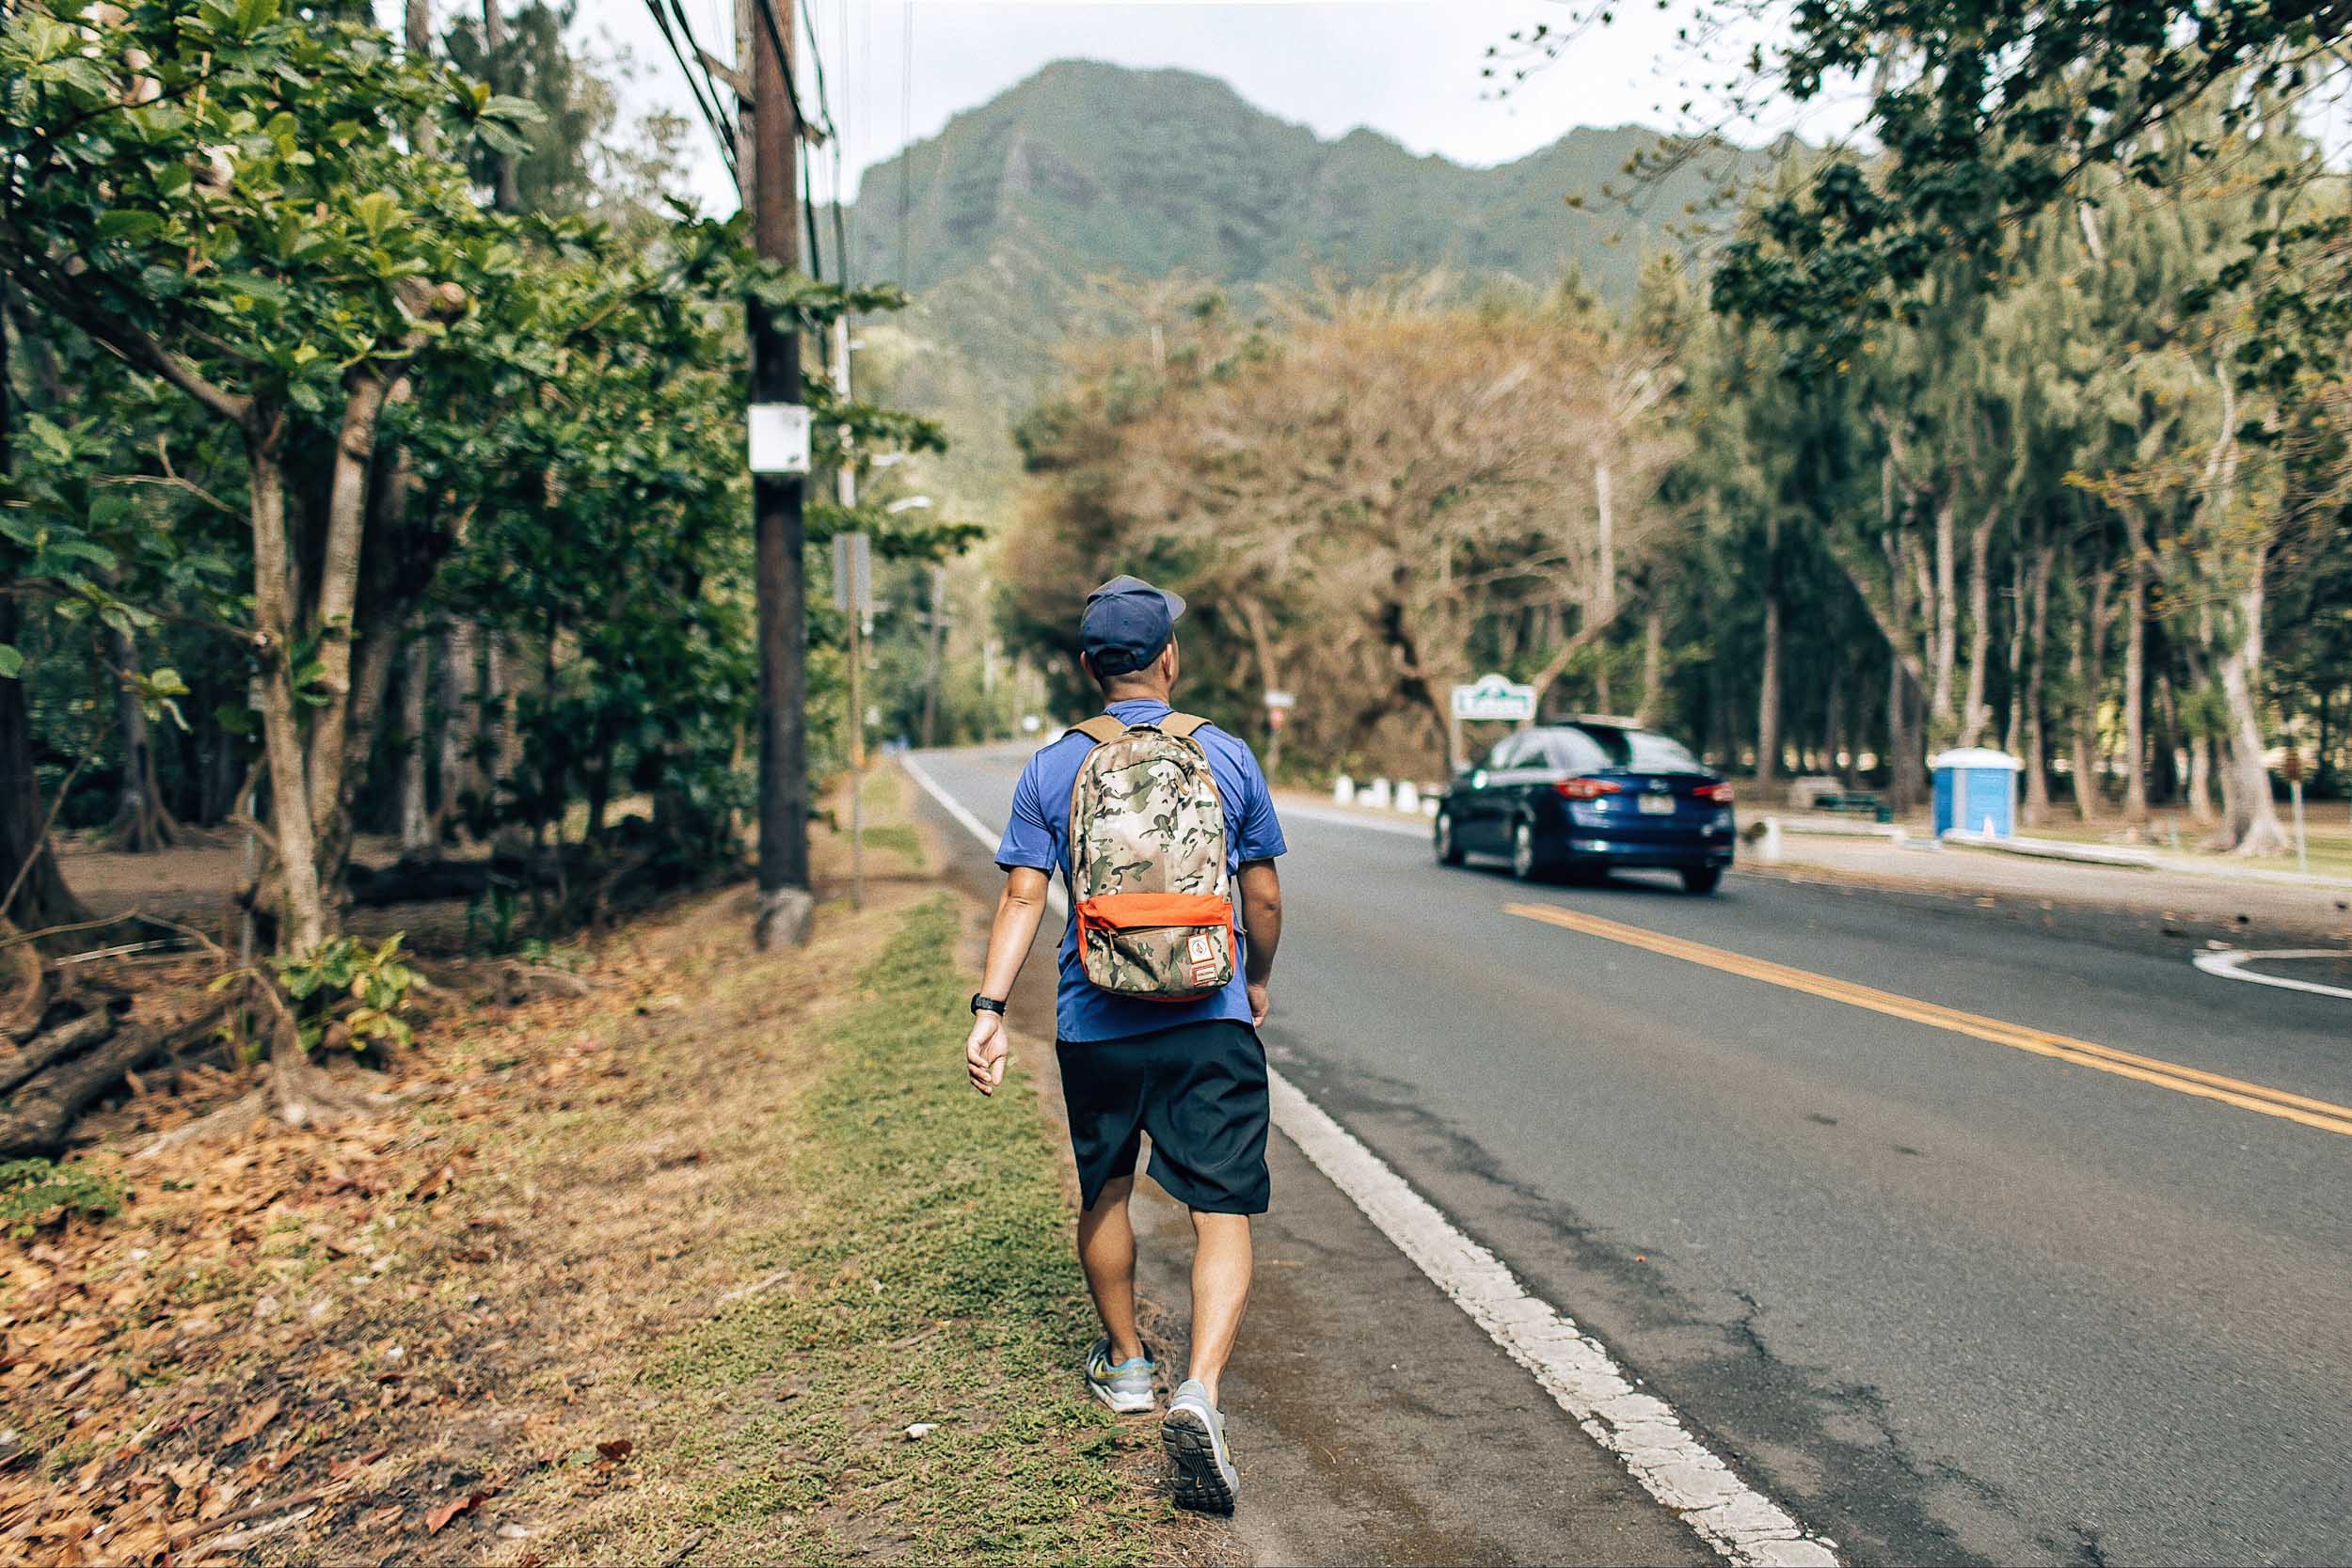
All jokes aside, one of the hardest parts of the Crouching Lion Hike for us was actually finding the trailhead. The directions given by other blogs were subpar to say the least, so we spent about 20-30 minutes walking up and down the Kam Highway. Because of this I made sure to take extra good notes on finding the trailhead so that you won’t run into the same problems we did!
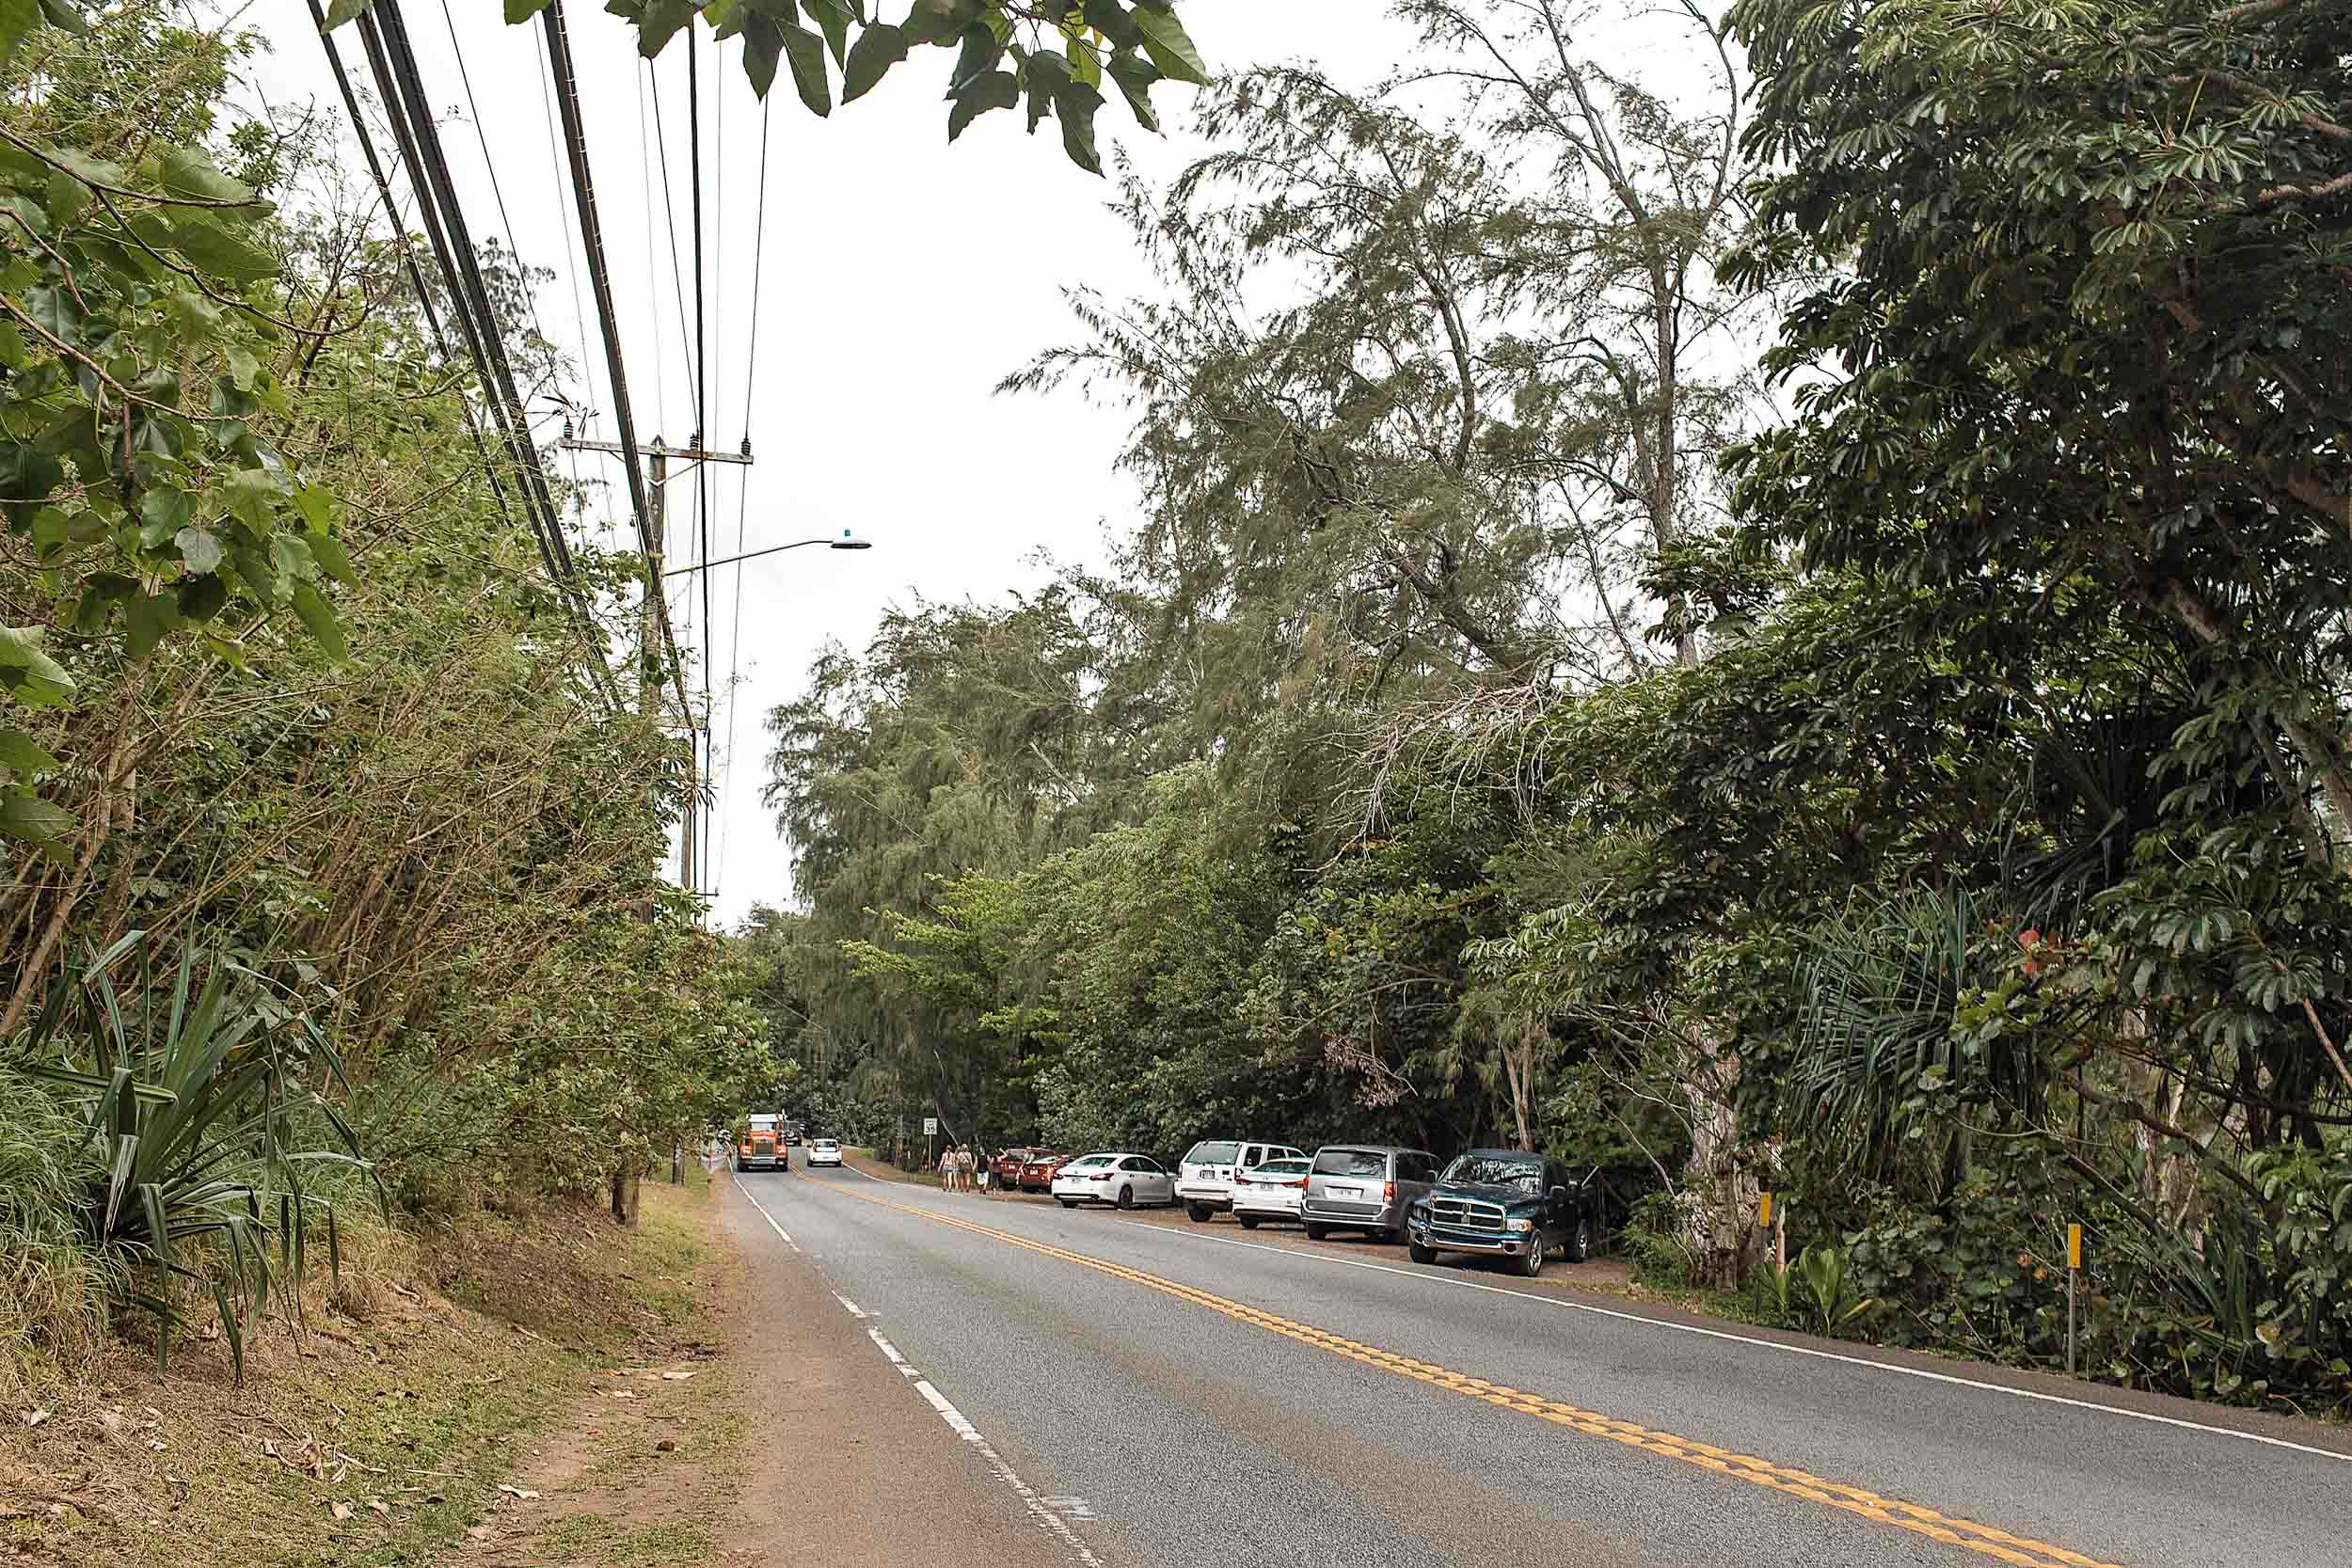

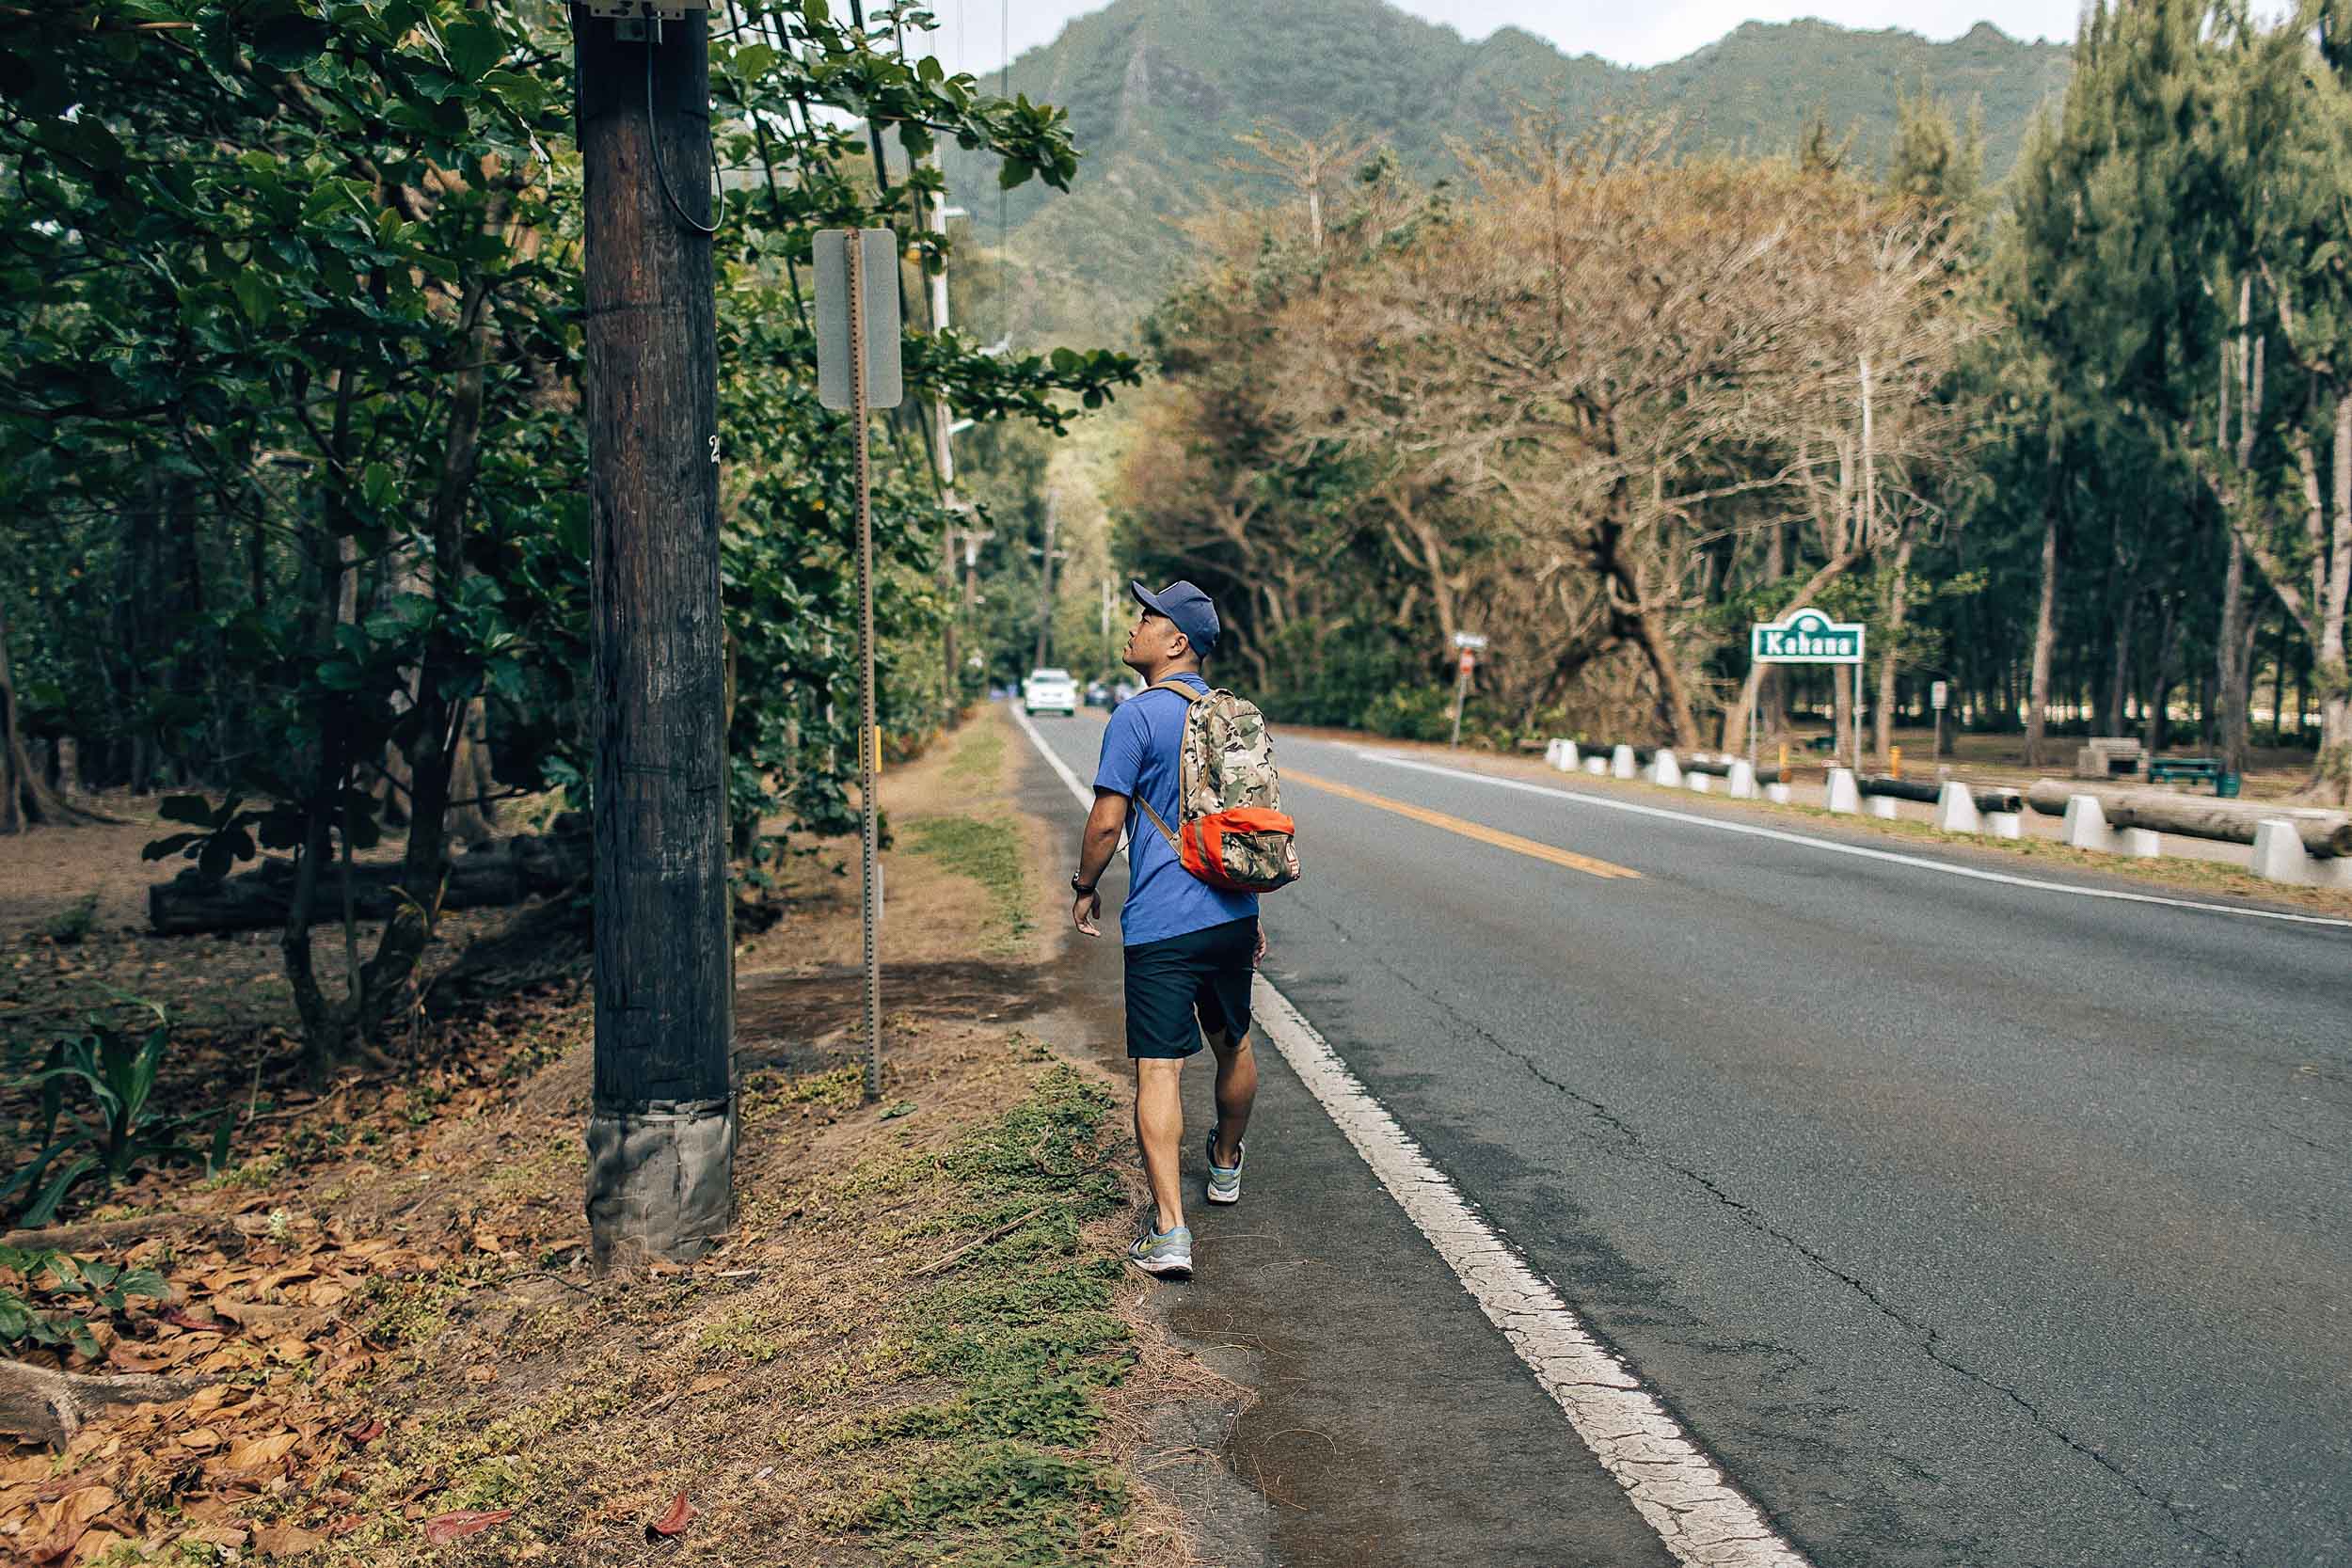
To get to the general area you’re going to want to type “Crouching Lion Hike” into Google Maps. While heading north on the Kam Highway, once you reach the Google Maps spot you will want to continue driving around the bend leading towards Kahana Bay.
There will be a guardrail on your right as you turn the corner. When the guardrail ends, you’ll see some dirt to your right and possibly some cars owned by other Crouching Lion Oahu hikers! You will not see a parking lot - it’s just a dirt patch off the highway like you see in the above picture. Park here!
To reach the trailhead from here you’ll walk back towards the guardrail. On the other side of the street a little before the guardrail you should see the two signs shown above. This is the trailhead.
Many other blog posts mention that there is no trail and you’ll need to push through some bushes first. This is no longer the case. There are actually many trails now!
We accidentally ended up coming down a different one and we found it to be much easier than the one that we took up. In case you want to try that one out instead, I have included the exact coordinates of both trailheads on this Google Map:
In that map “trailhead 1” is the trail we took up (and what I will be talking about in the remainder of this post) and “trailhead 2” is the trail we took down.
How to Prepare for the Hike
There a handful of items I recommend wearing or bringing with you:
COMFORTABLE LEGGINGS. Alo’s high waisted ones are the very best! Click here for my favorite ones (and the ones I wore then I went).
ATHLETIC SNEAKERS or HIKING BOOTS. It is important that you wear shoes with a decent grip! I don't have hiking boots so I wore sneakers but if you have some you can certainly wear them.
If you’re in the market for sneakers and haven’t tried Adidas UltraBOOSTs yet you are in for a treat! They feel like you are walking on clouds. My favorite are the Stella McCartney x Adidas ones (click here for those - I wore them on this hike!) but the regular ones are just as good. Click here to see the latest prices.
NO SHOW SOCKS. Ones that do not fall down! I have tried so many different ones and find that most do fall down and there's nothing worse than that while trying to hike, yah? Click here for the ones I love (they stay up!).
CUTE TOP. While I think it's incredibly important to have quality bottoms and sneakers, I find it's fine to buy cheaper workout tops because quality deos not effect you as much there. Click here for where I often find mine.
LIGHT JACKET. If you go early morning like I suggest, it can be a bit cold! DO NOT forget a light layer. Click here for where I often find mine.
BASEBALL CAP. To block the sun! Click here for the one I love for Hawaii.
SUNGLASSES. Of course! Three timeless styles I’ve been wearing non-stop: click here for my favorite Quay aviators (I have both the black and the rose gold), click here for my round Ray-Bans, and click here for my all time favorite black on black Ray-Bans that are often hard to track down because they sell out consistently.
SPF. Incredibly important, do NOT forget this. At the beginning you will be covered by the trees but for the second half of the hike (plus however long you want to stay out at the peak) you will be fully exposed. Apply it before you go. Click here for my favorite face SPF. I also always carry a mineral powder sunscreen brush with me at all times to put on top and lock in the SPF. Click here for the one I use and recommend.
REUSABLE WATER BOTTLE. Please do not forget this (and PLEASE do not buy single-use plastic ones instead). You will absolutely need to bring water with you. Hydro Flask is the best because it keeps your drink cold (or warm). So worth the investment. Click here to see the latest prices.
CAMERA. You cannot hike Crouching Lion Hawaii without bringing a camera to capture the view! Click here to see the latest prices for my Sony a7II. If you don't need a full frame camera (if you aren't sure what that means, you don't need one!), I recommend the Sony a6500 instead. Click here to see the latest prices.
THE RIGHT LENS. Don't forget a wide angle lens! Click here to see the latest prices for my 35mm.
STYLISH CAMERA BAG. I never go anywhere without mine! It is incredibly important to protect your camera gear but I don’t think you should sacrifice your style to do it. Click here for my stylish camera bag roundup.
TRIPOD. If you need it to capture photos! Click here to see the latest prices for my travel tripod. Need a remote trigger too? Click here to see the latest prices.
About the Crouching Lion Hike

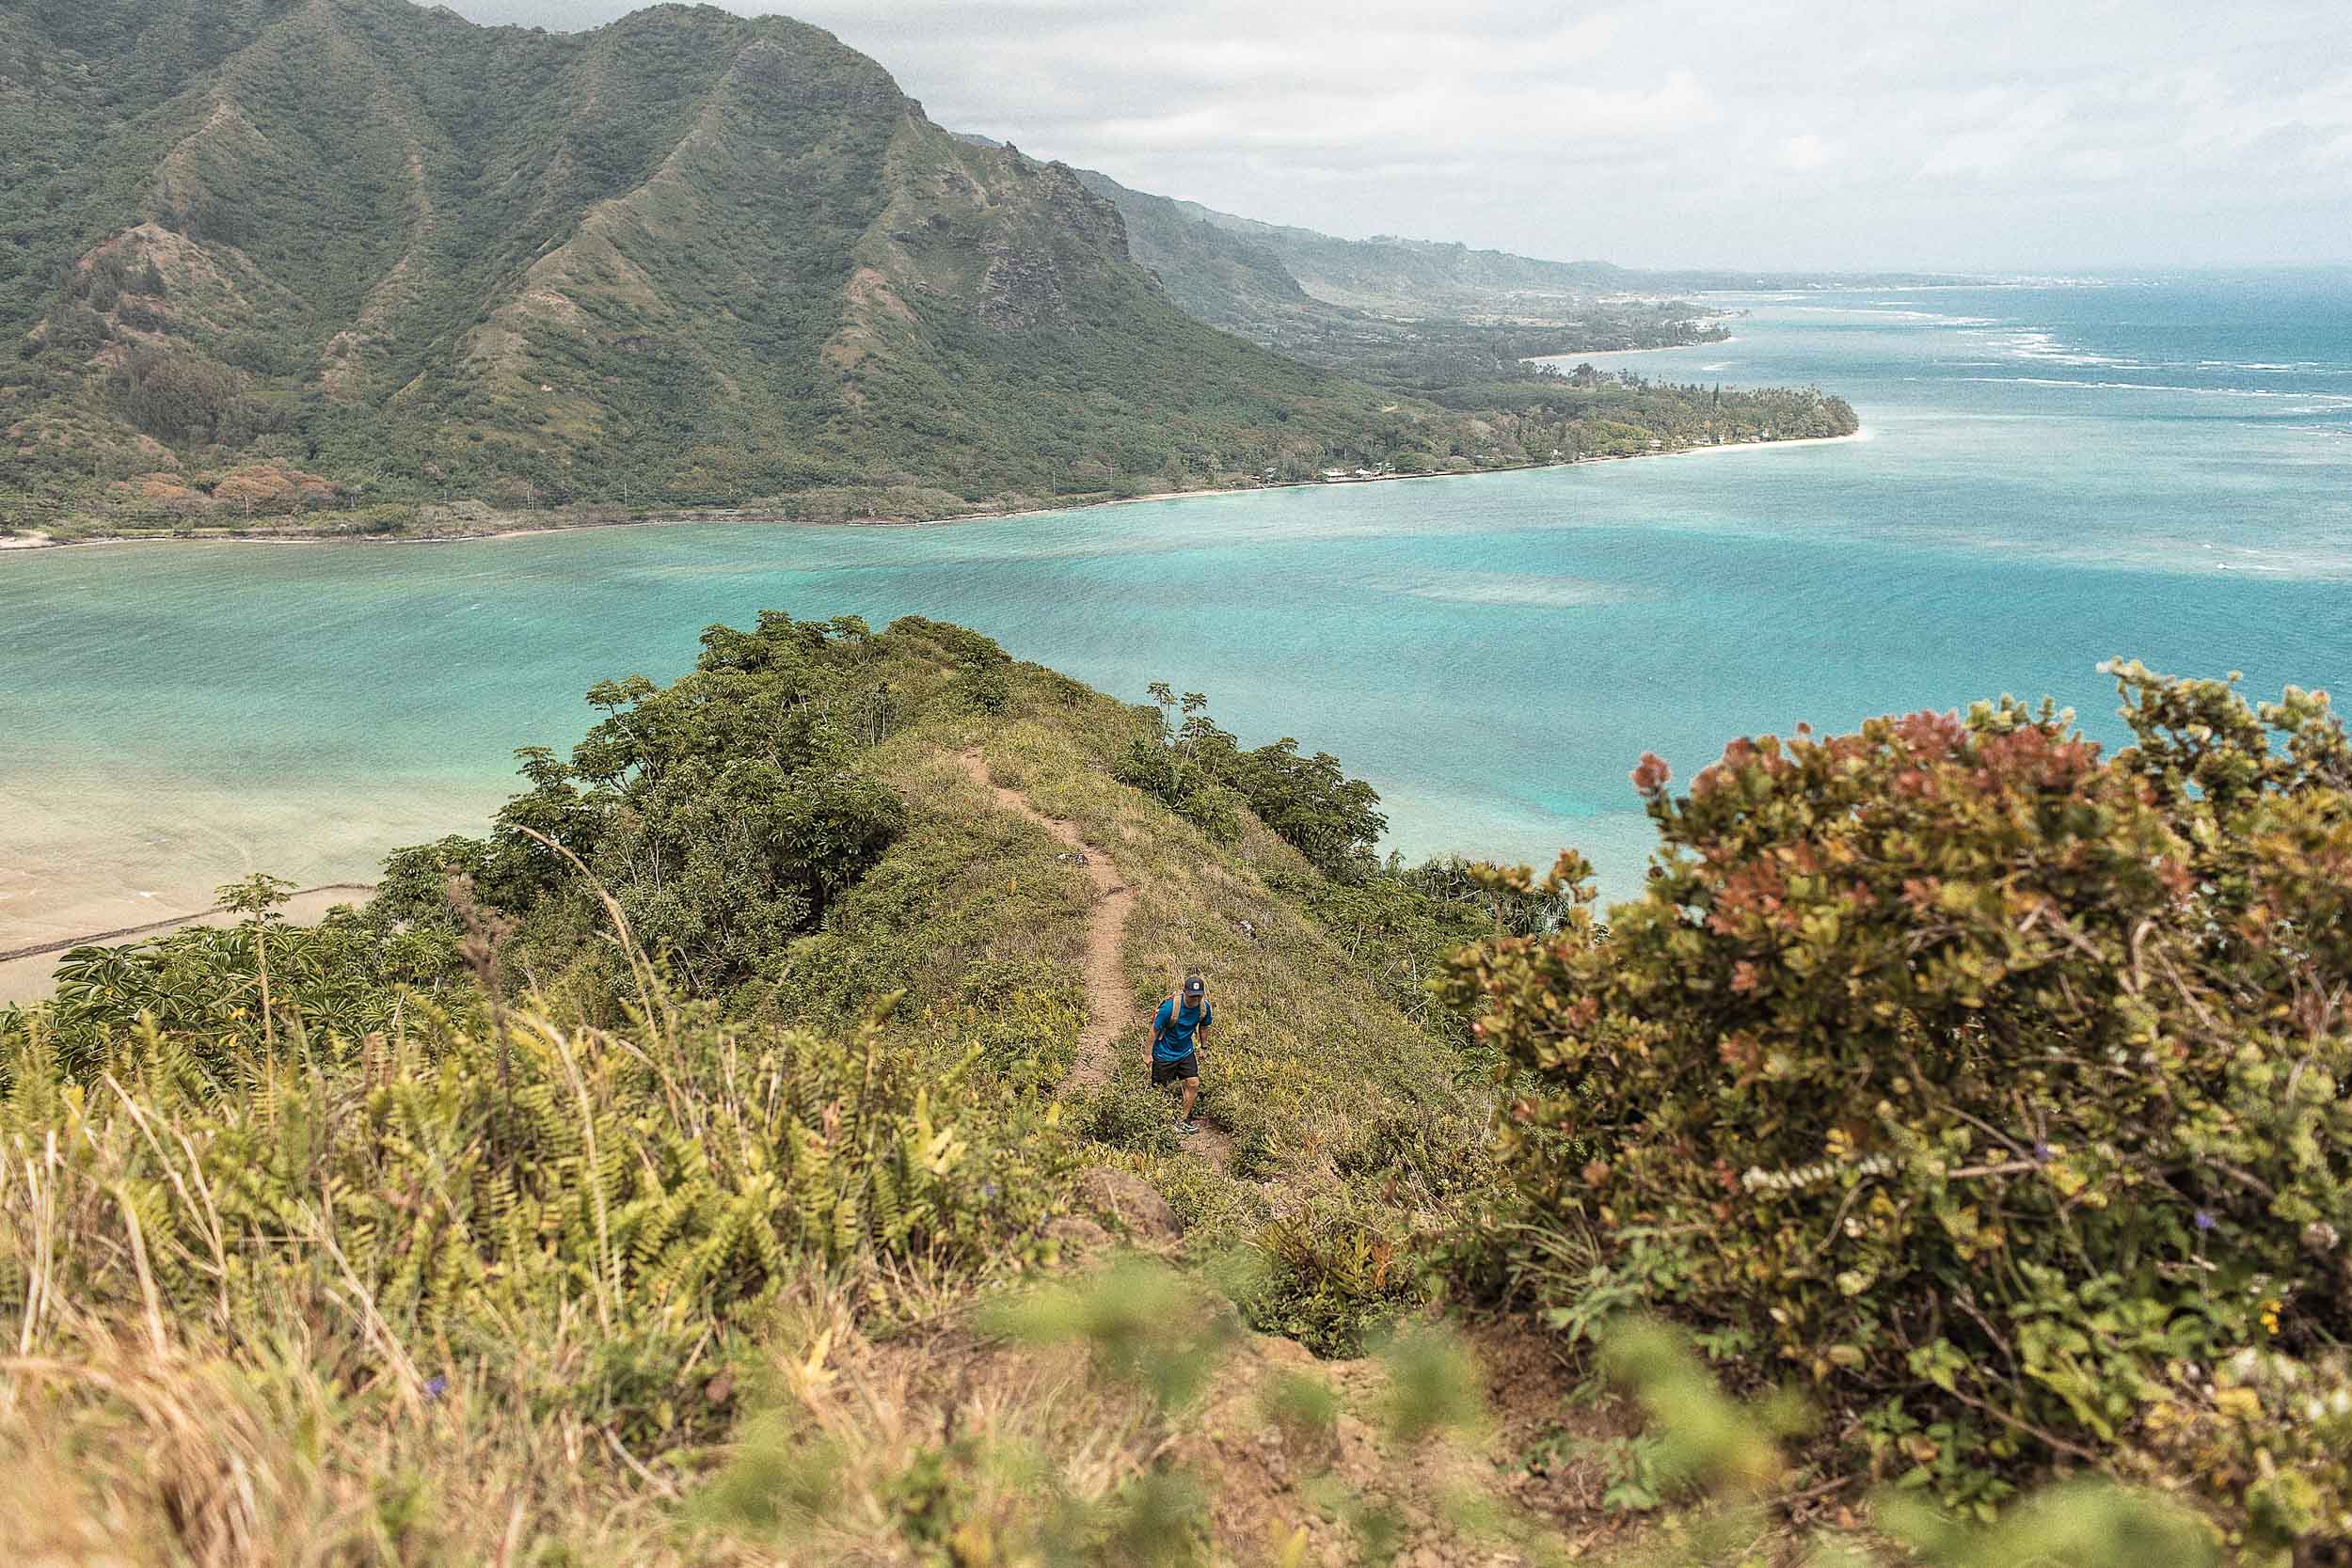
Now that I have helped you find the Crouching Lion Hike trailhead, you can start hiking! Like I mentioned in the intro, the terrain of this hike changes quite often and is incredibly beautiful. I could not stop taking photos.
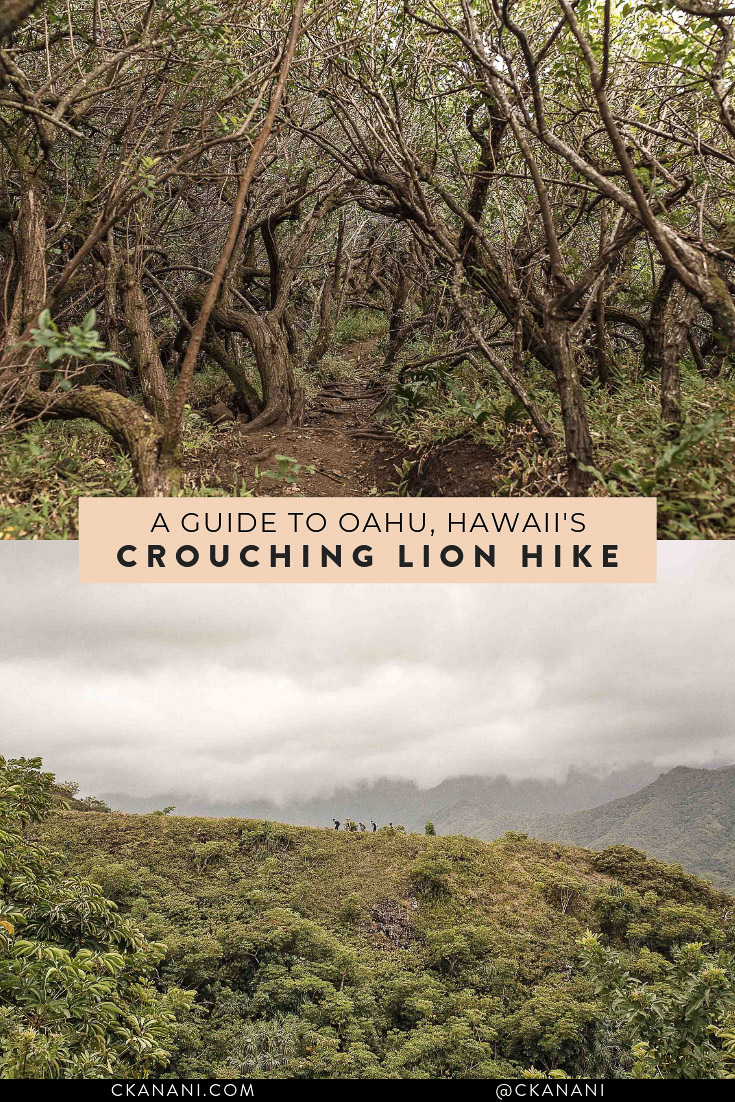
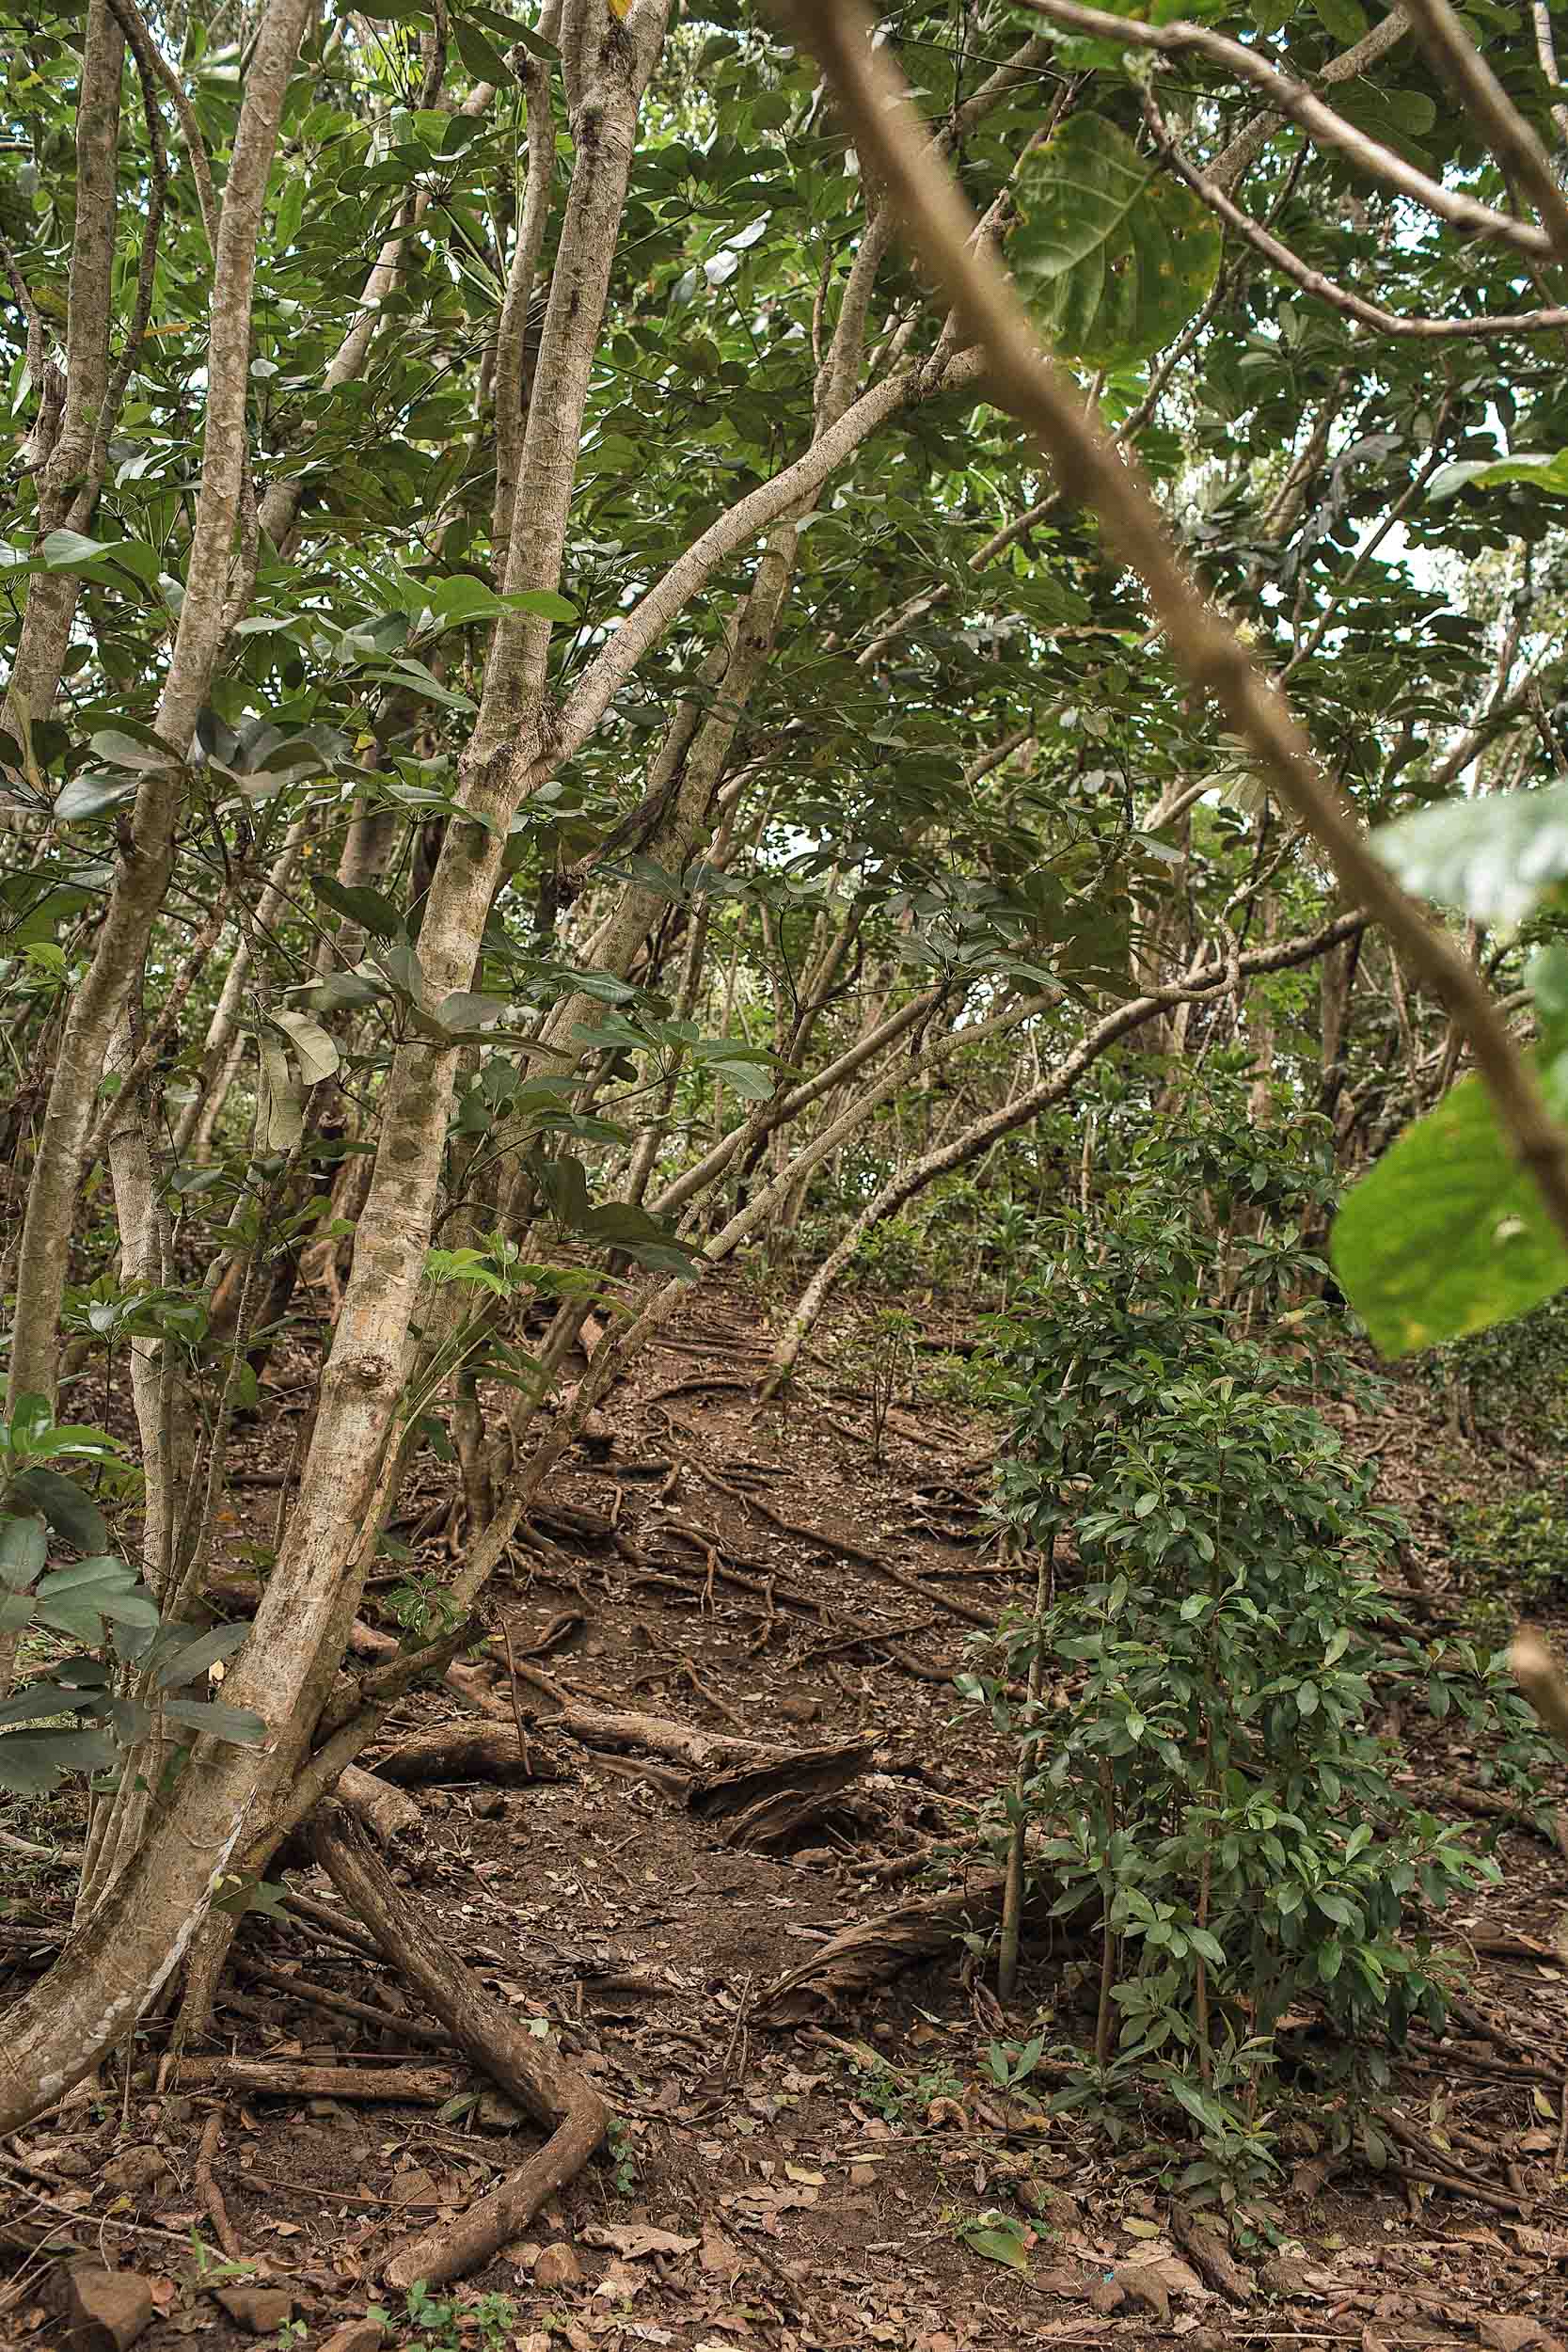
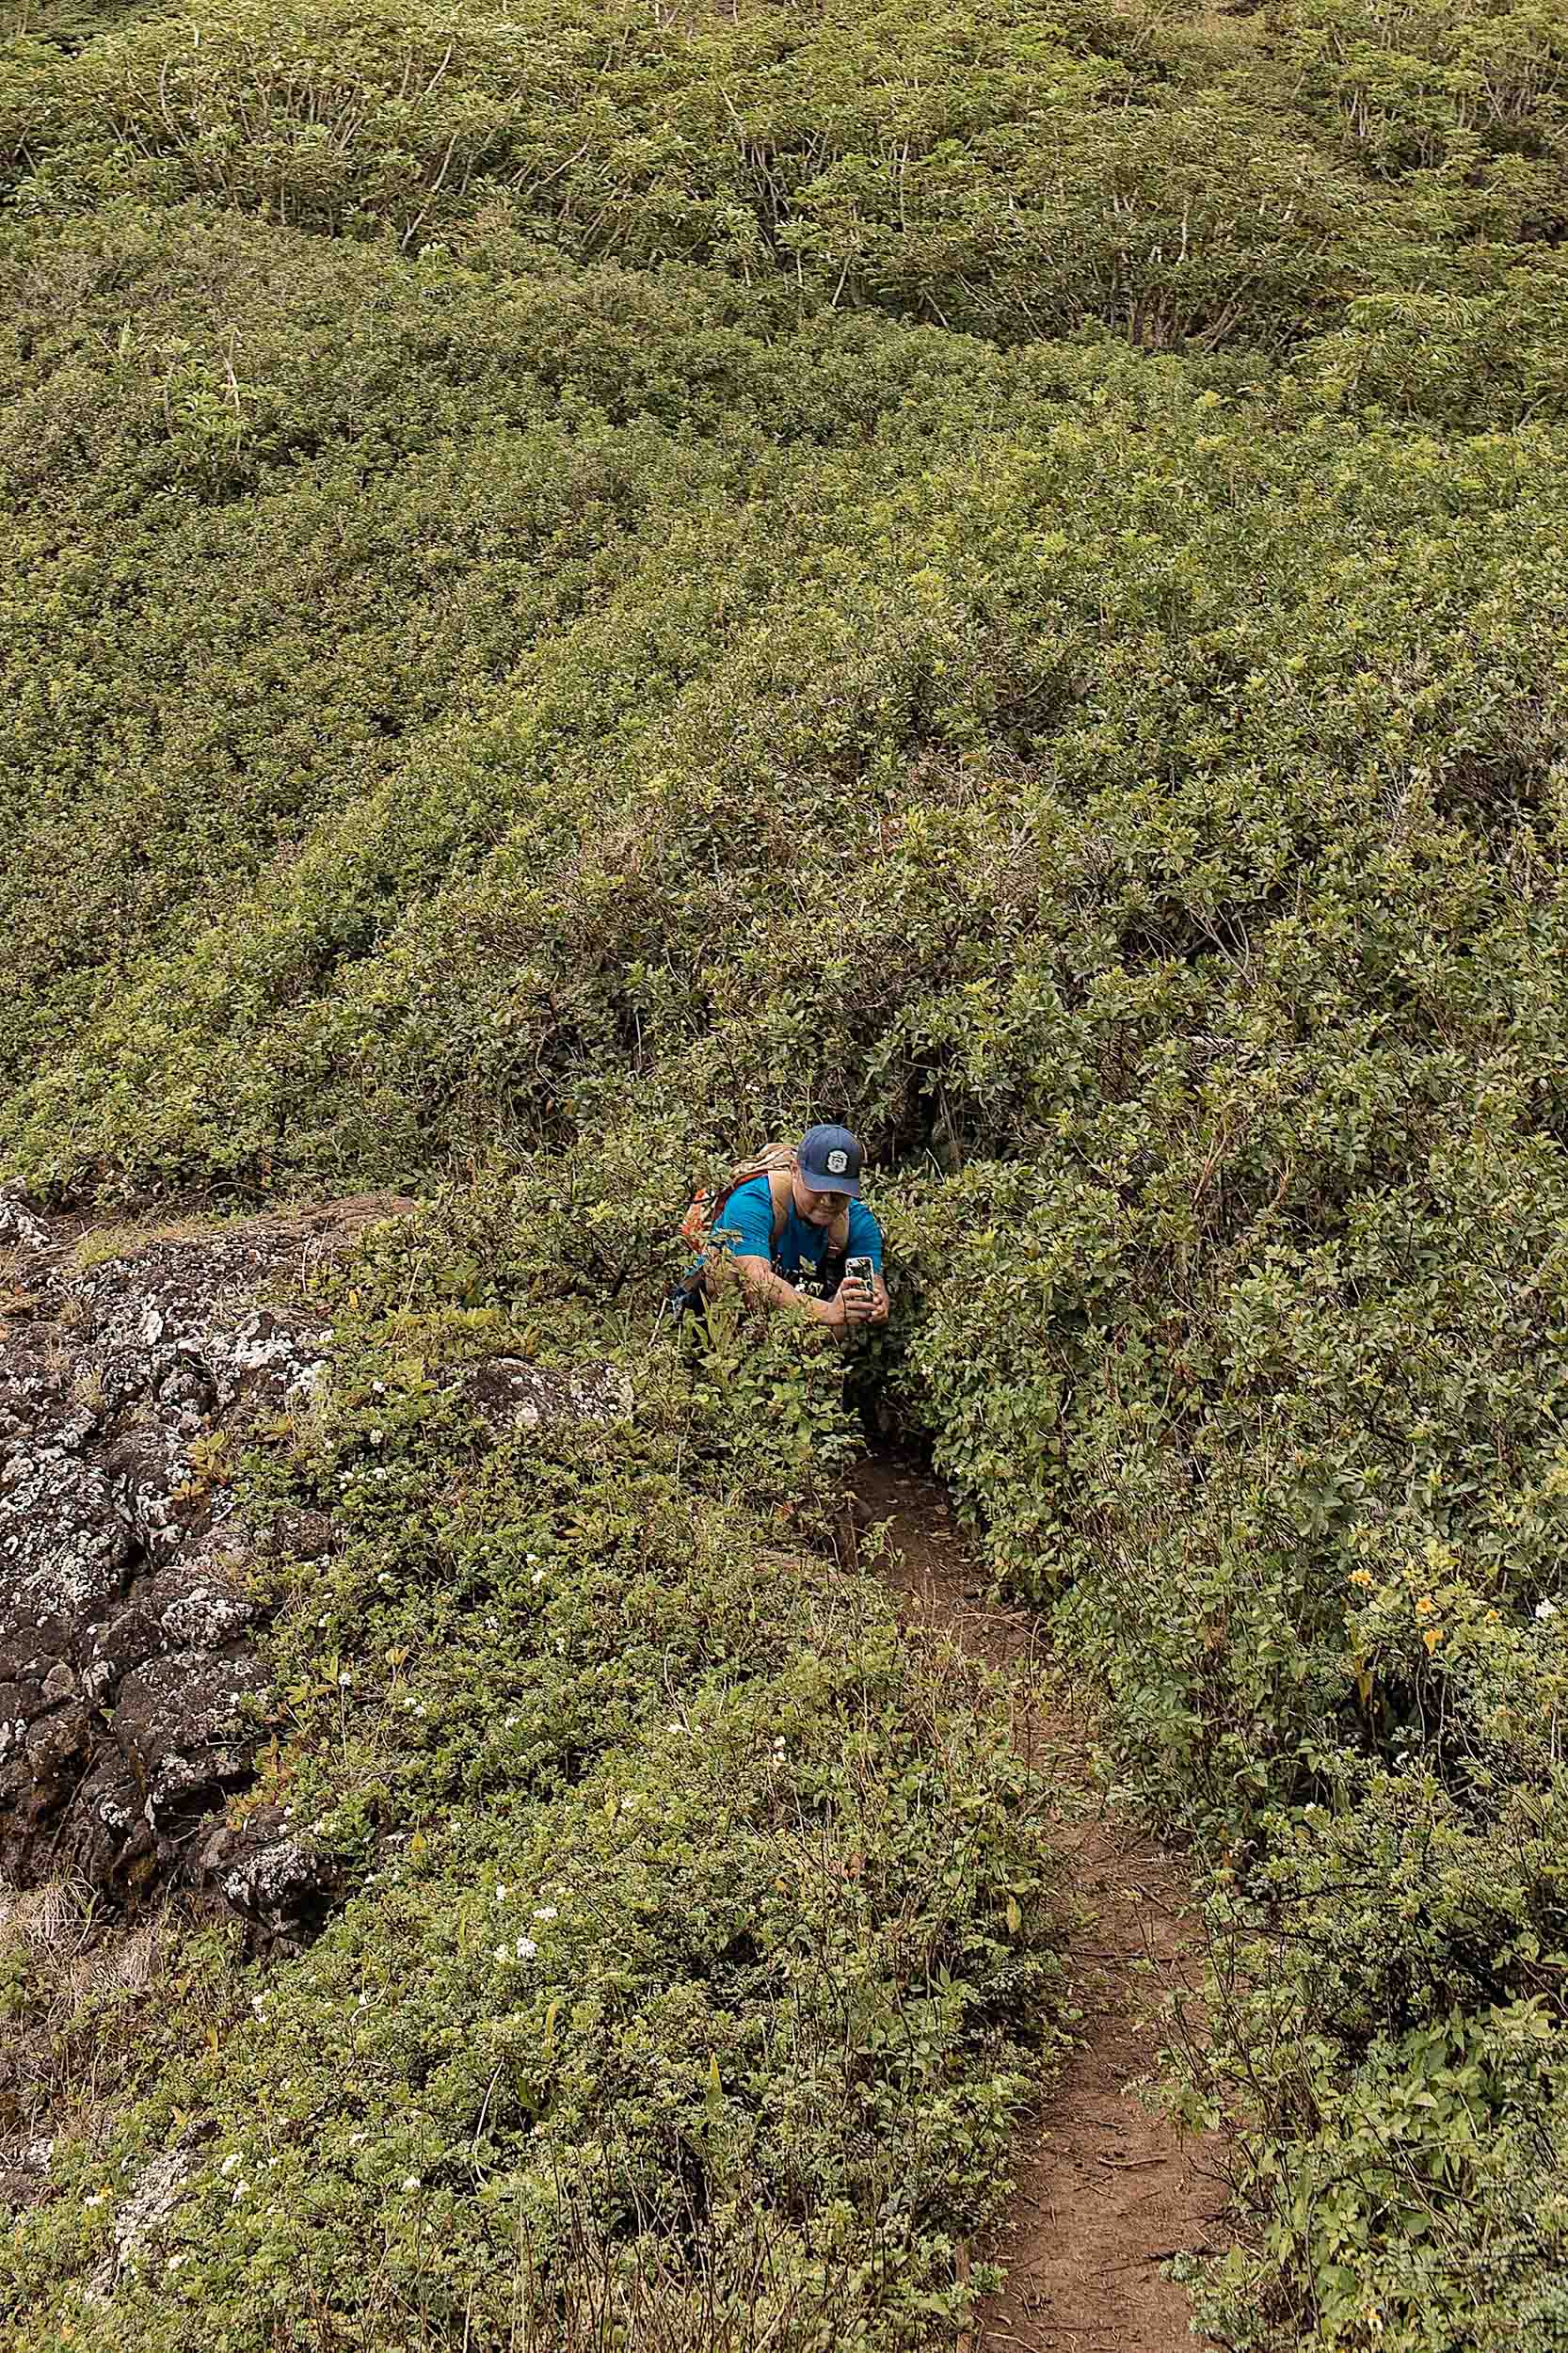
At first you’ll find yourself climbing over a lot of tree branches that seem like steps placed for us by Mother Nature herself. There’s a lot of loose dirt and rocks — make sure your shoes have good grip. The best part about the beginning is that it is covered by trees so you don’t have to worry about being in the direct sun (yet).

Pretty quickly you will find yourself at the spot you see in the above photo. You will need to literally rock climb here. Luckily there are ropes so I found it to be pretty easy even with my expensive professional dSLR hanging off of me.
Please be careful — I cannot stress this enough. And please wear the right shoes.
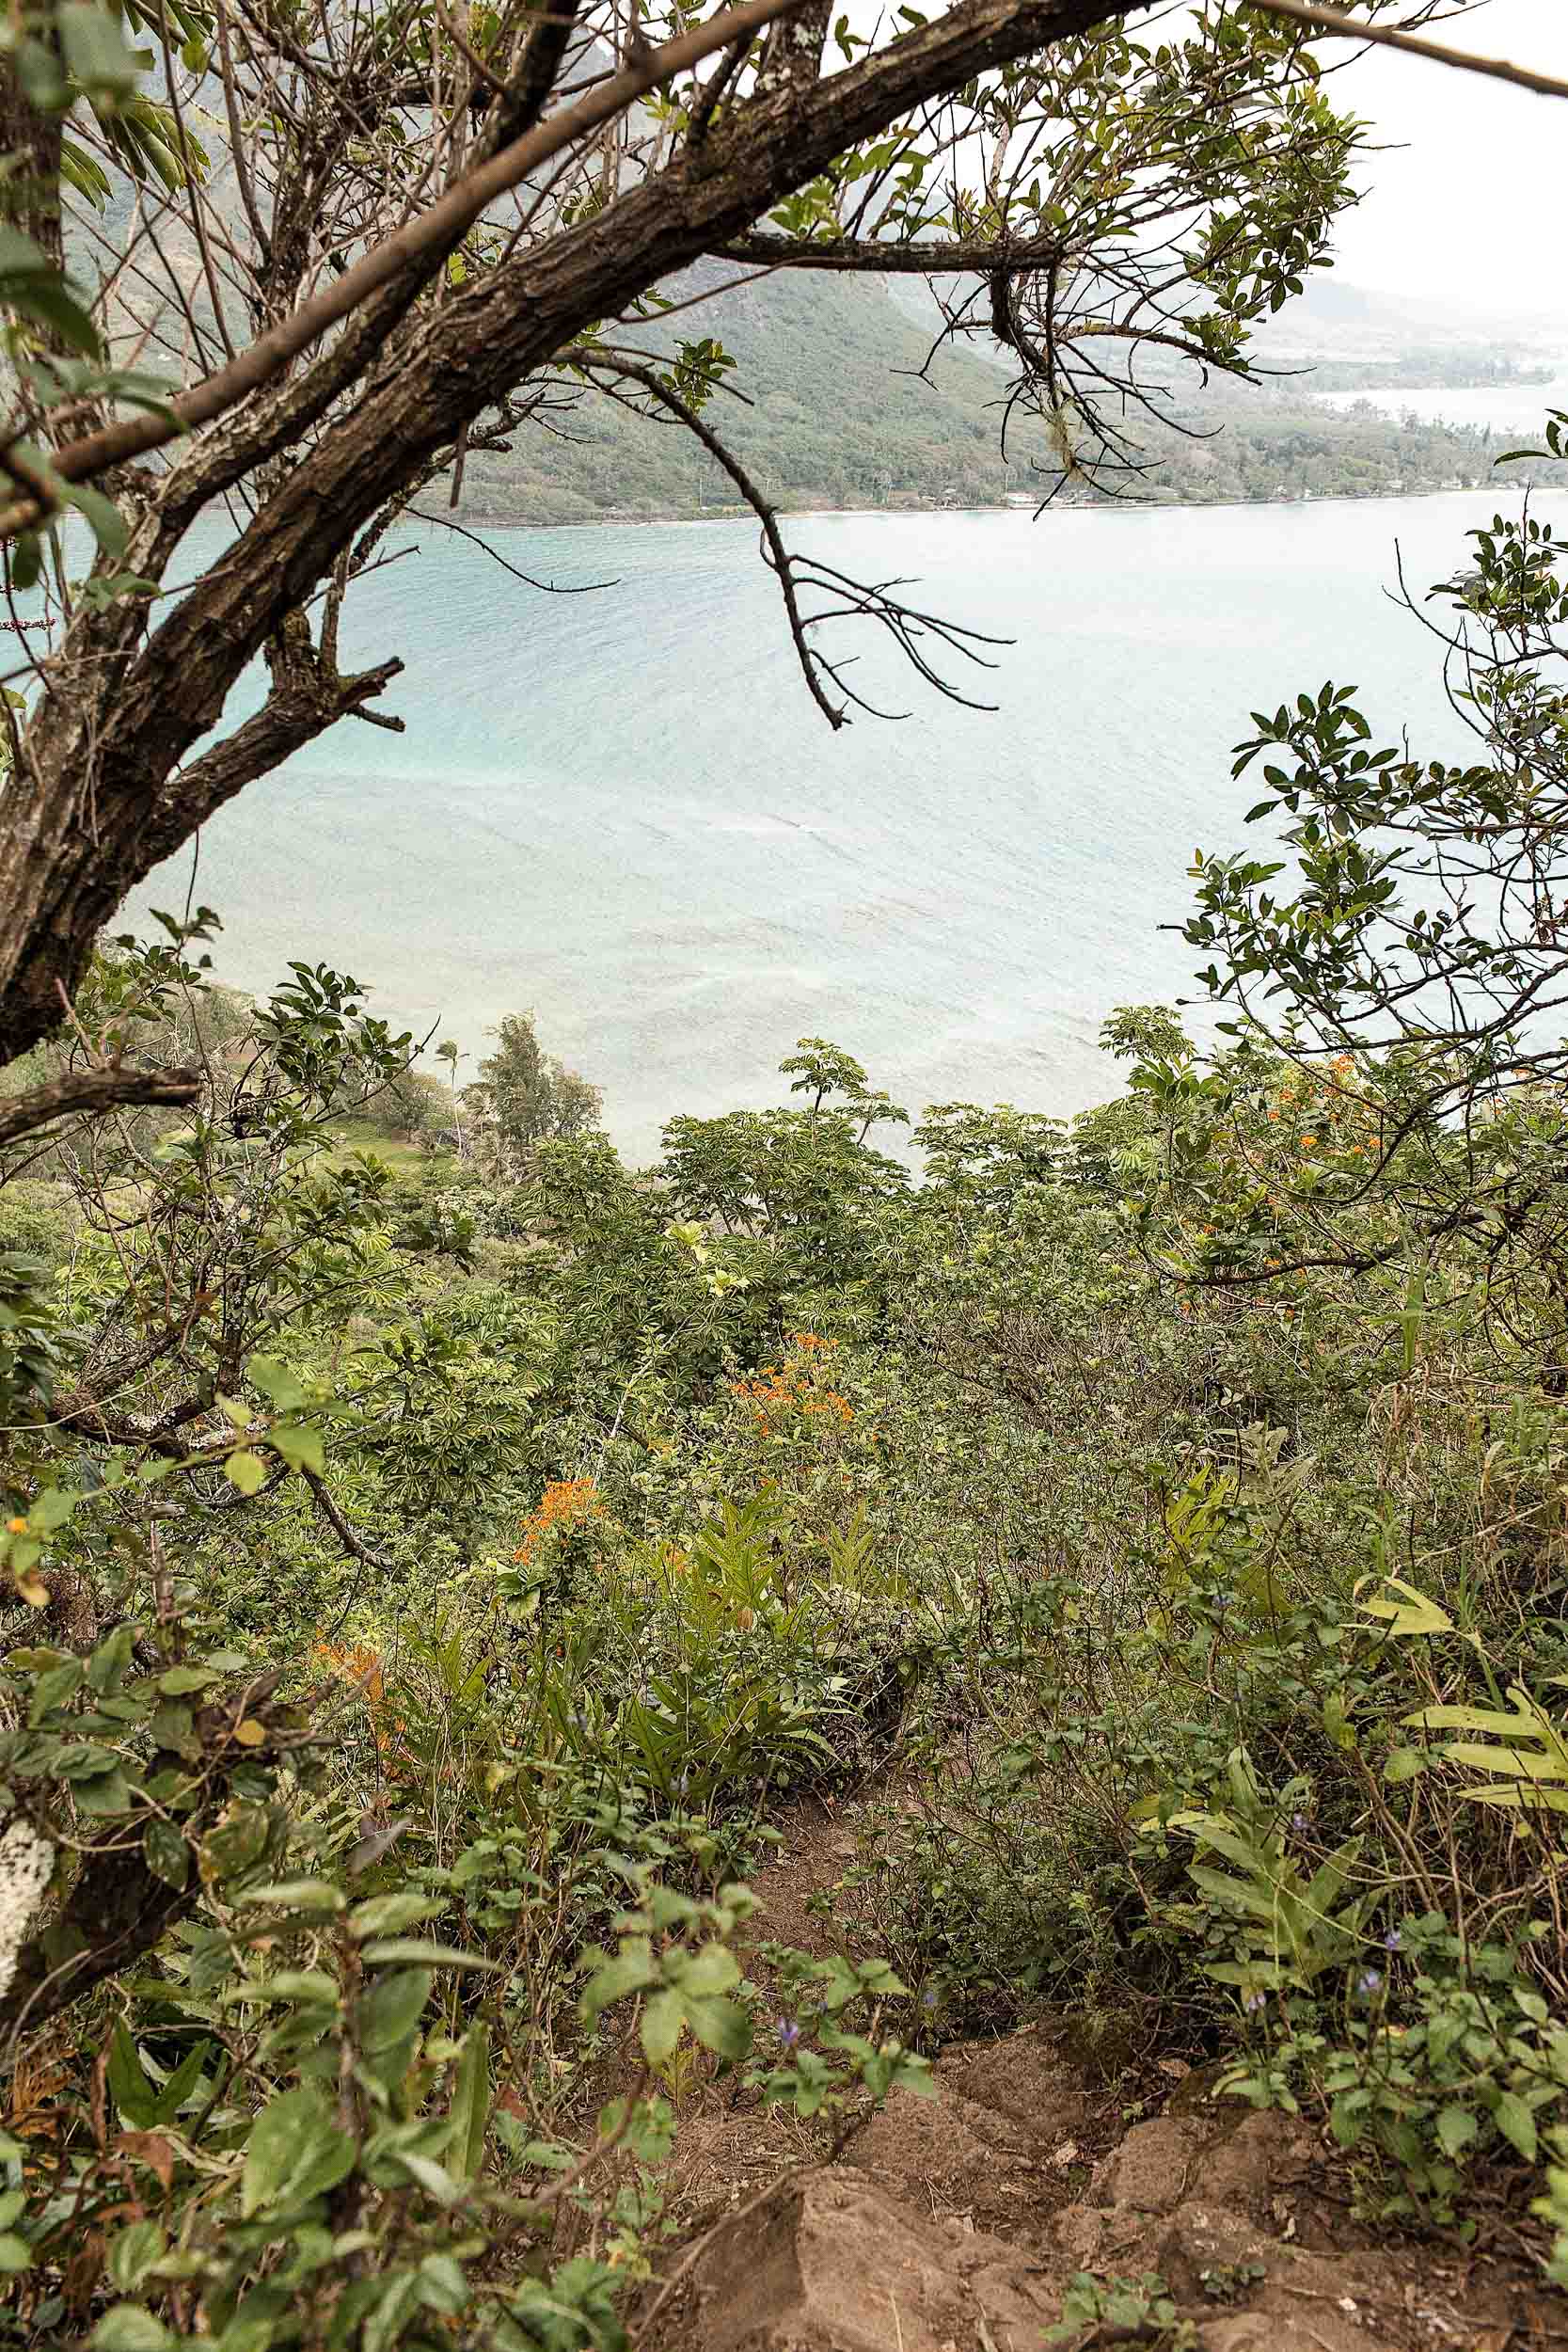
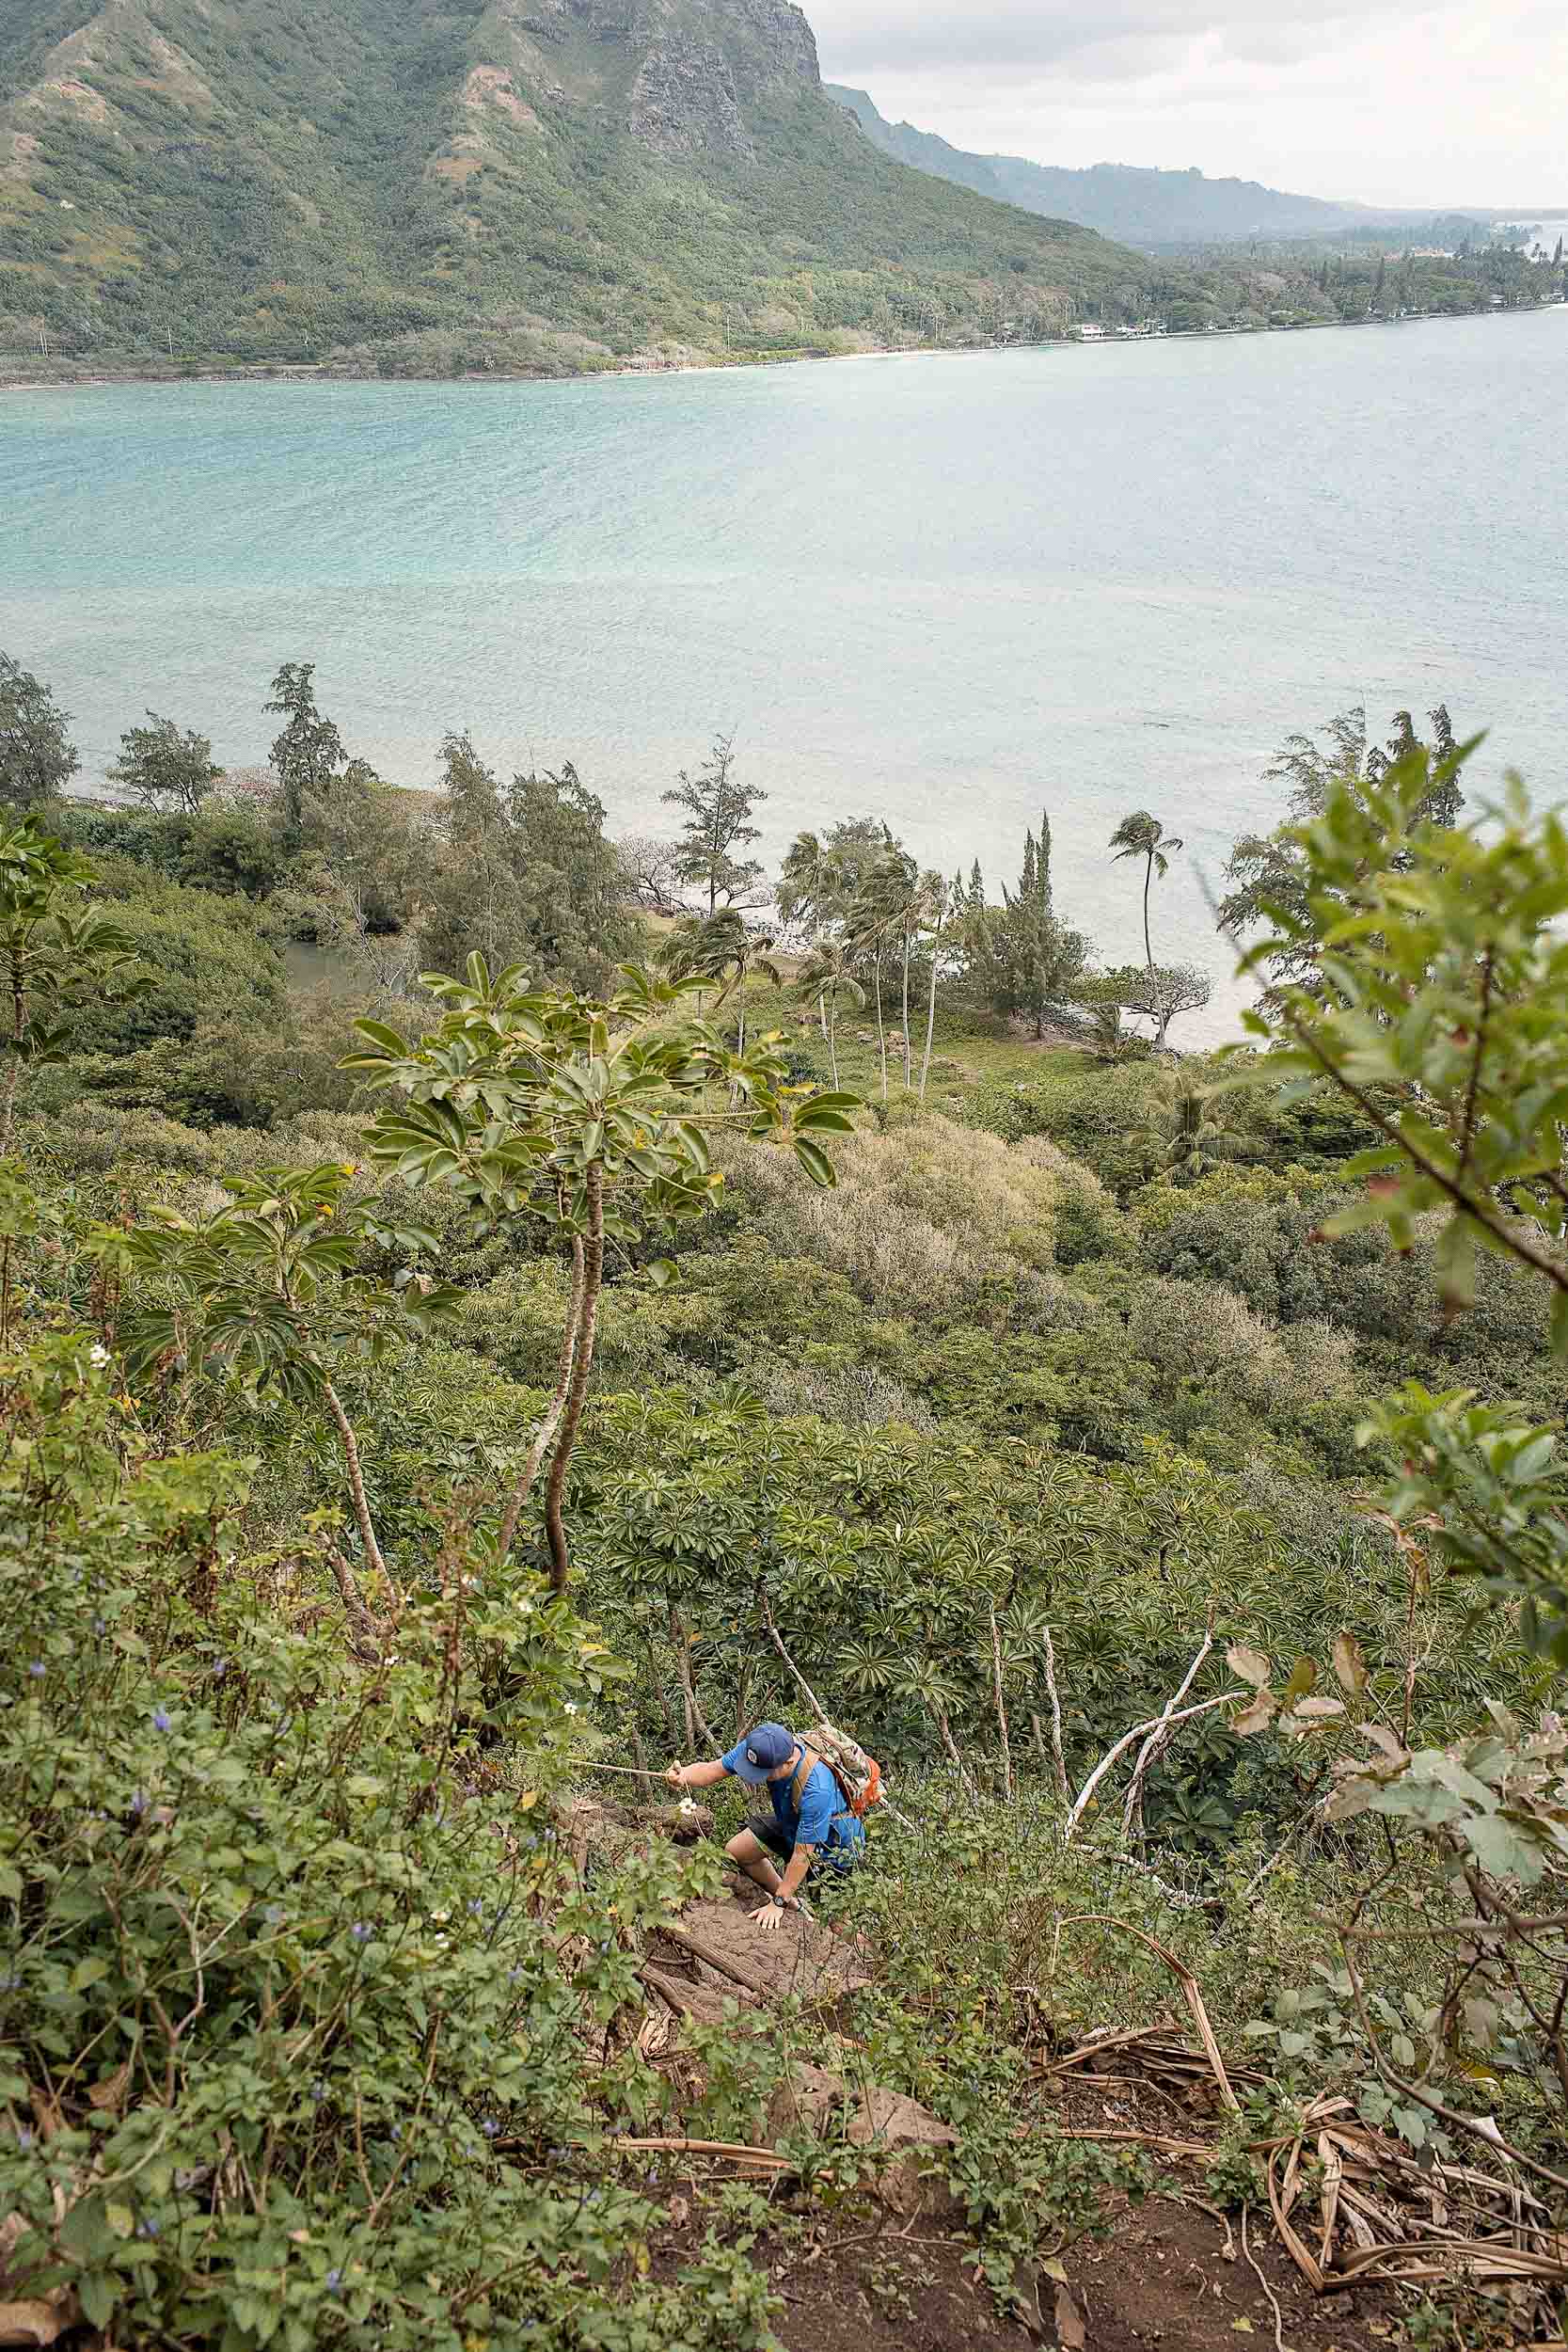


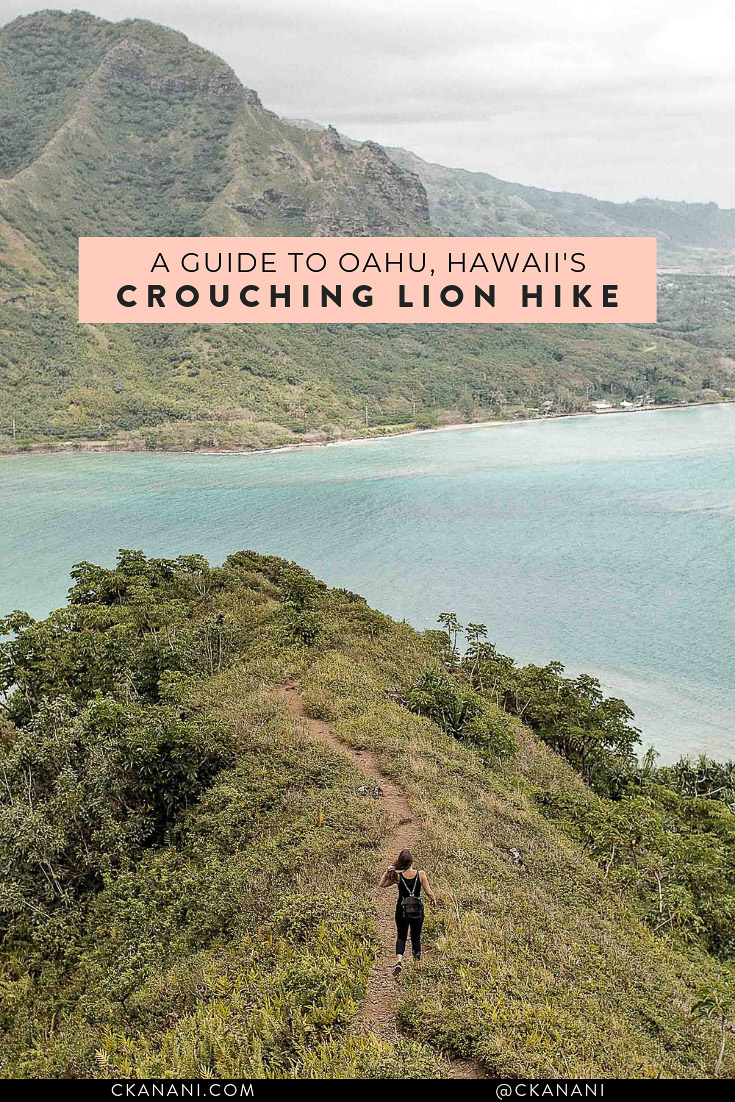
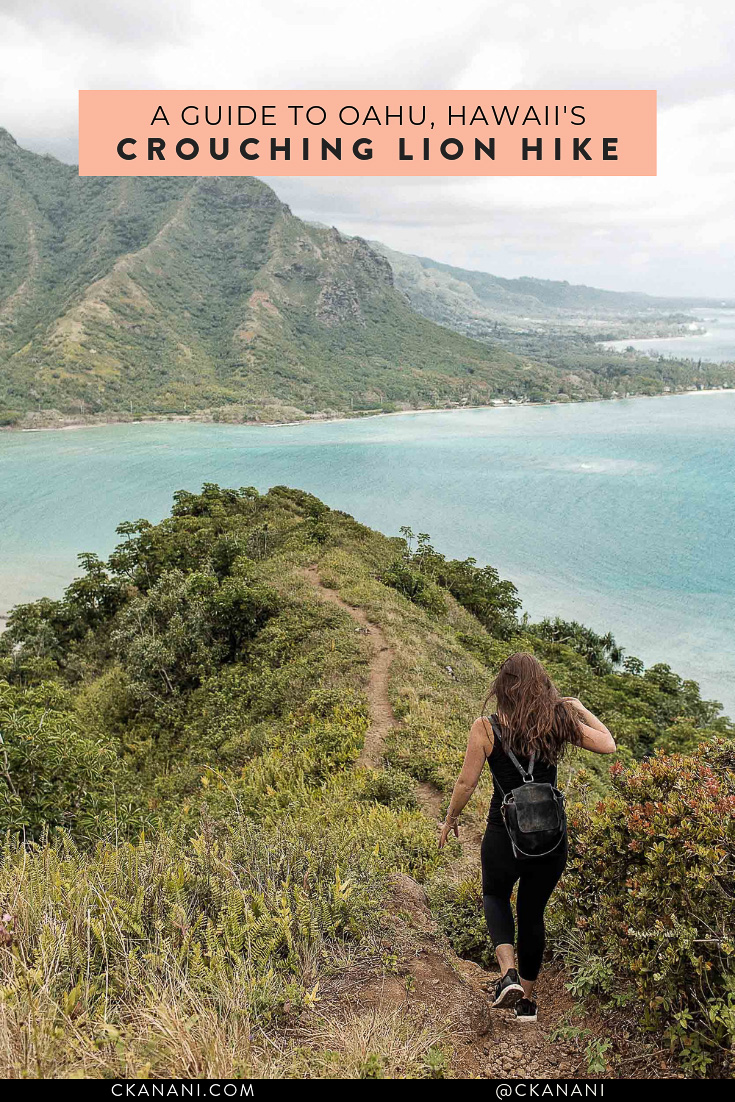
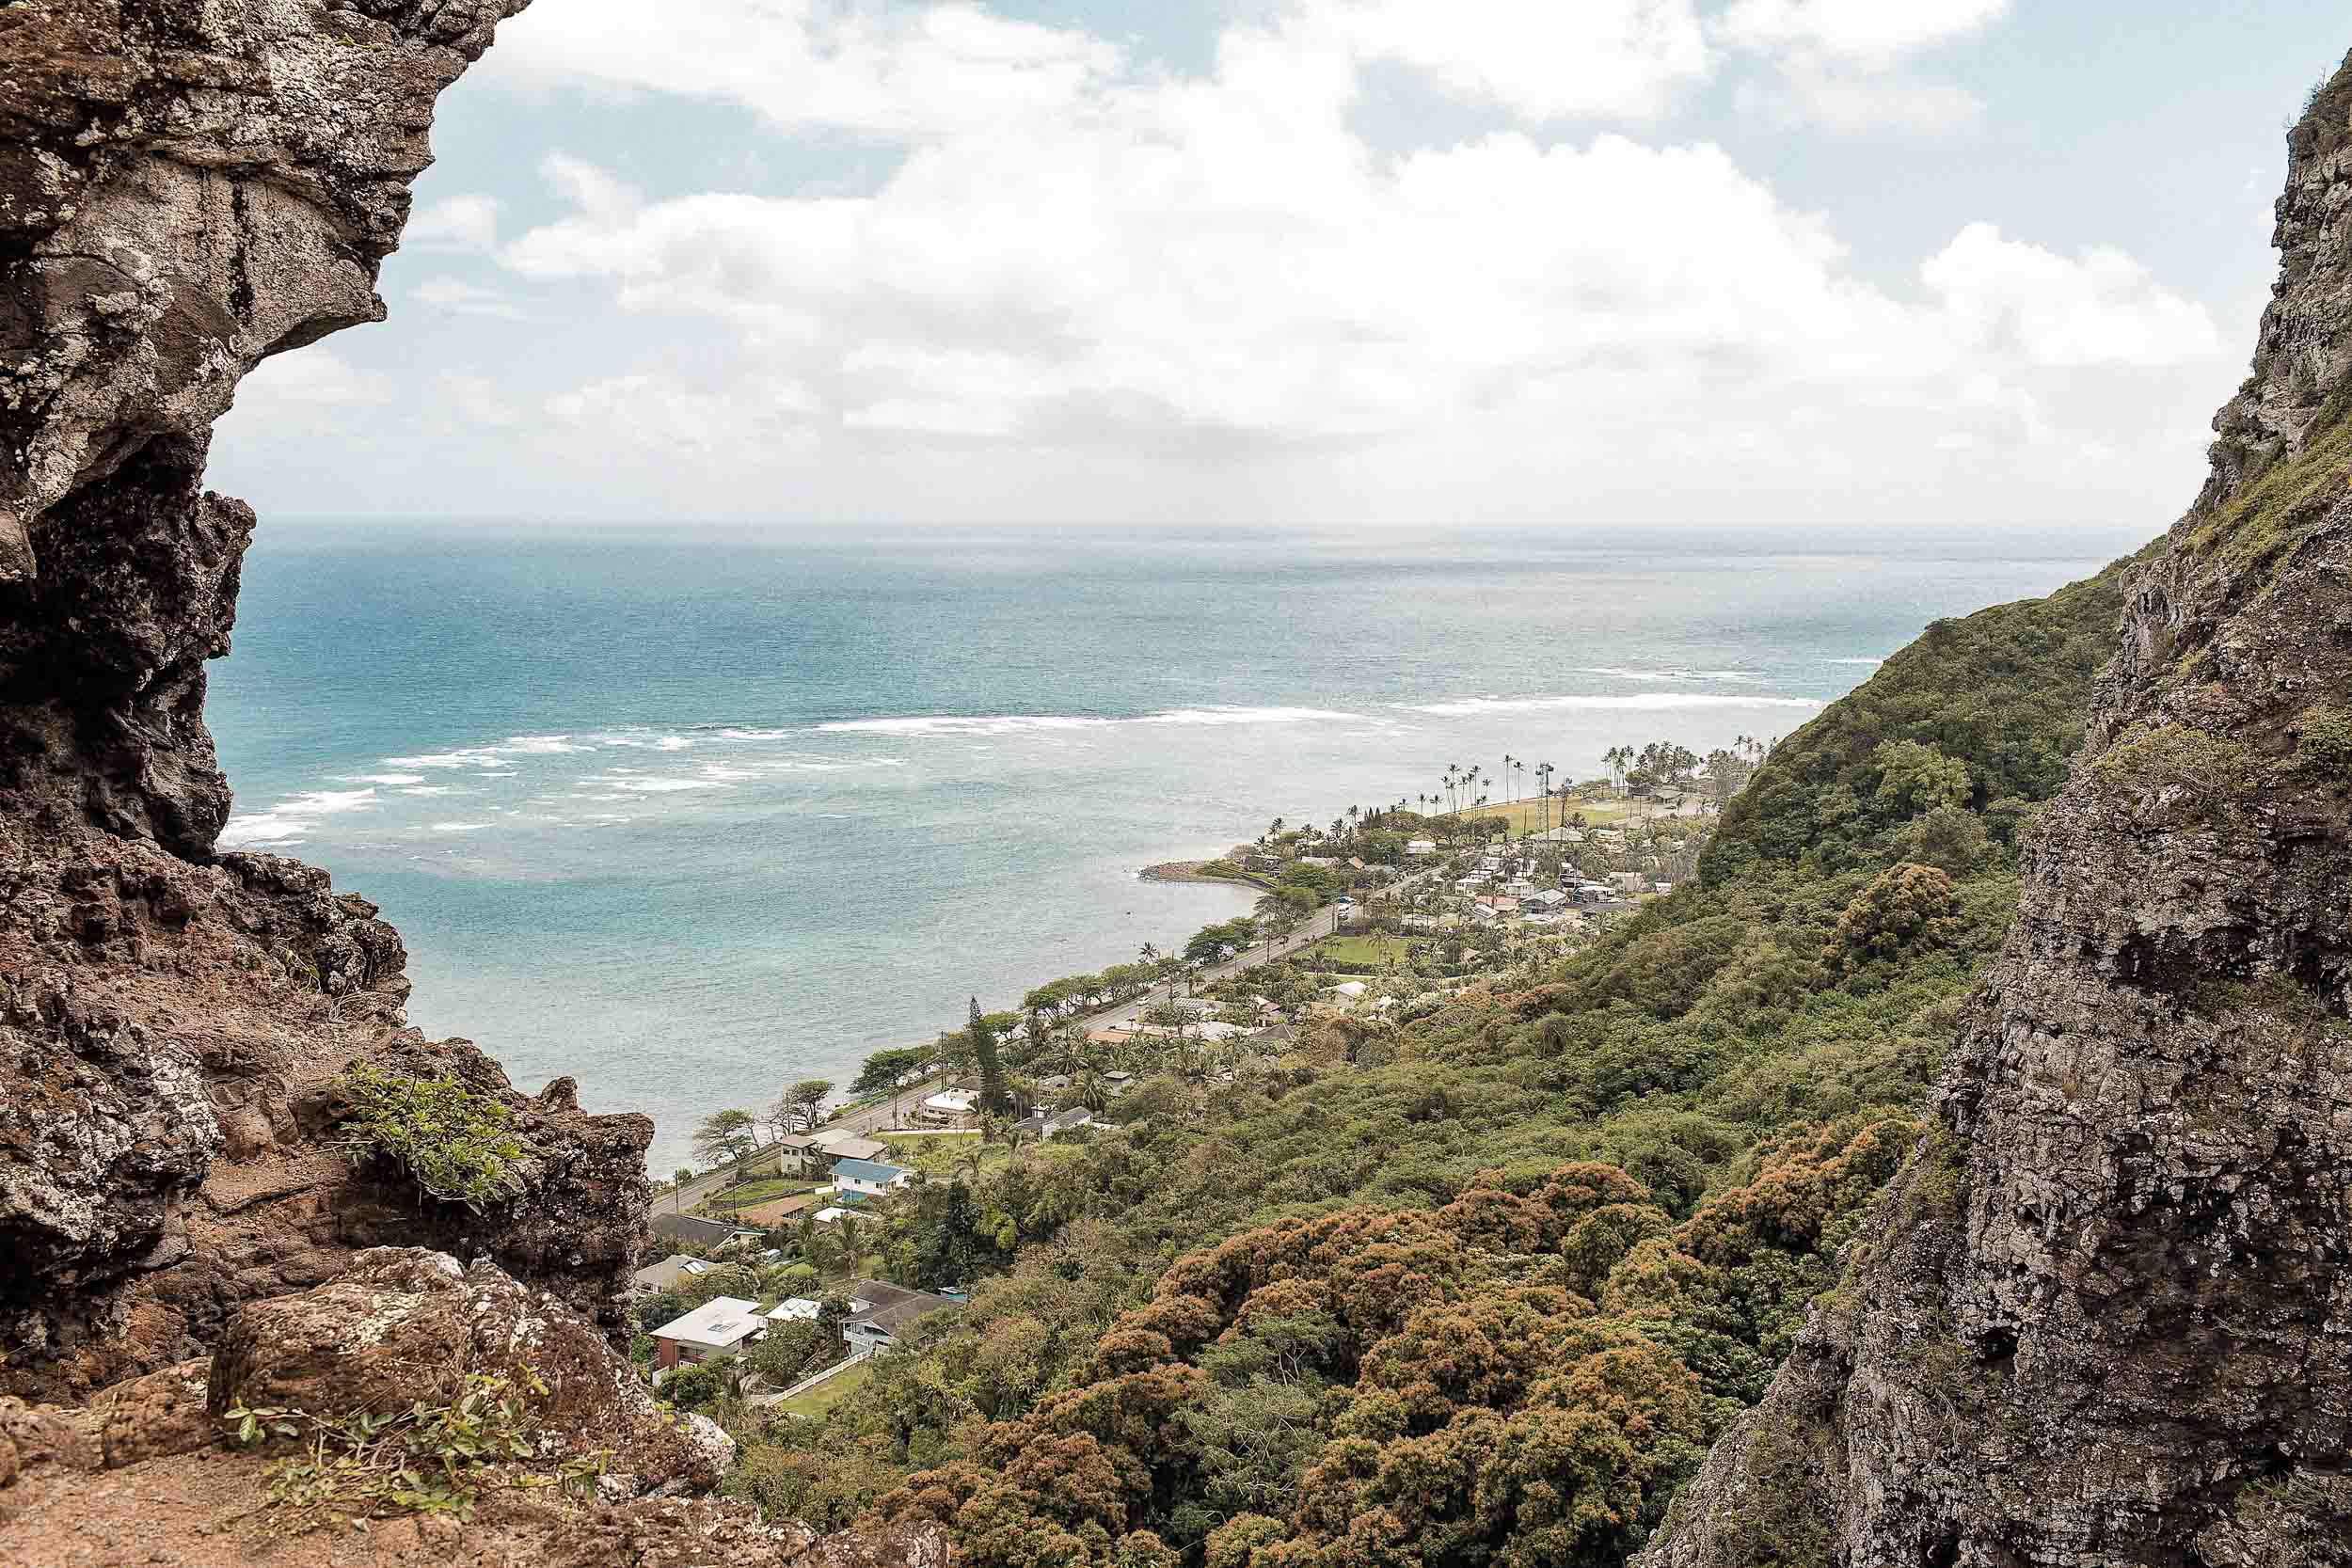
Once you are done rock climbing you will continue on your way to the Crouching Lion! At this point you’ll start getting out from beneath the trees which means you’ll be presented with some sneak peeks of beautiful Kahana Bay.
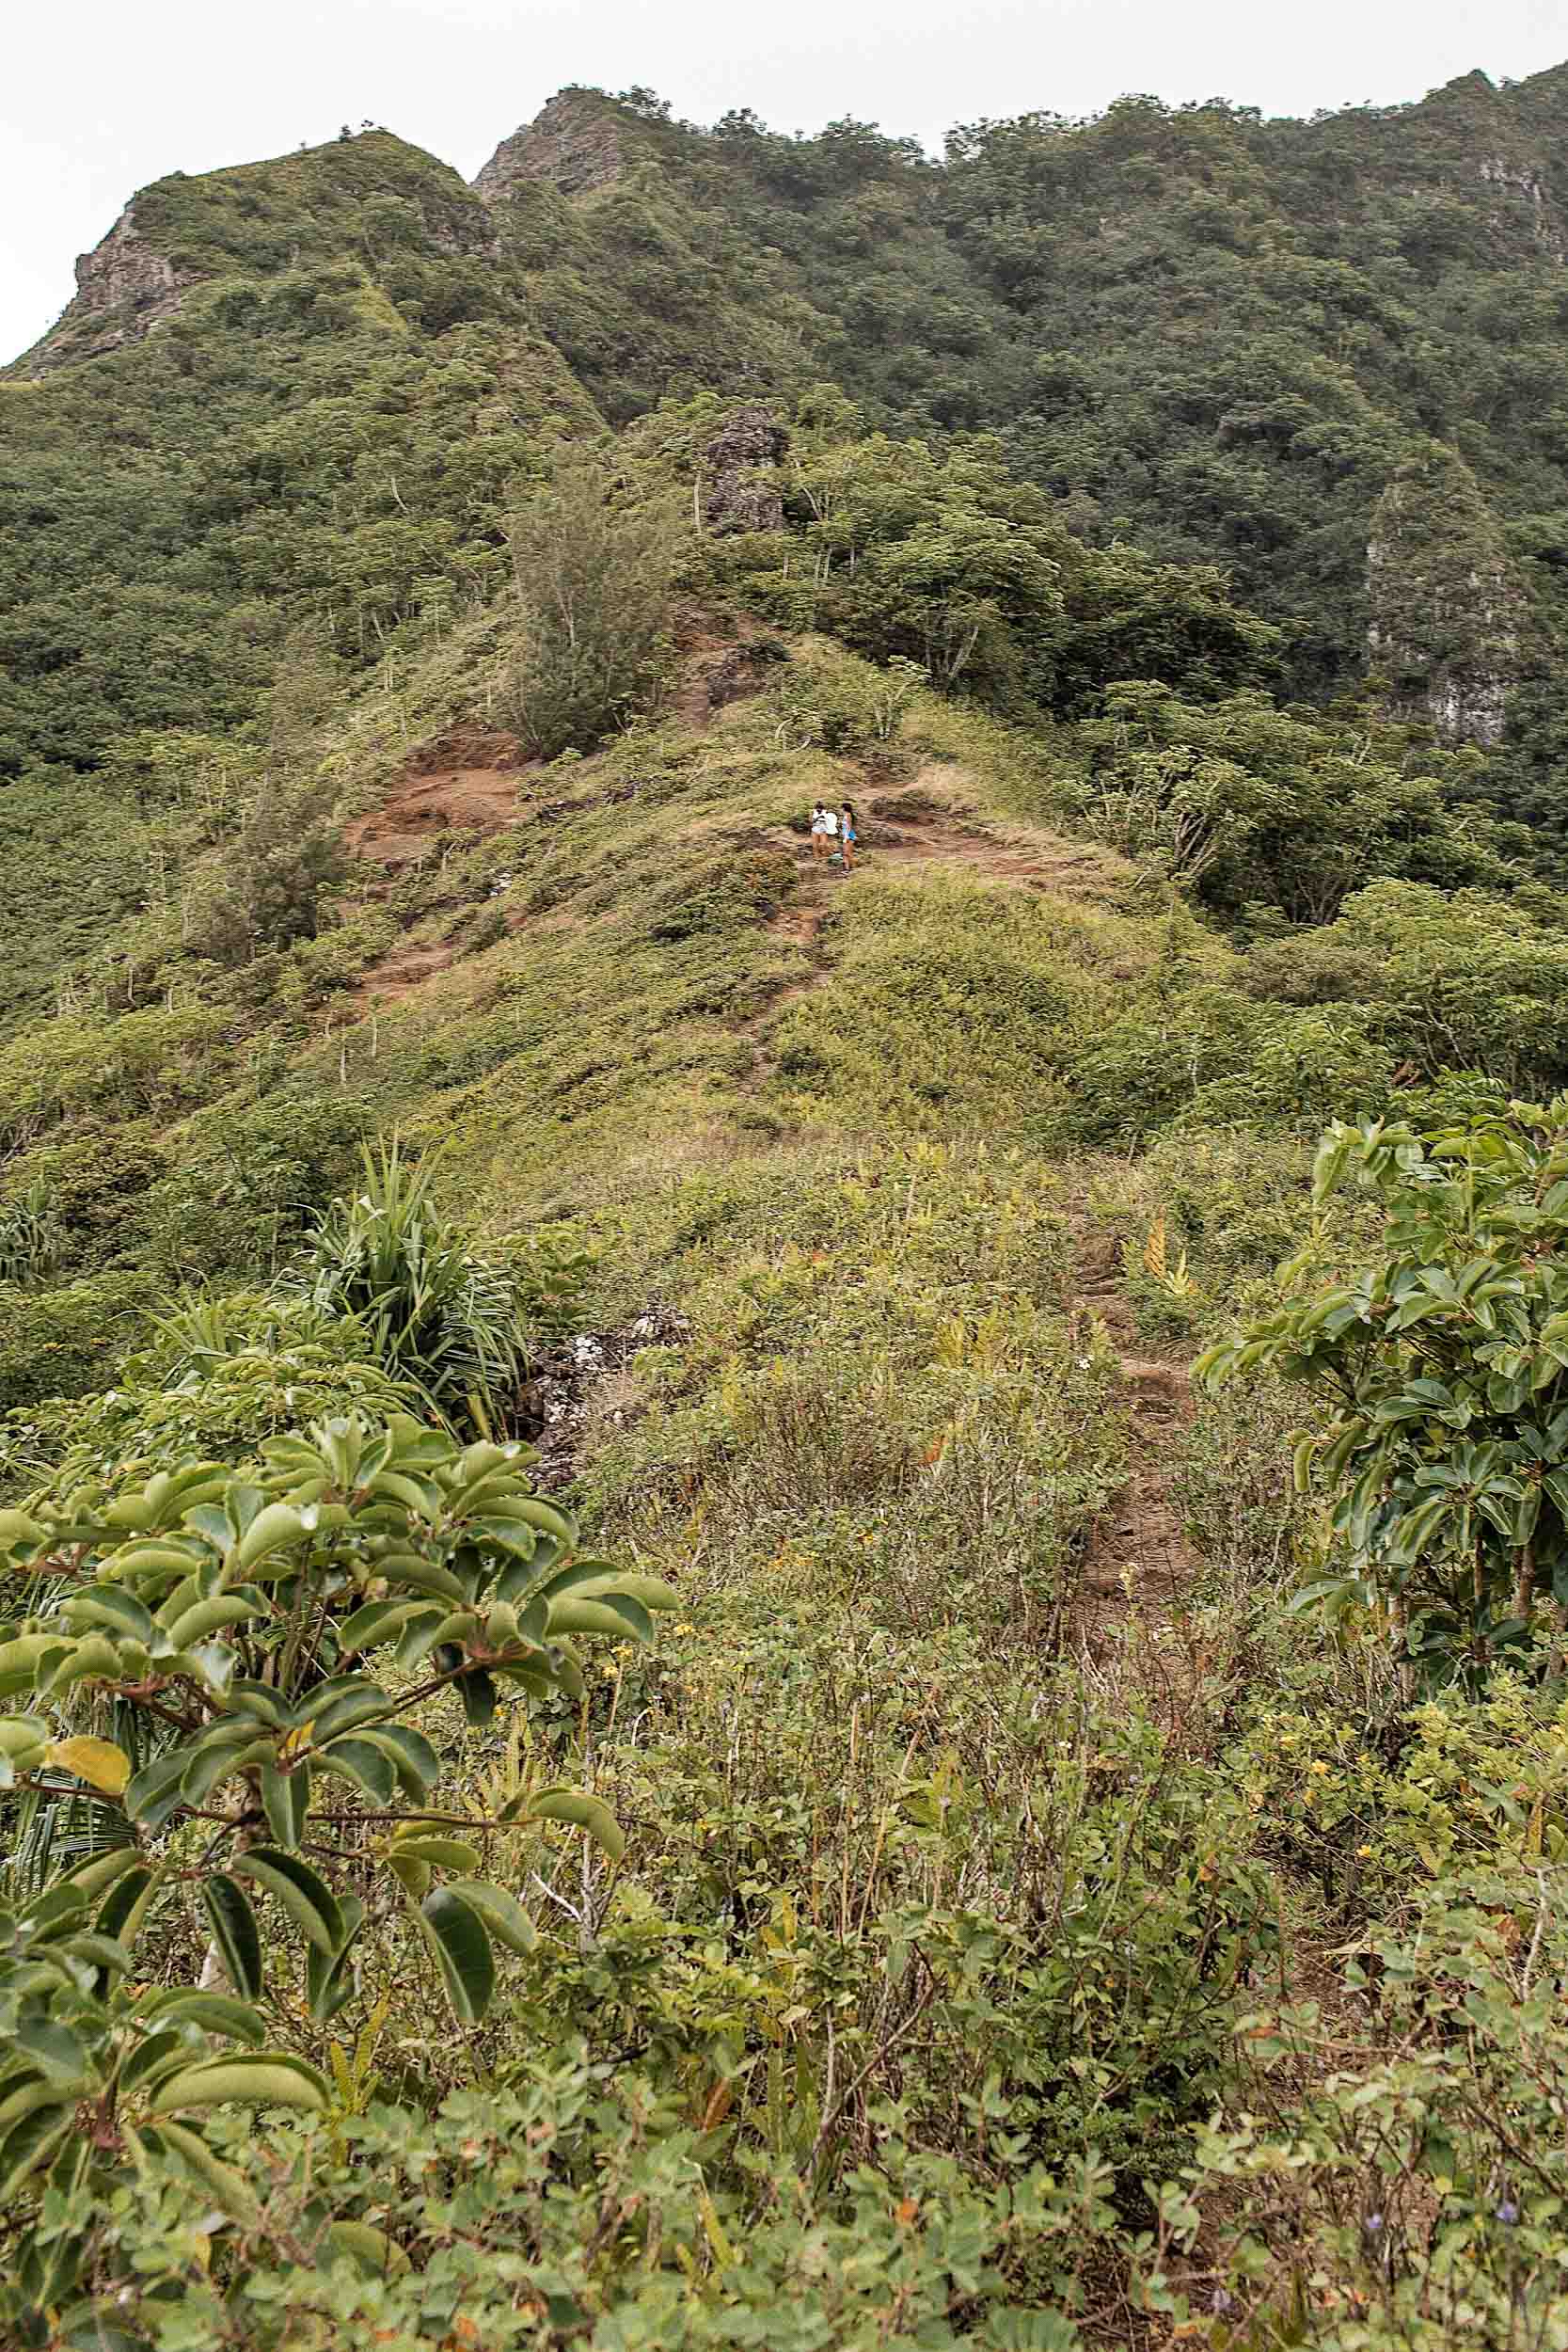
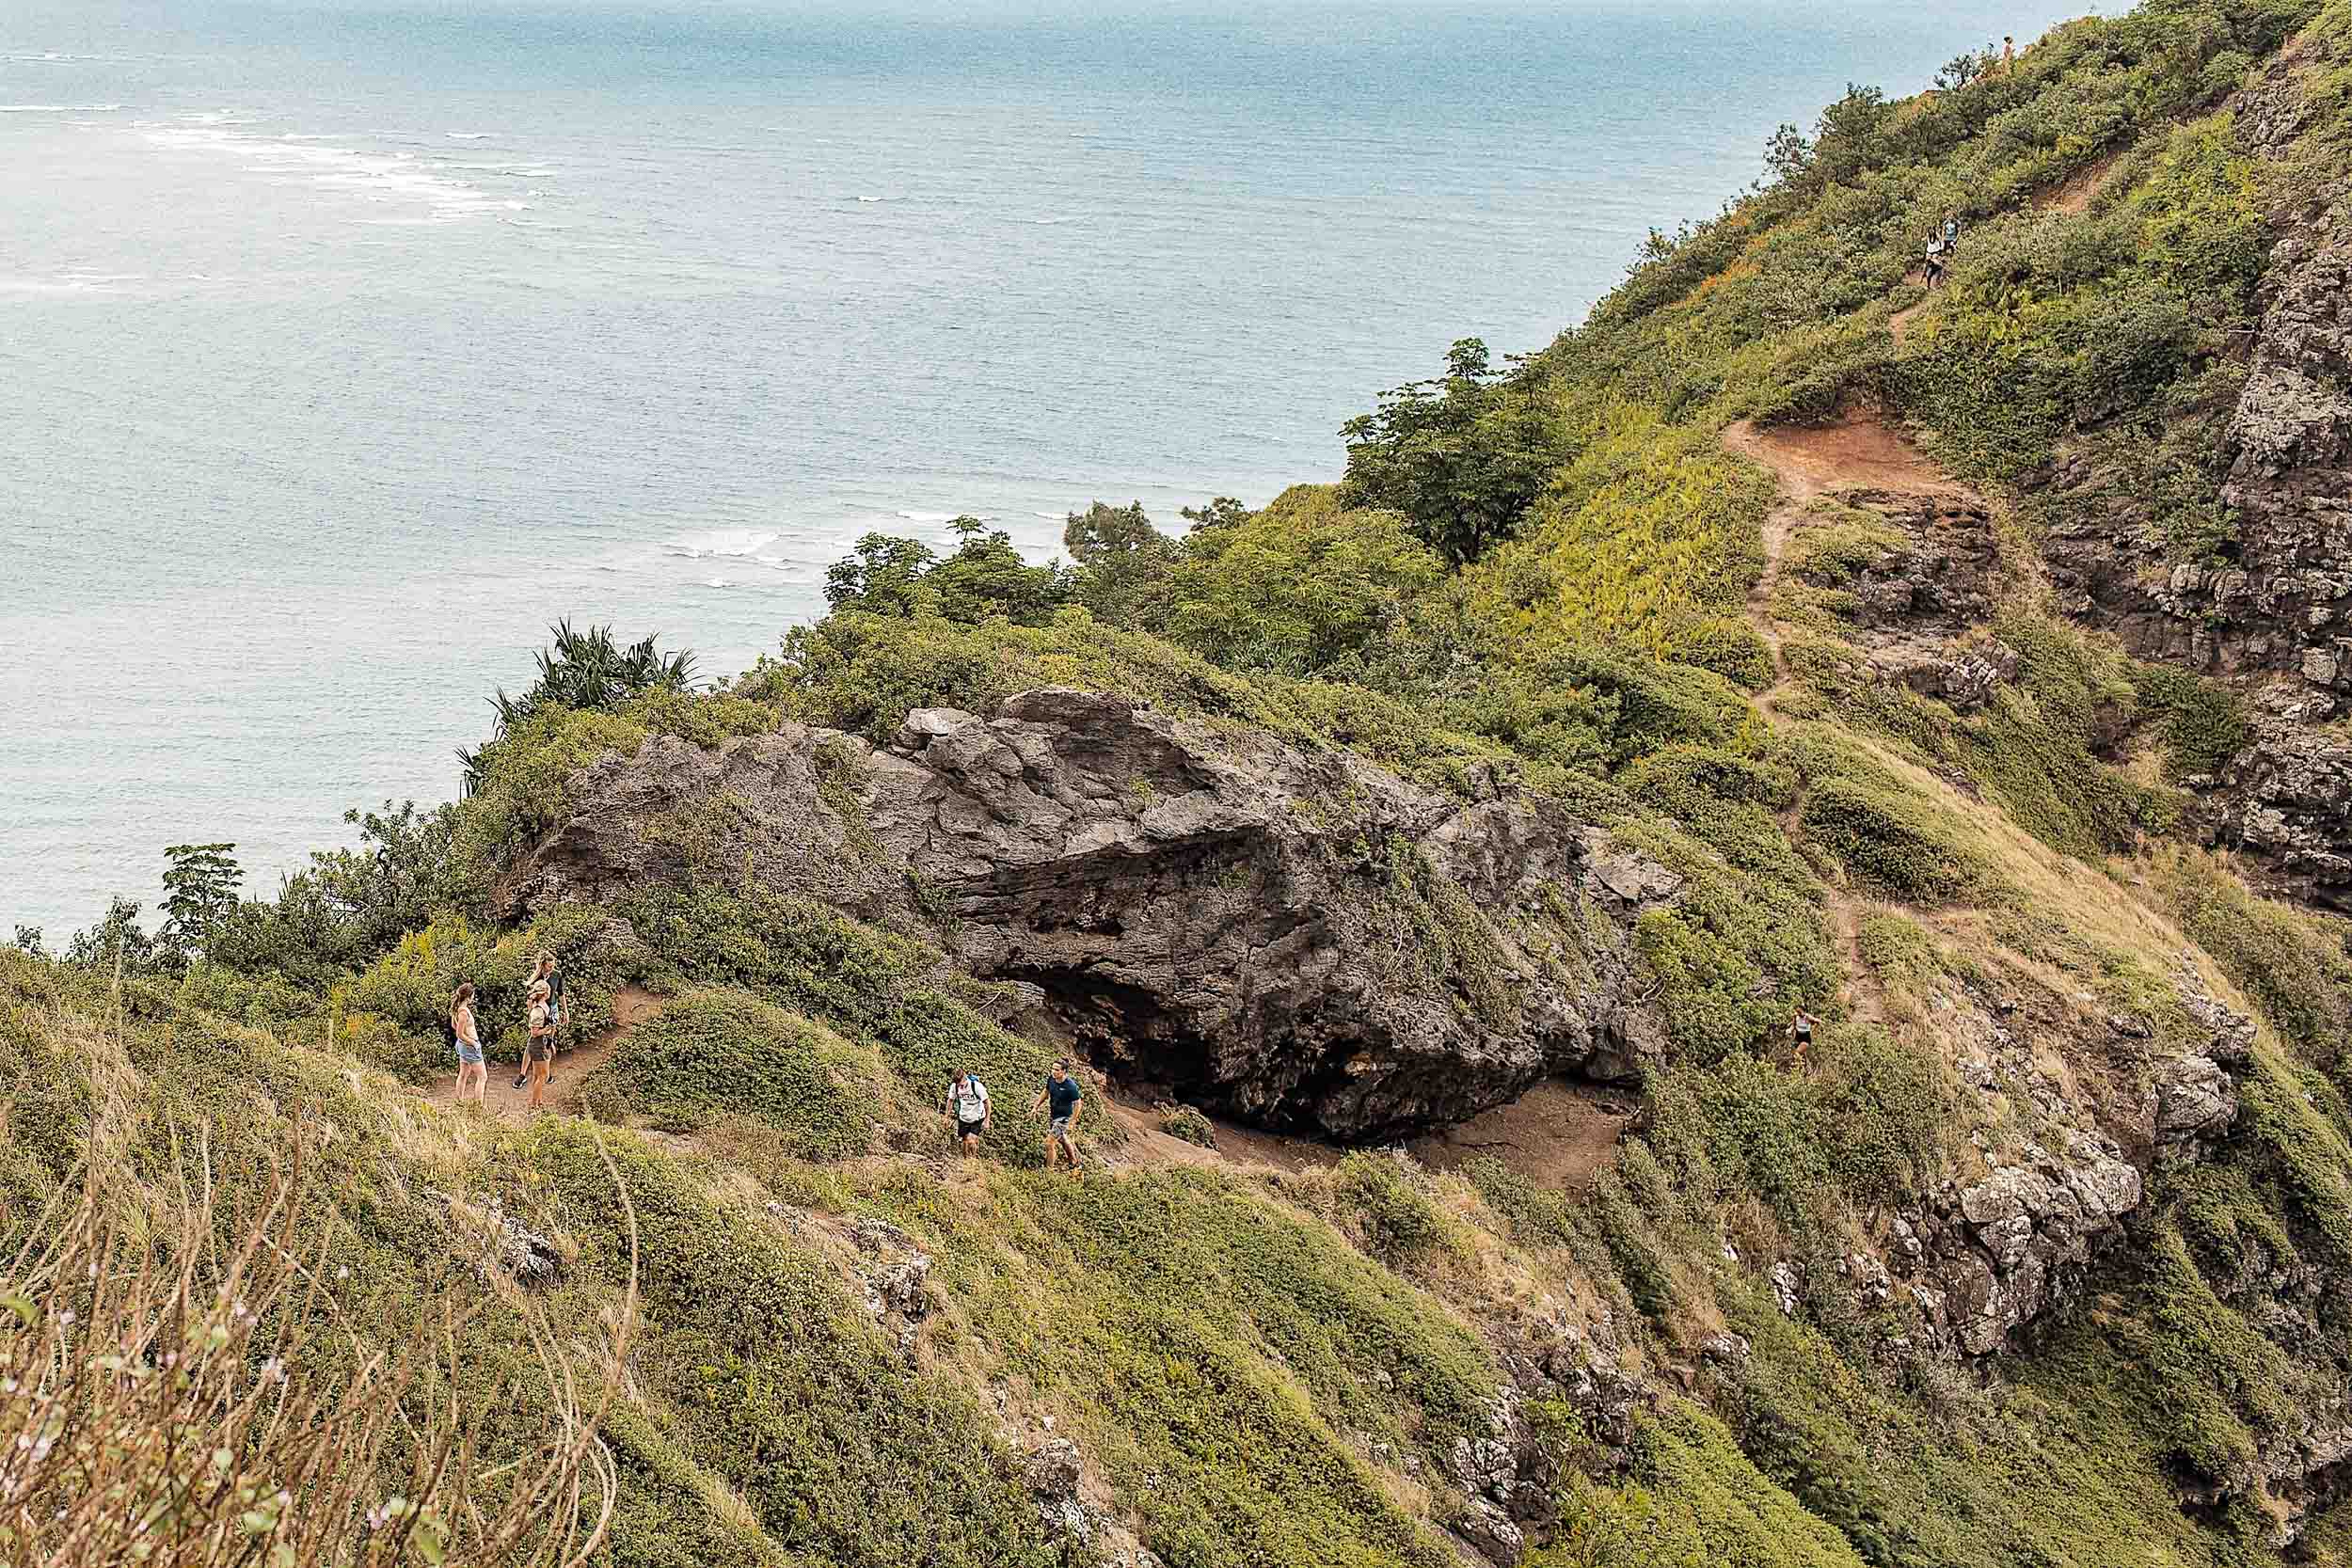
Just before you reach the first lookout point (and my favorite one) you’ll climb the lovely loose dirt hill you see in the above photo. For some reason this part freaked me out more than any other - so much so that I slid down it on my booty on our way out. Everyone else walked or ran up and down it without a care in the world!
Point being - take your time when and where needed. Better safe than sorry.
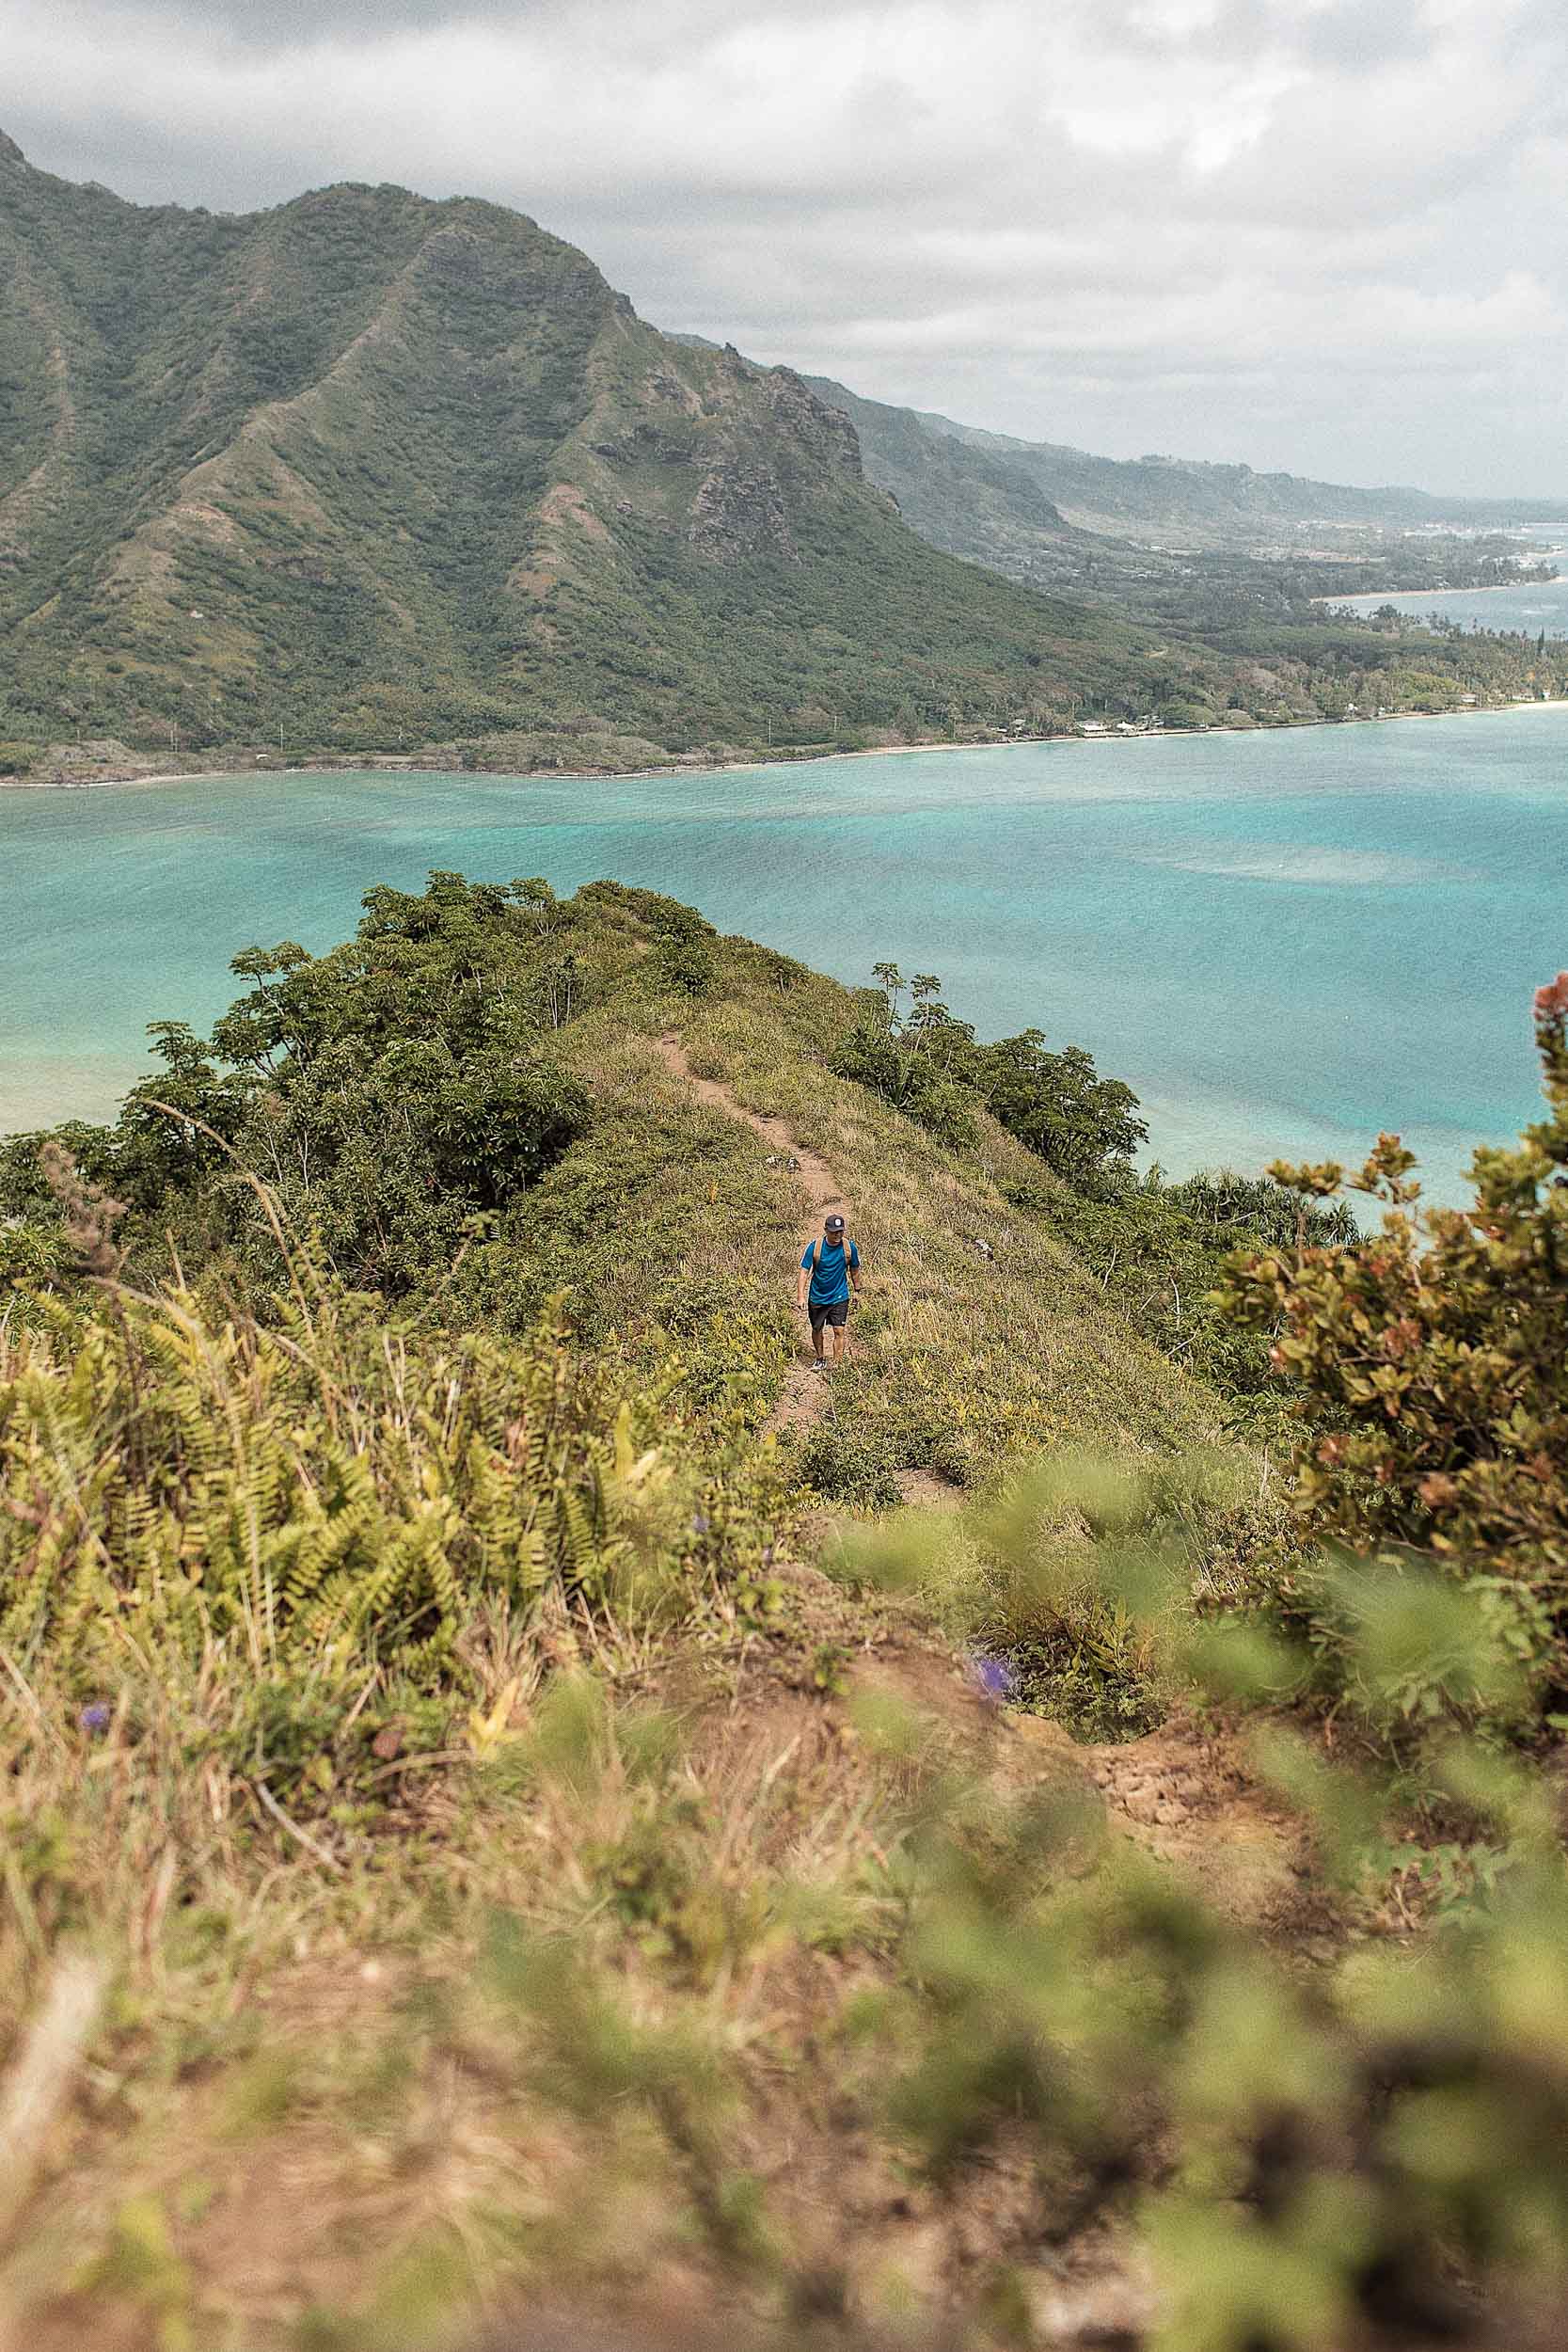

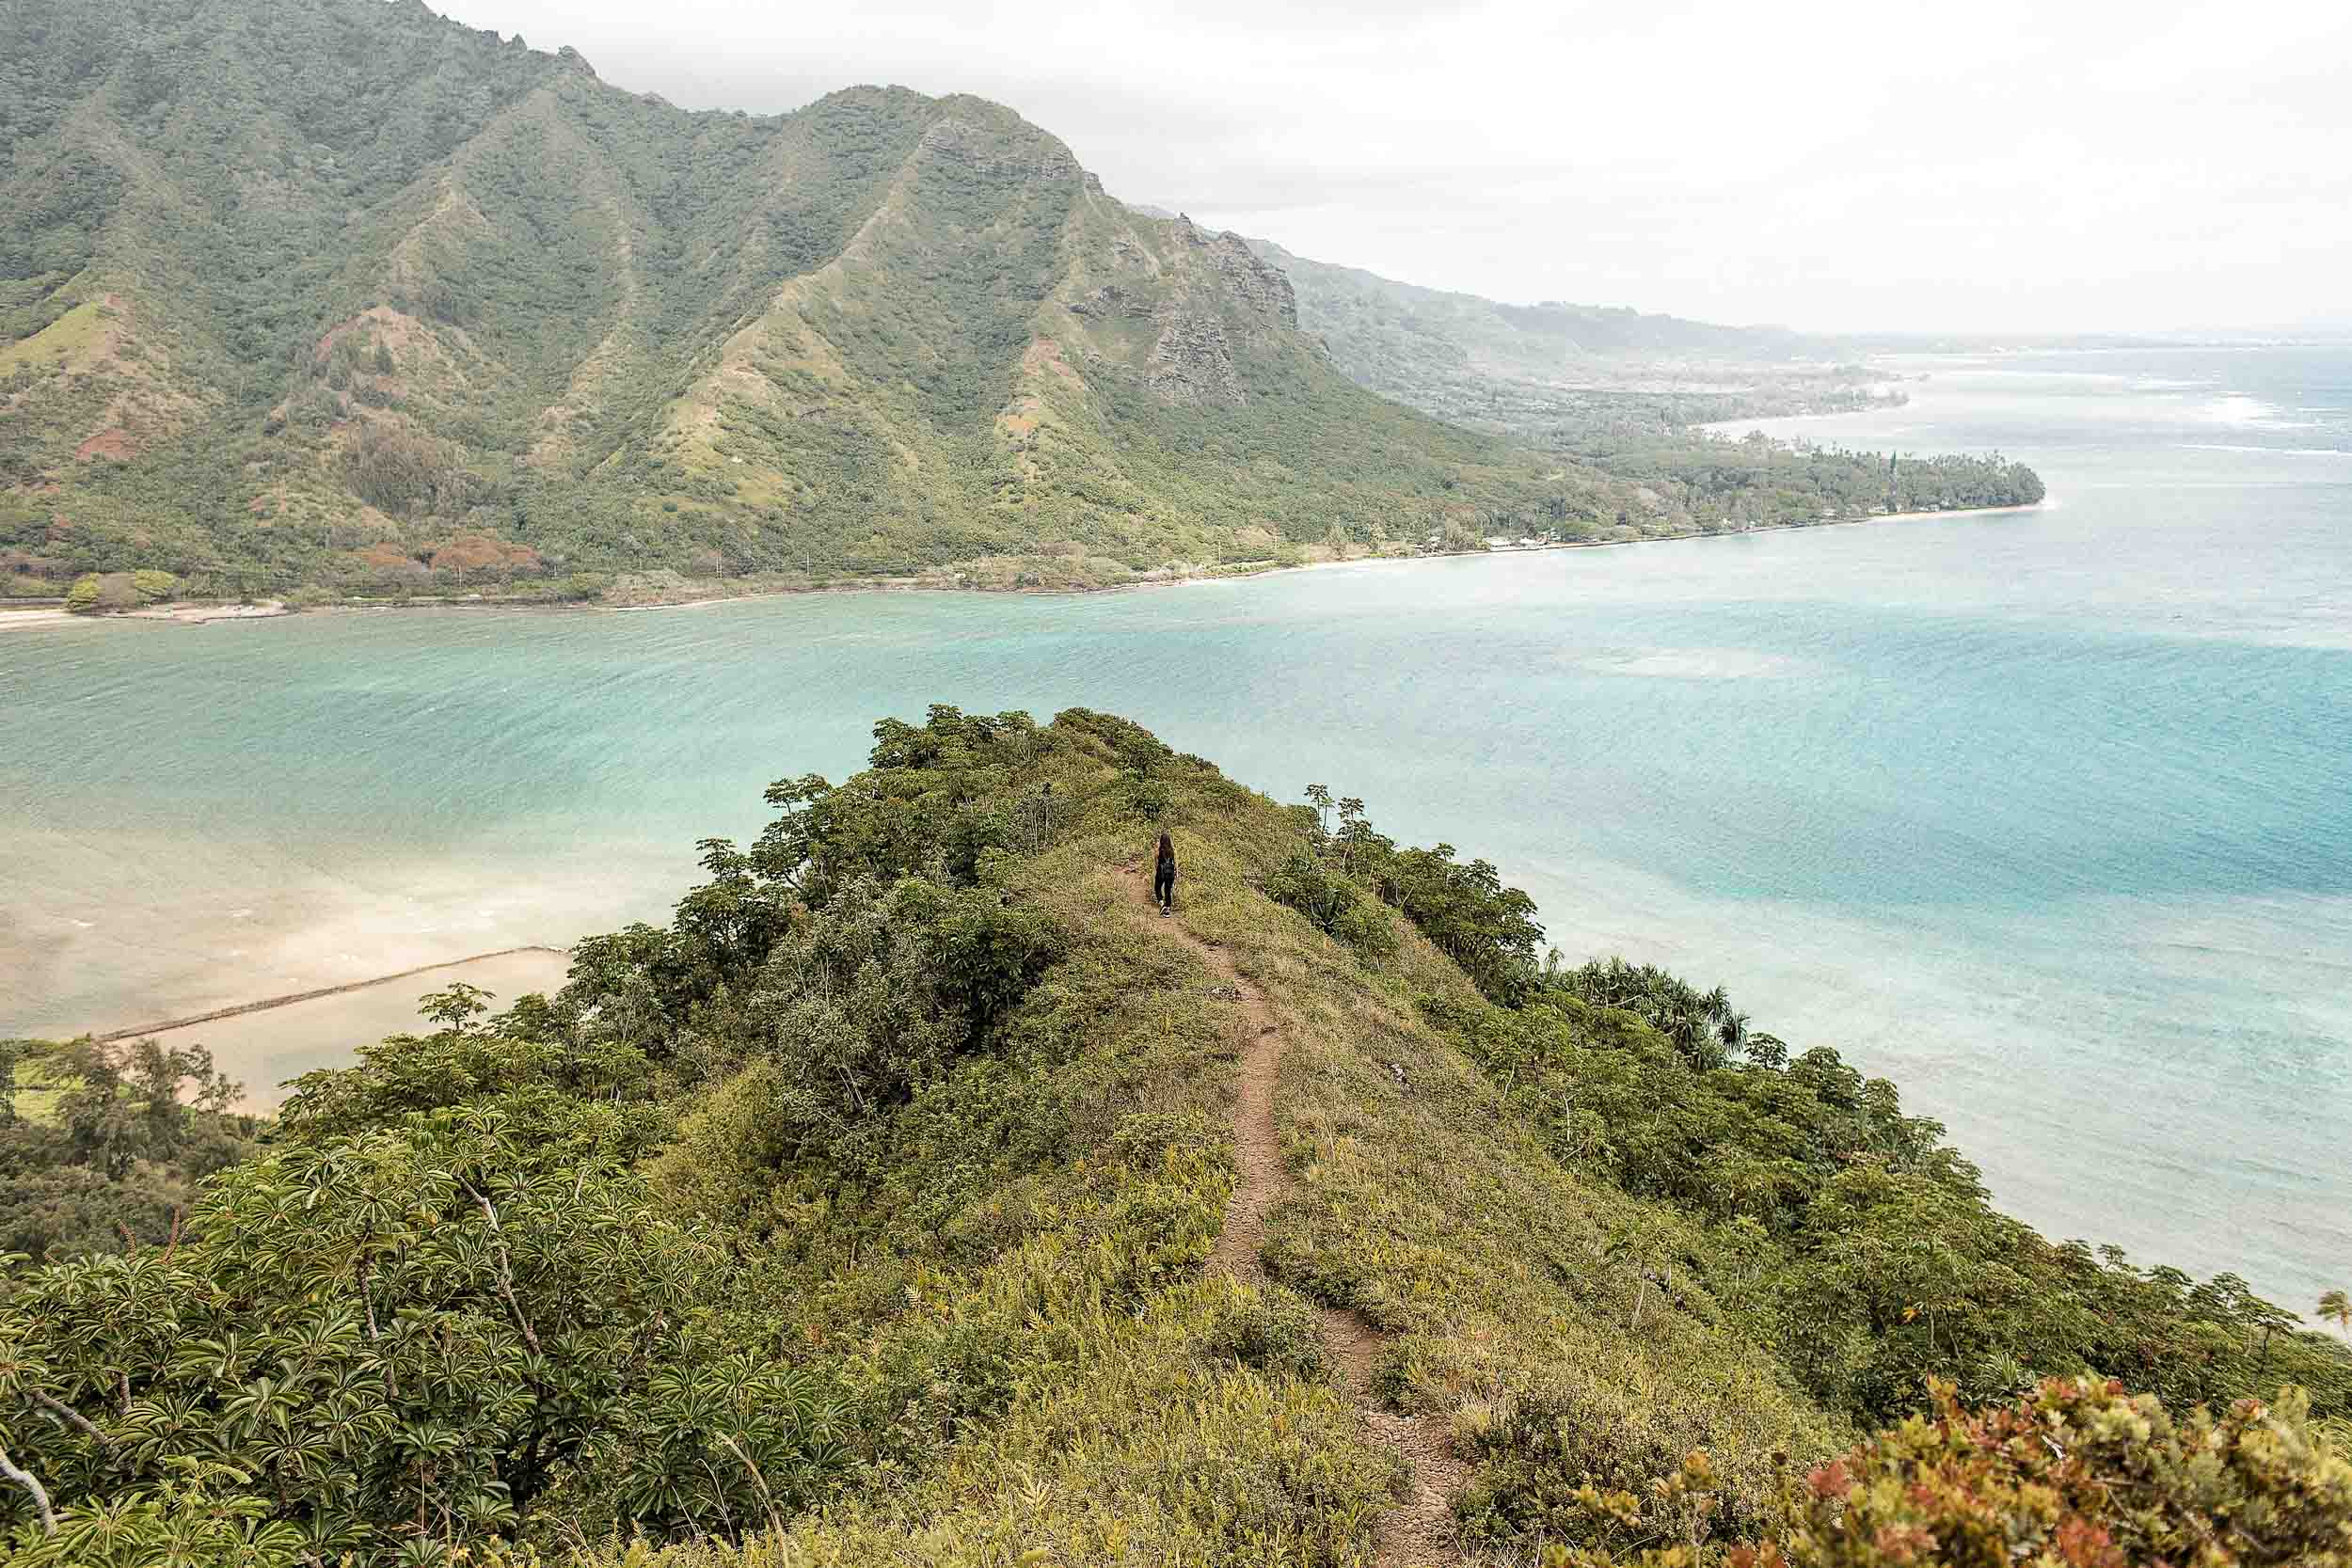
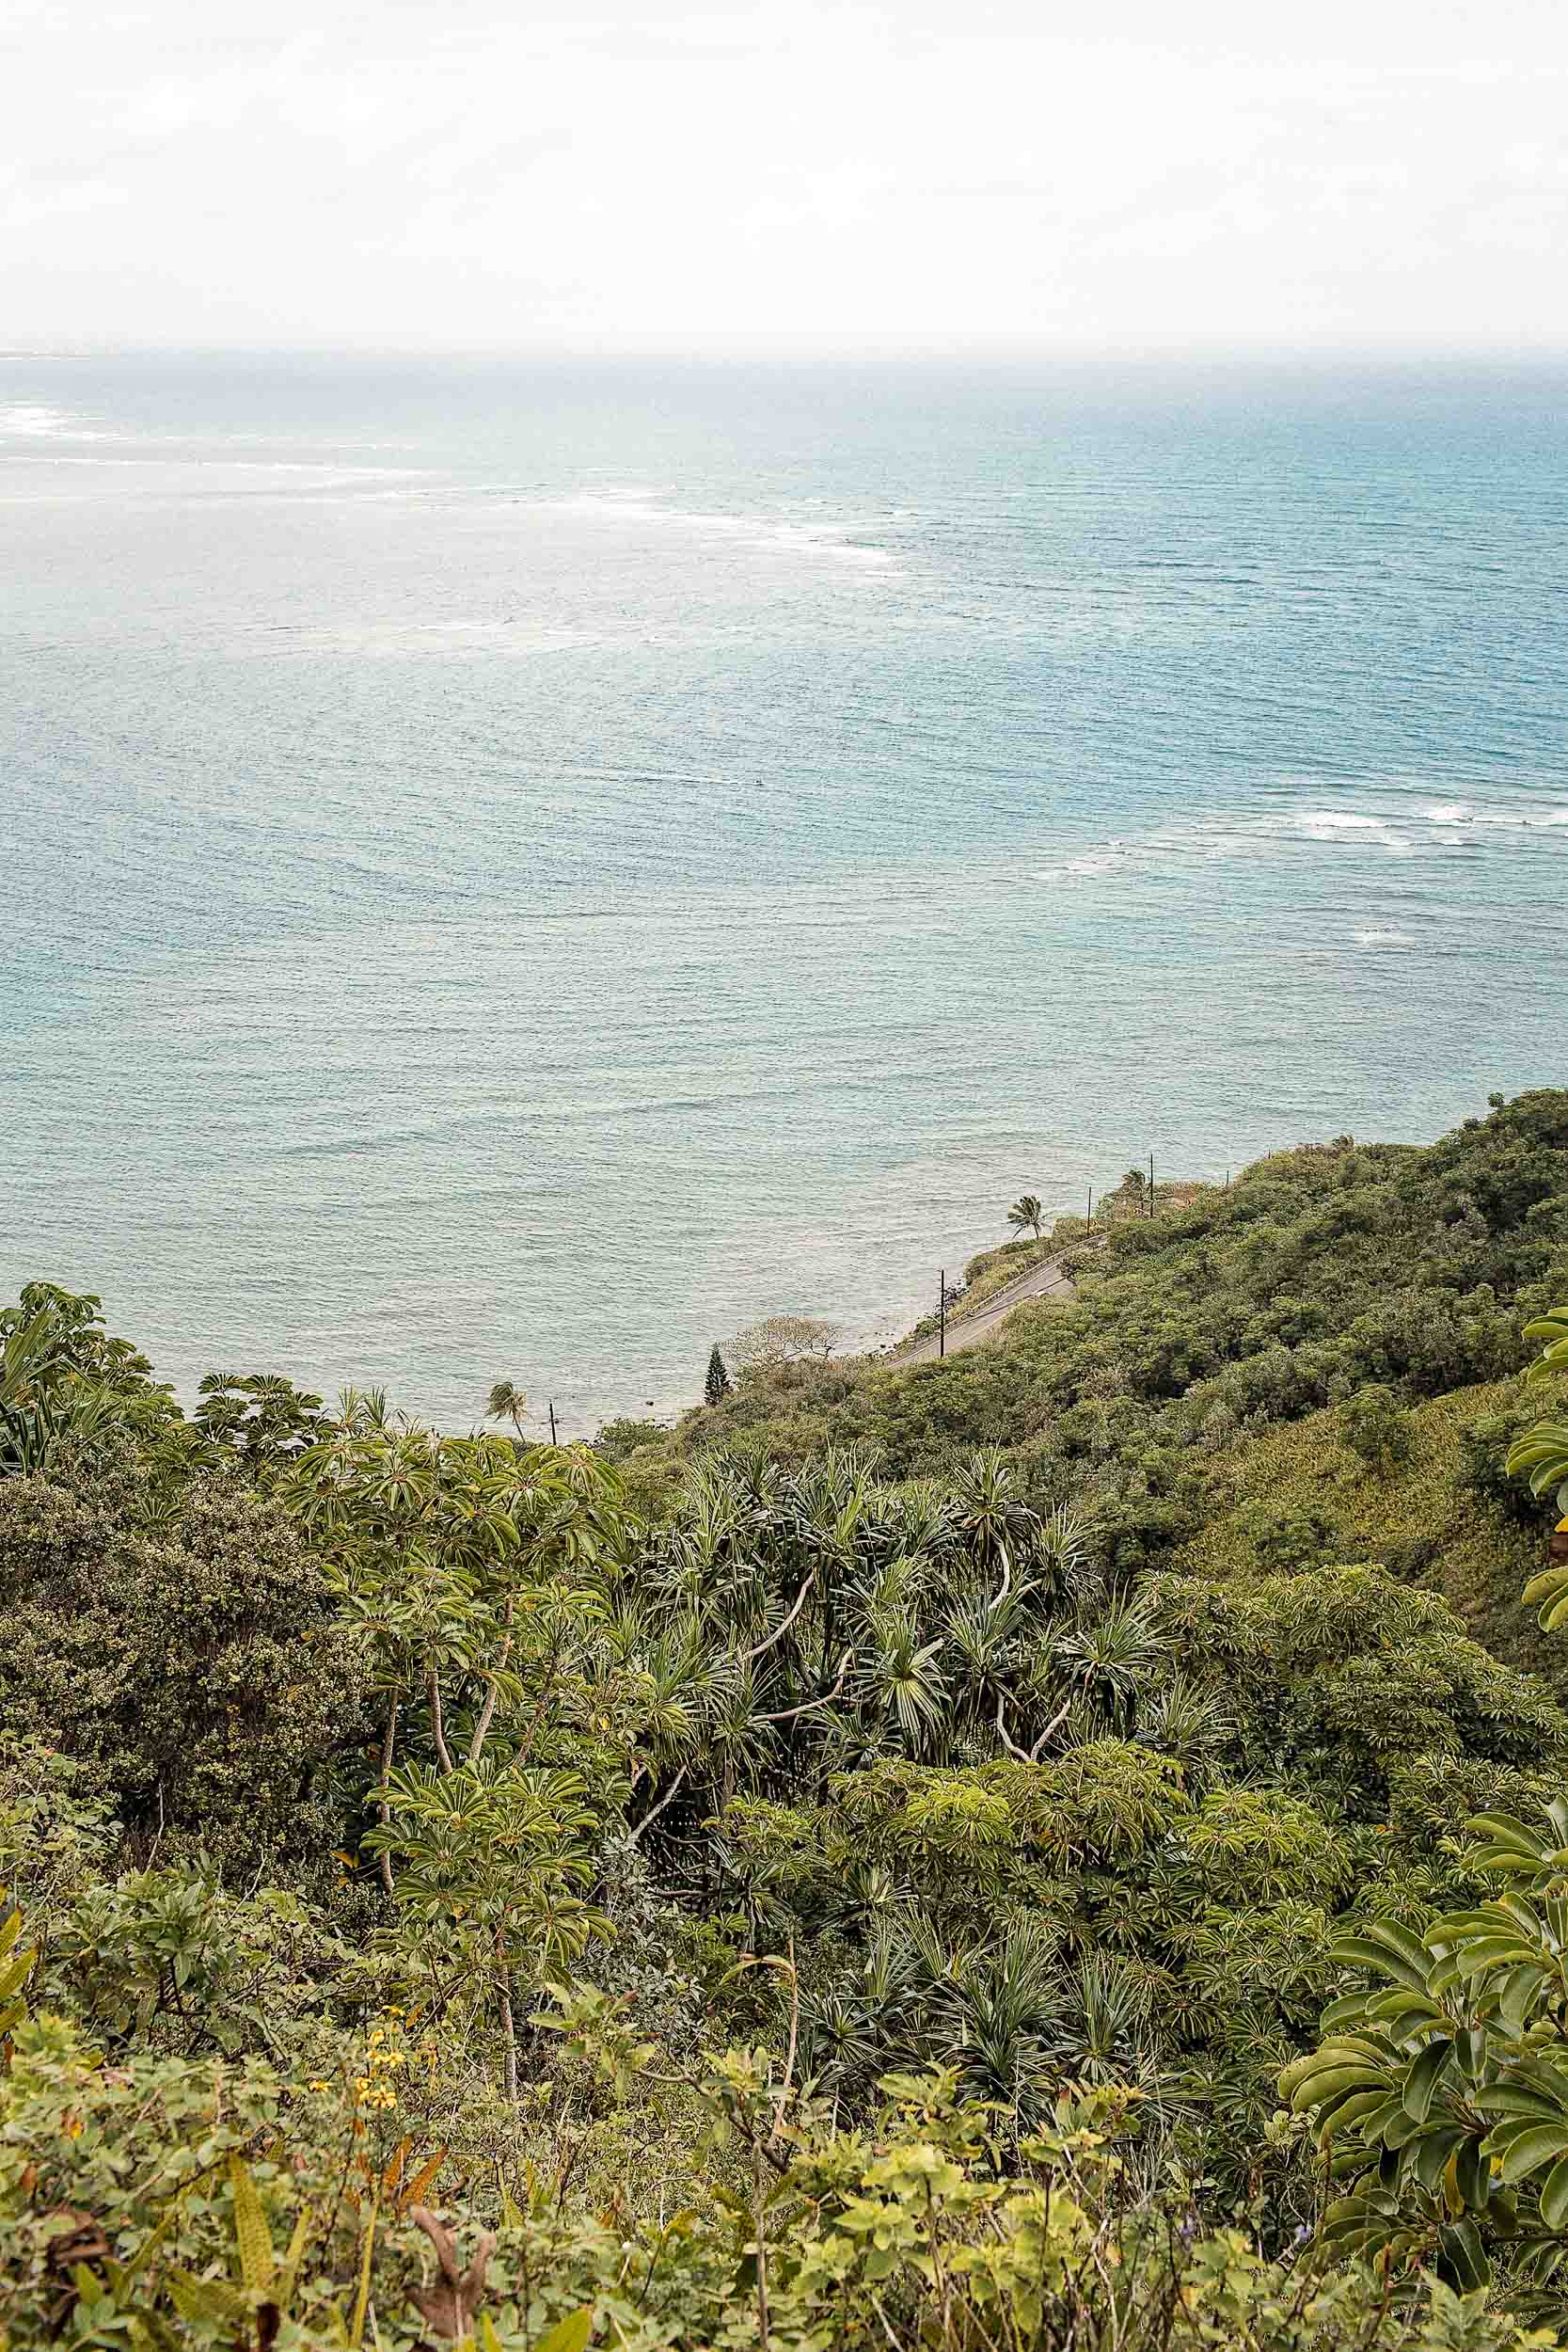
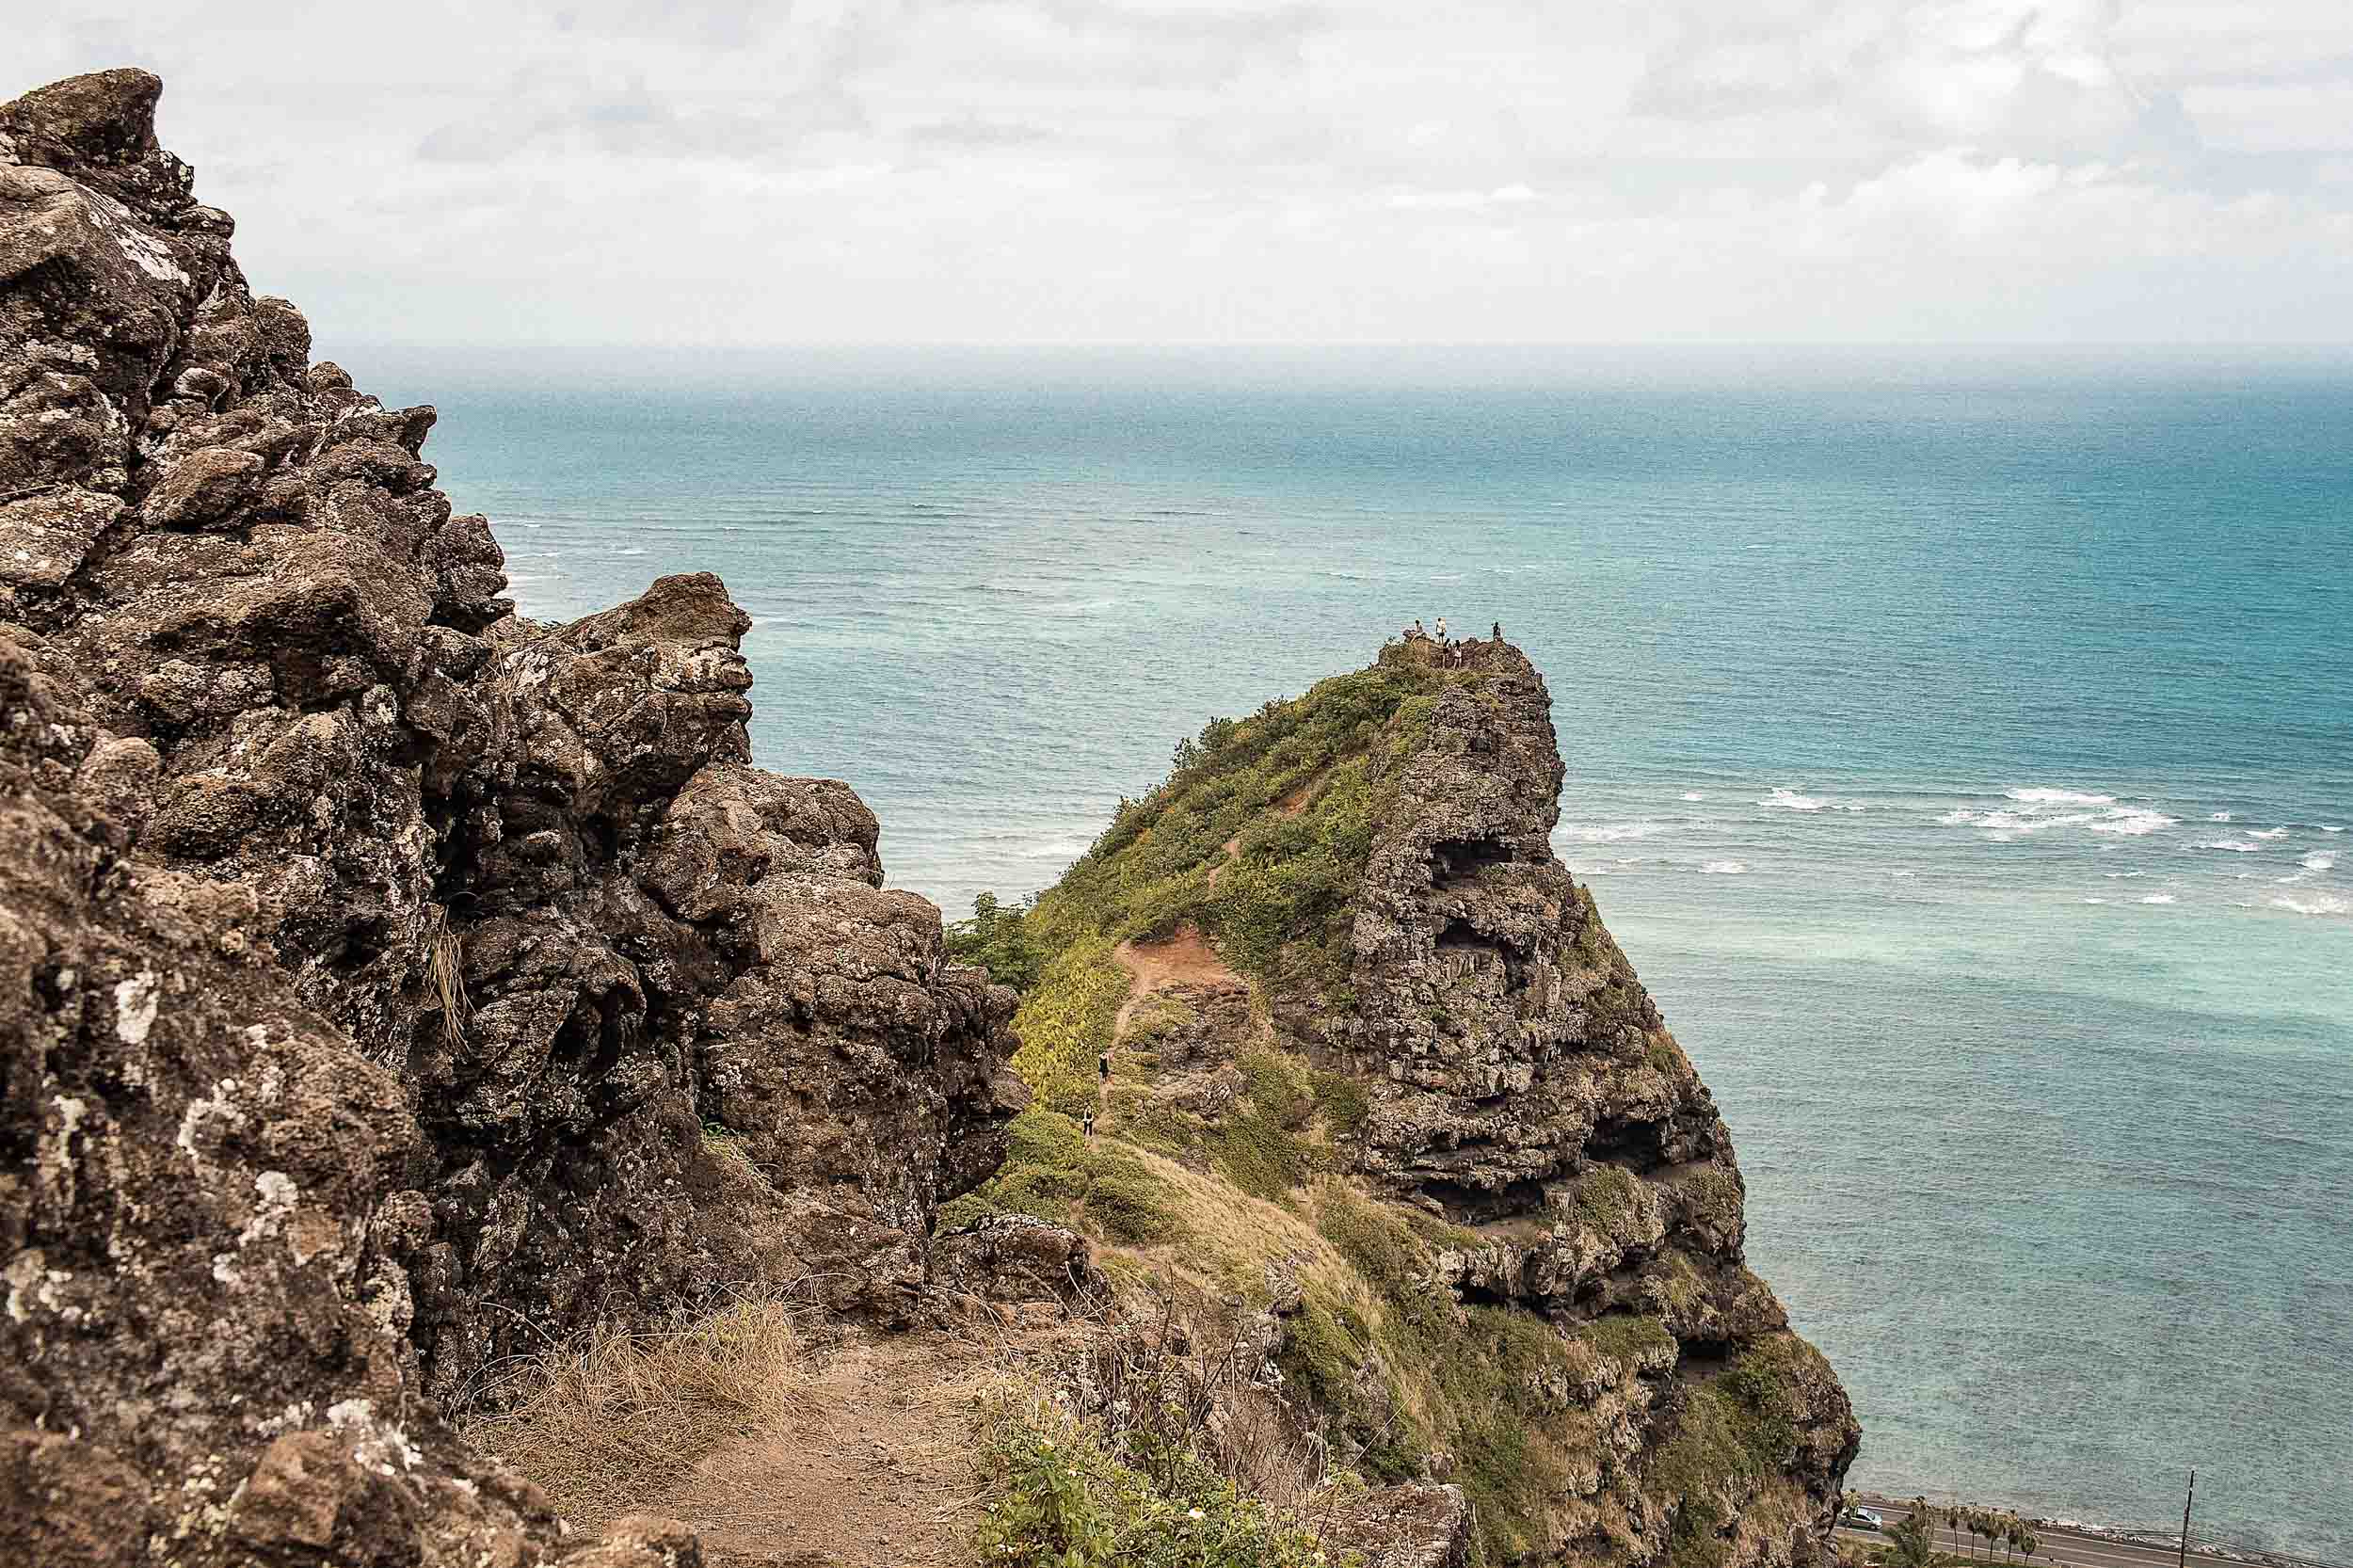
At the top of the hill you will have reached this beautiful lookout! It was actually my favorite part of the hike, even more so than Crouching Lion itself. You have unobstructed views of Kahana Bay and great photo opps.
We spent the majority of our time in this area before eventually heading out to the other two peaks, one of which is the actual Crouching Lion Hawaii.
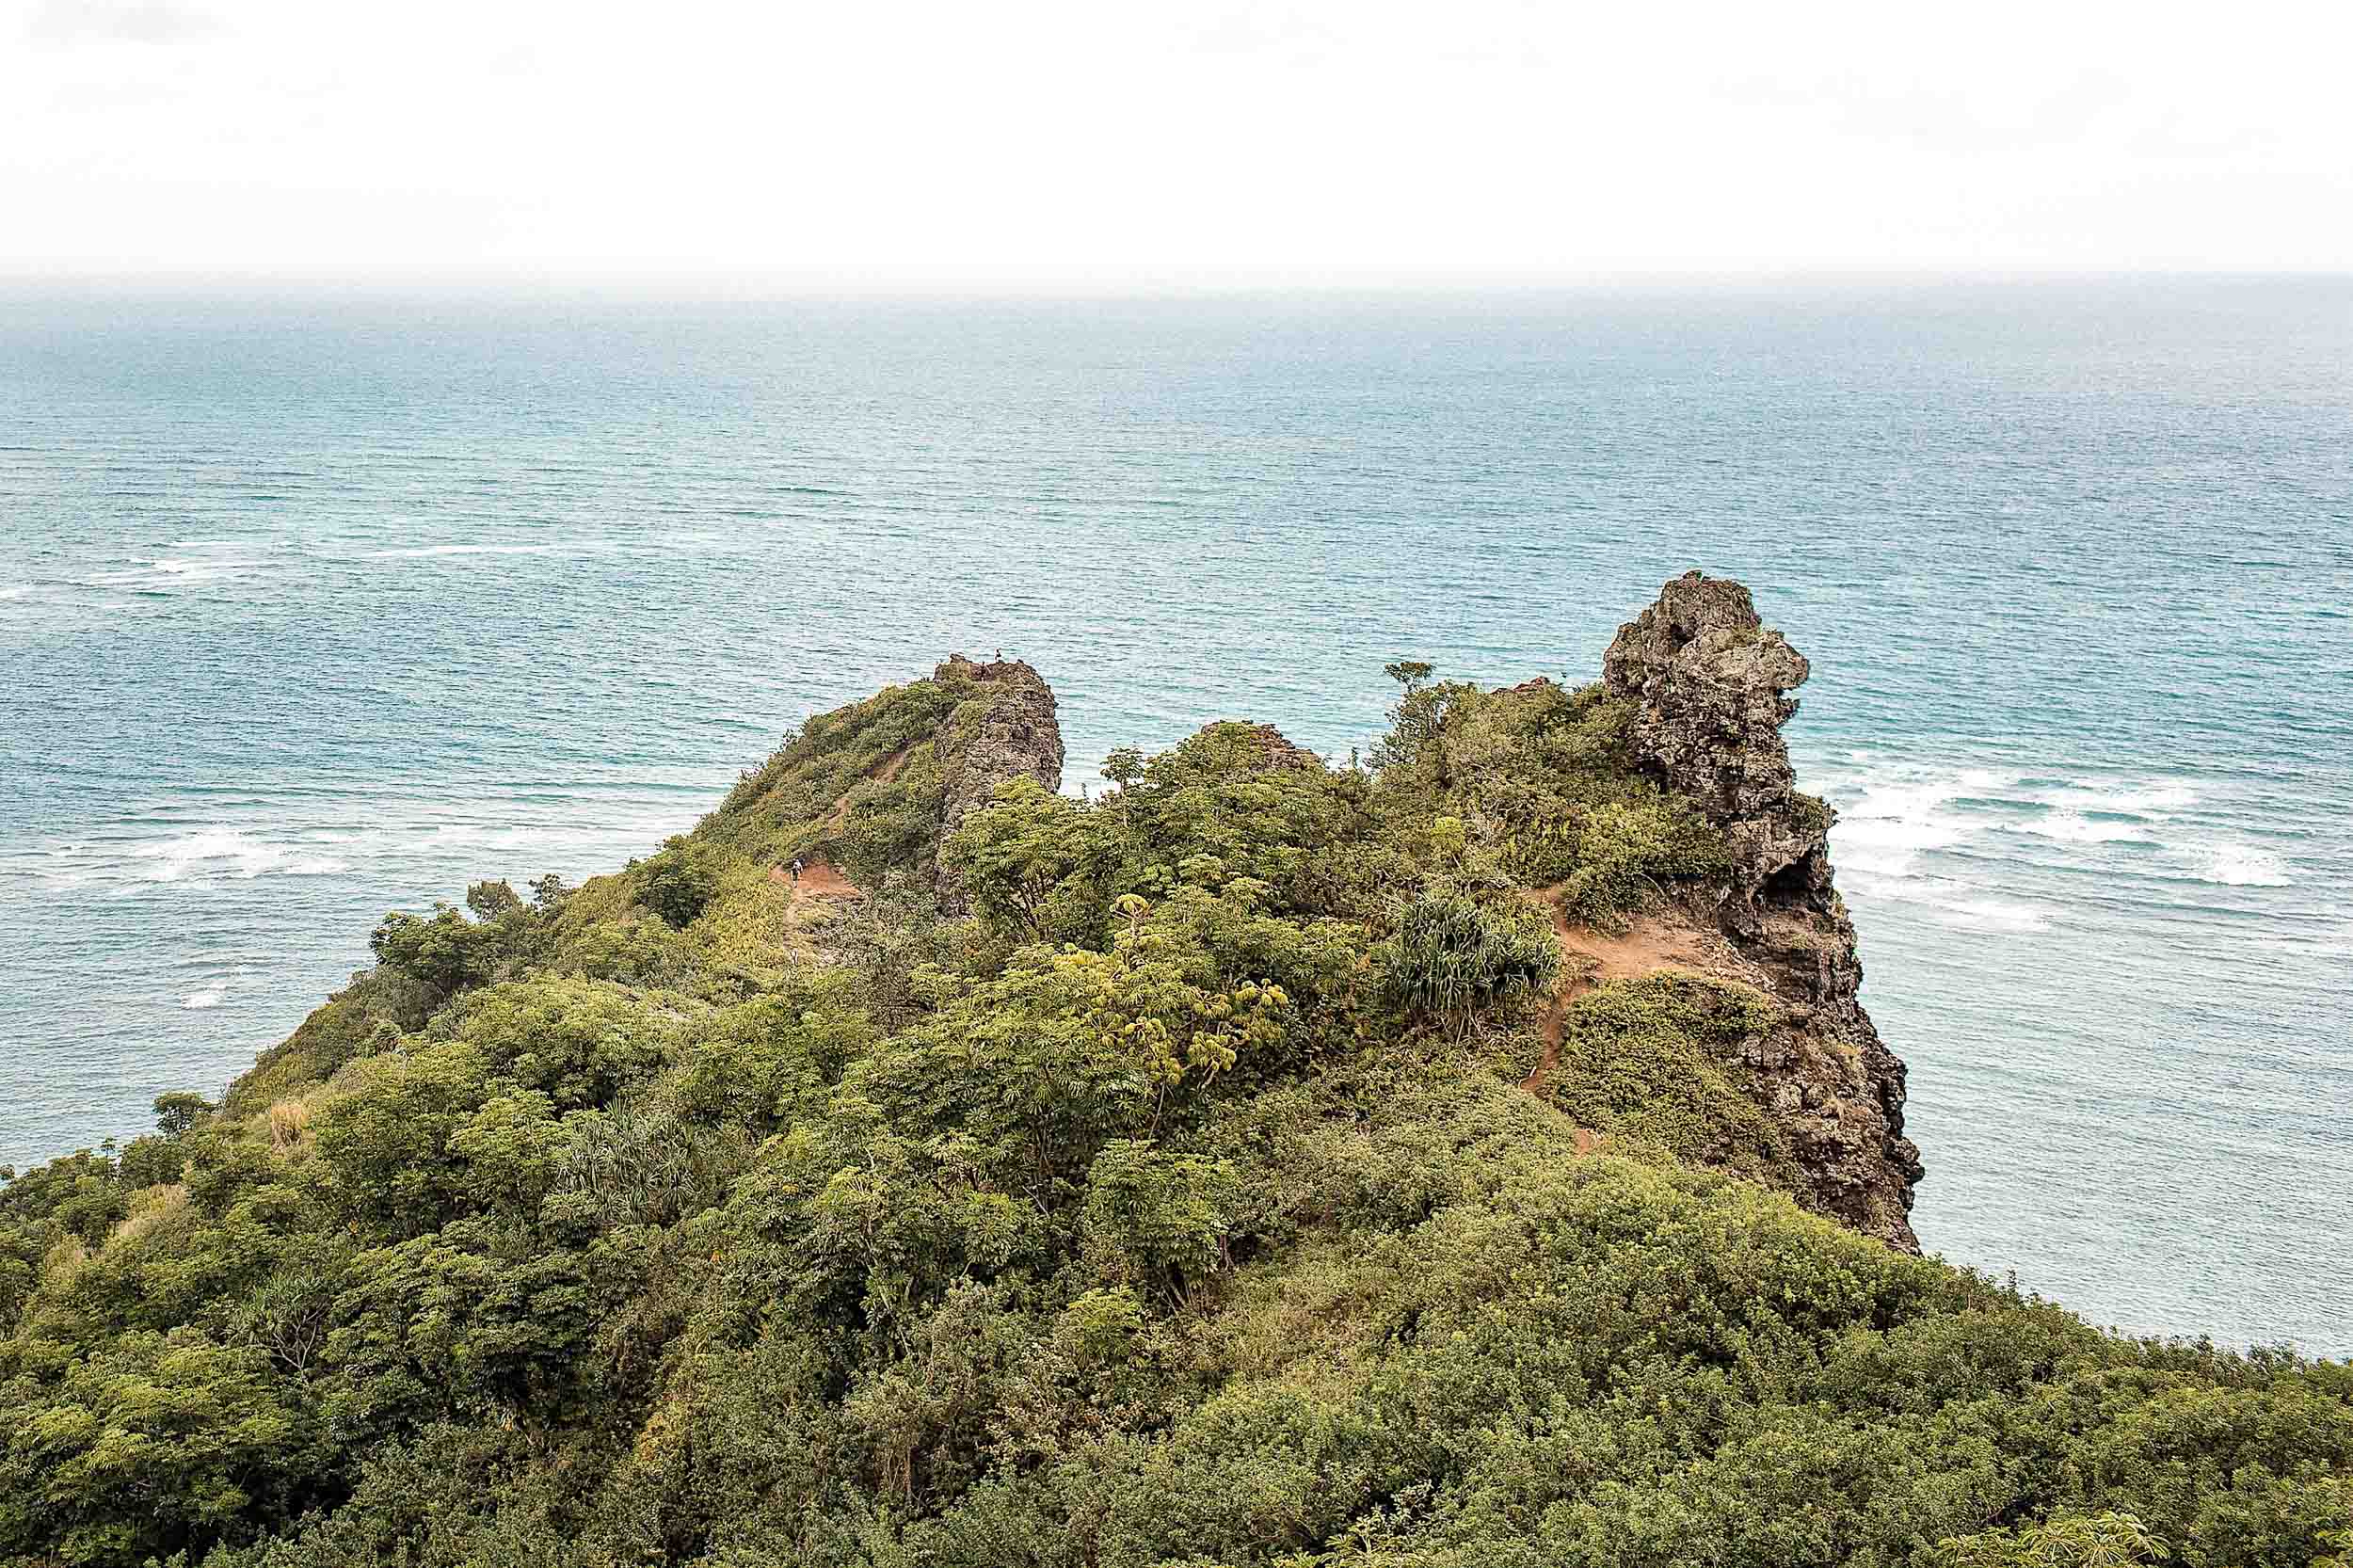
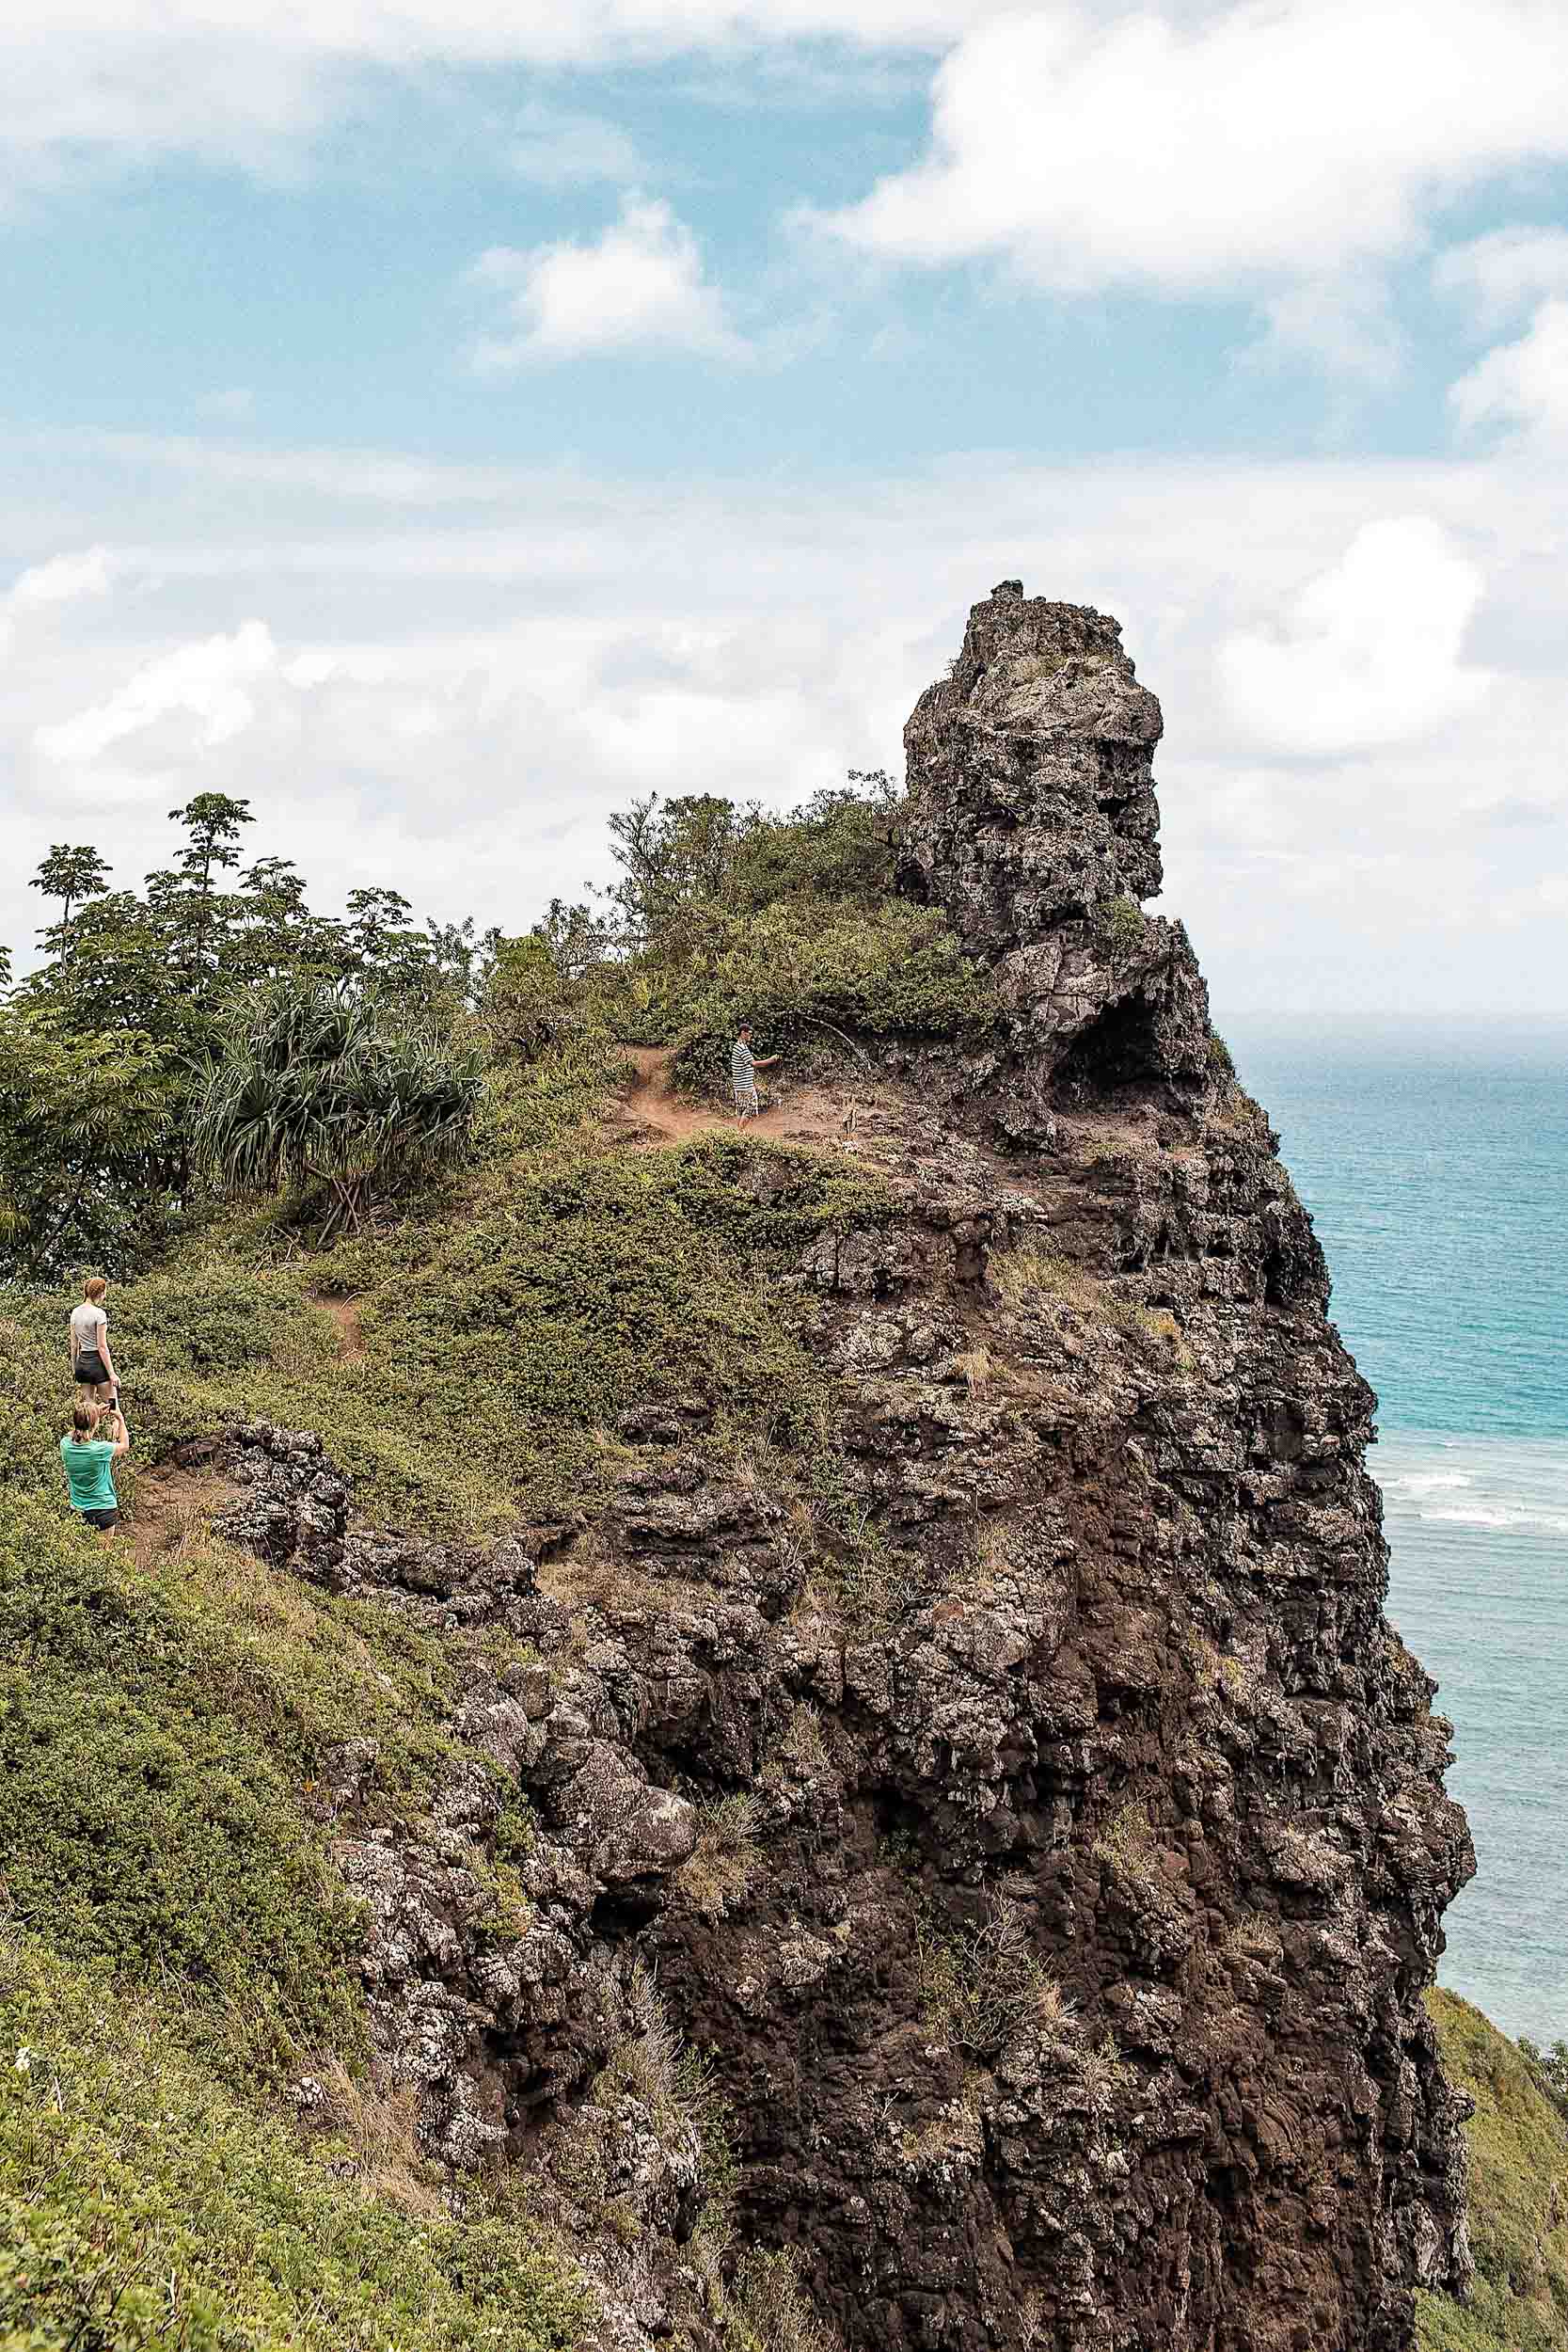
This is the view of Crouching Lion and the other peak from my favorite viewpoint. It is not a far distance away, probably 5 to 10 minutes at most. If you do decide to continue on to these peaks, use caution!
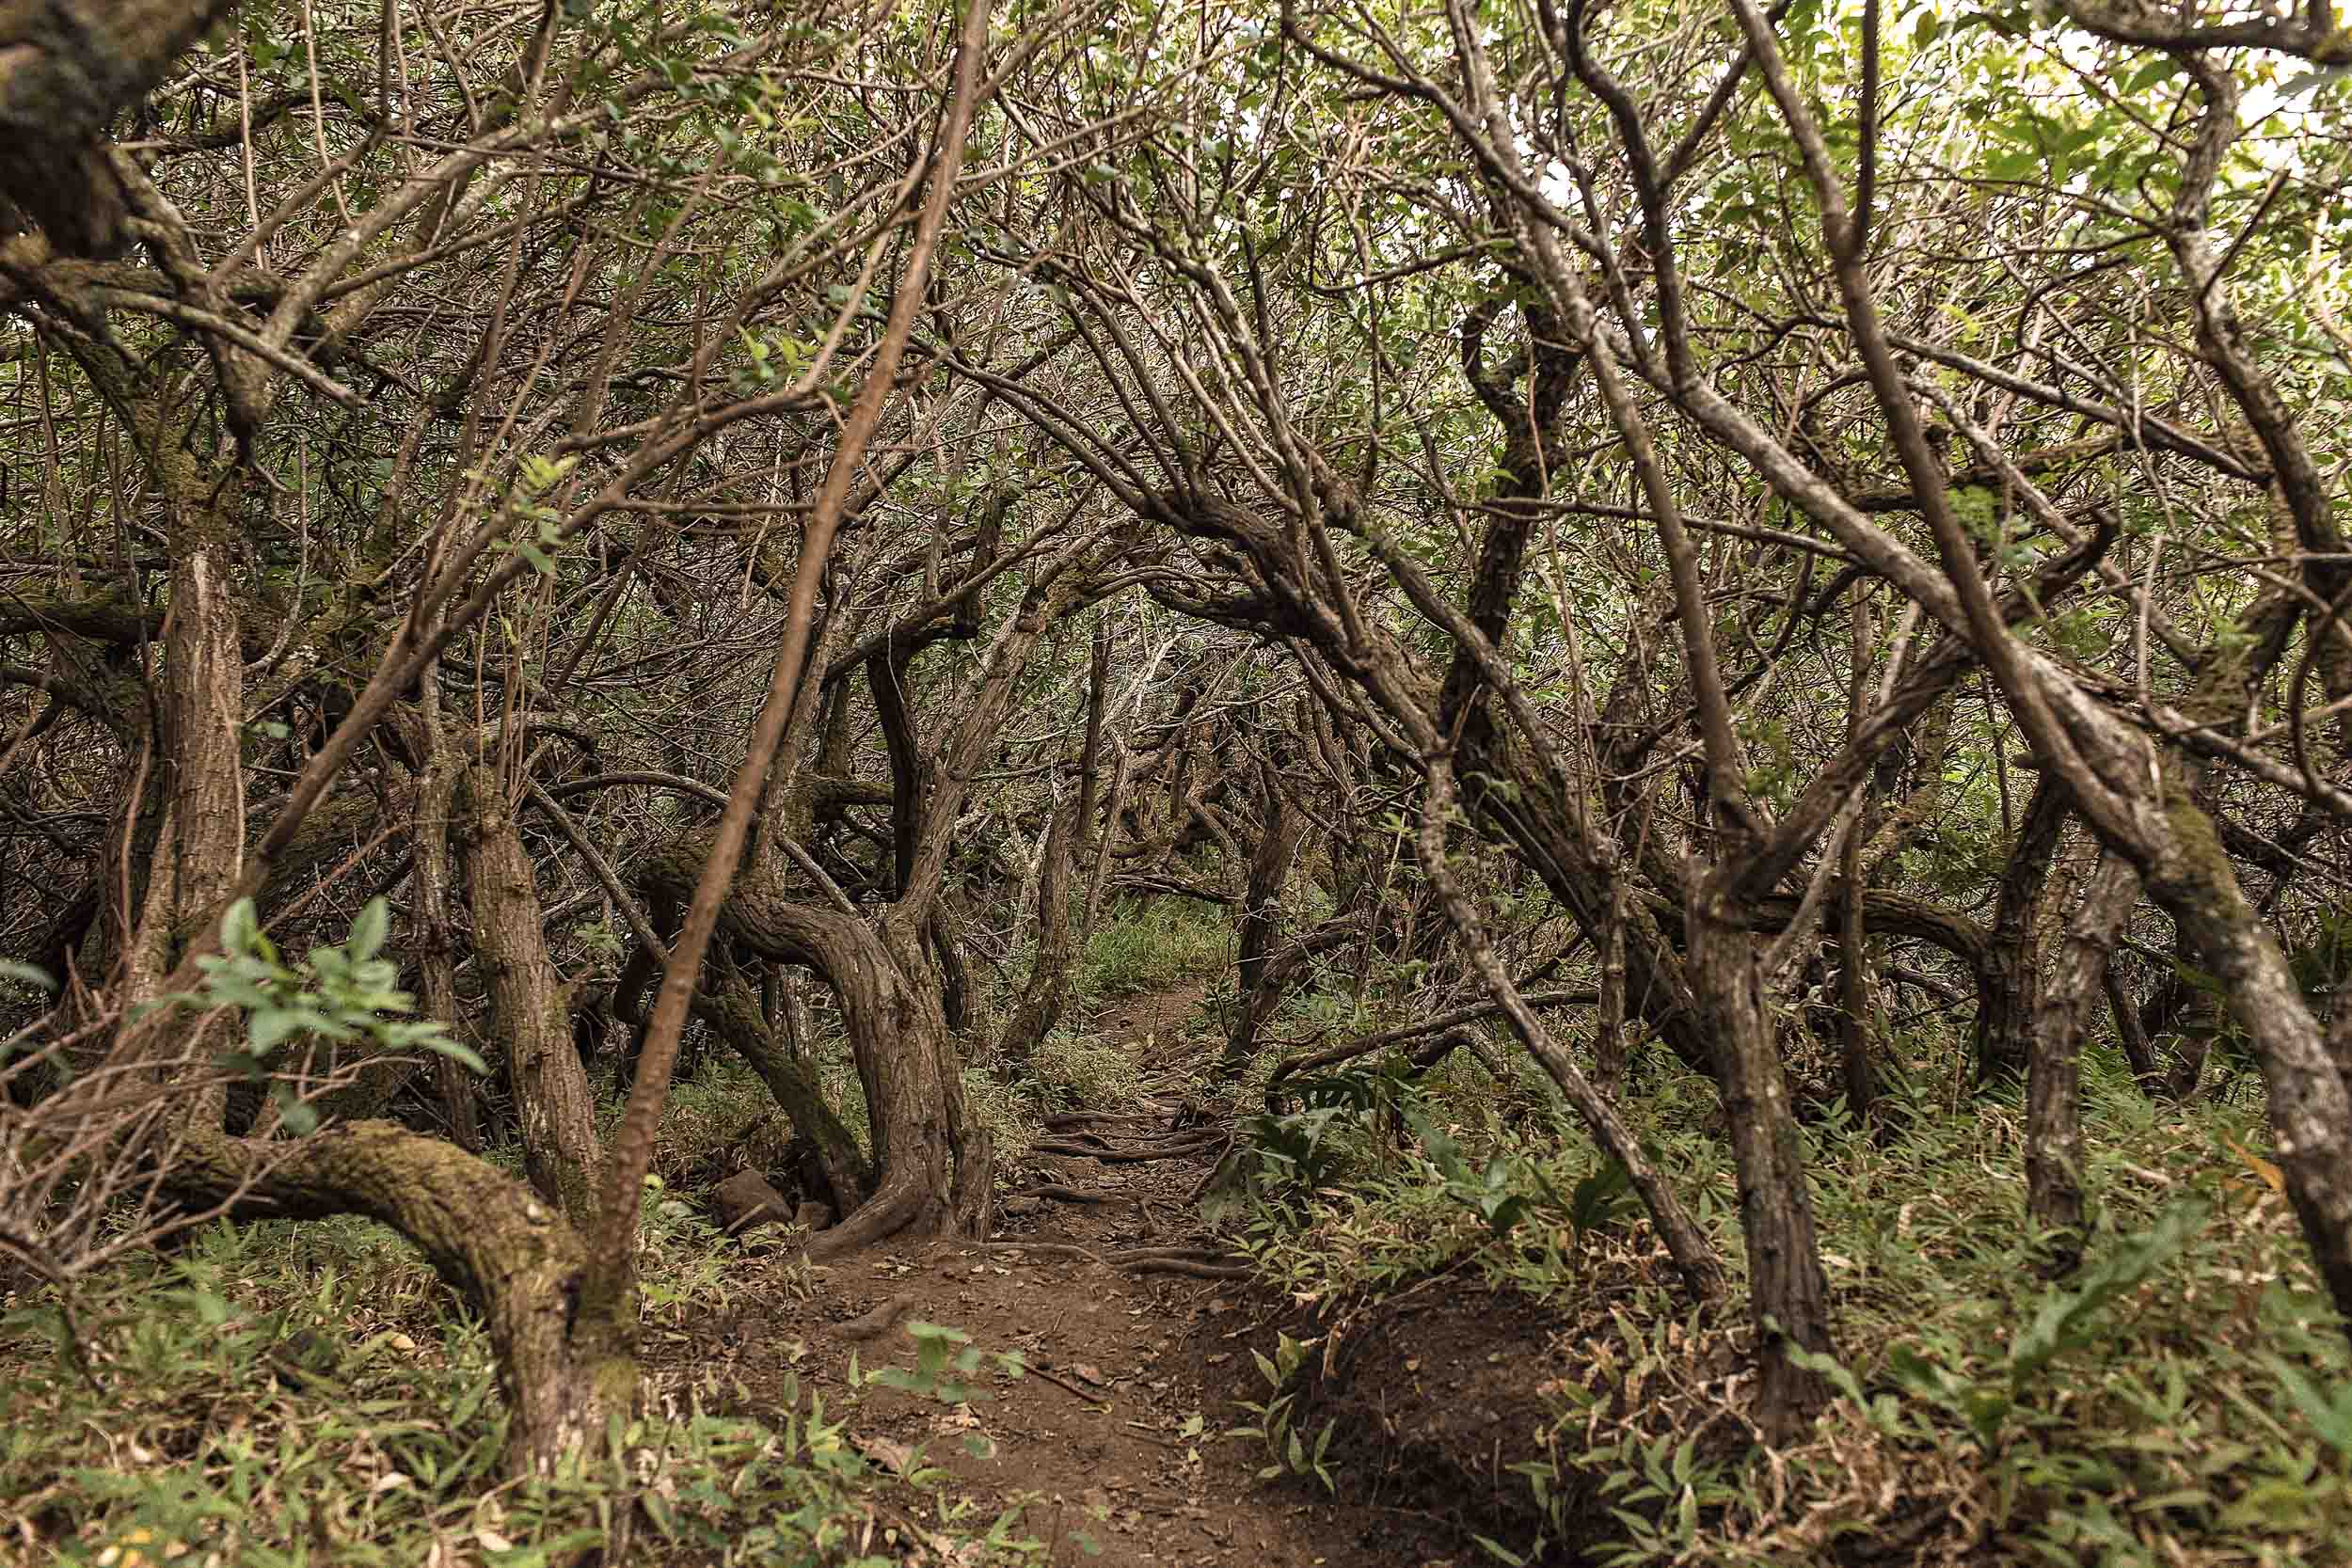

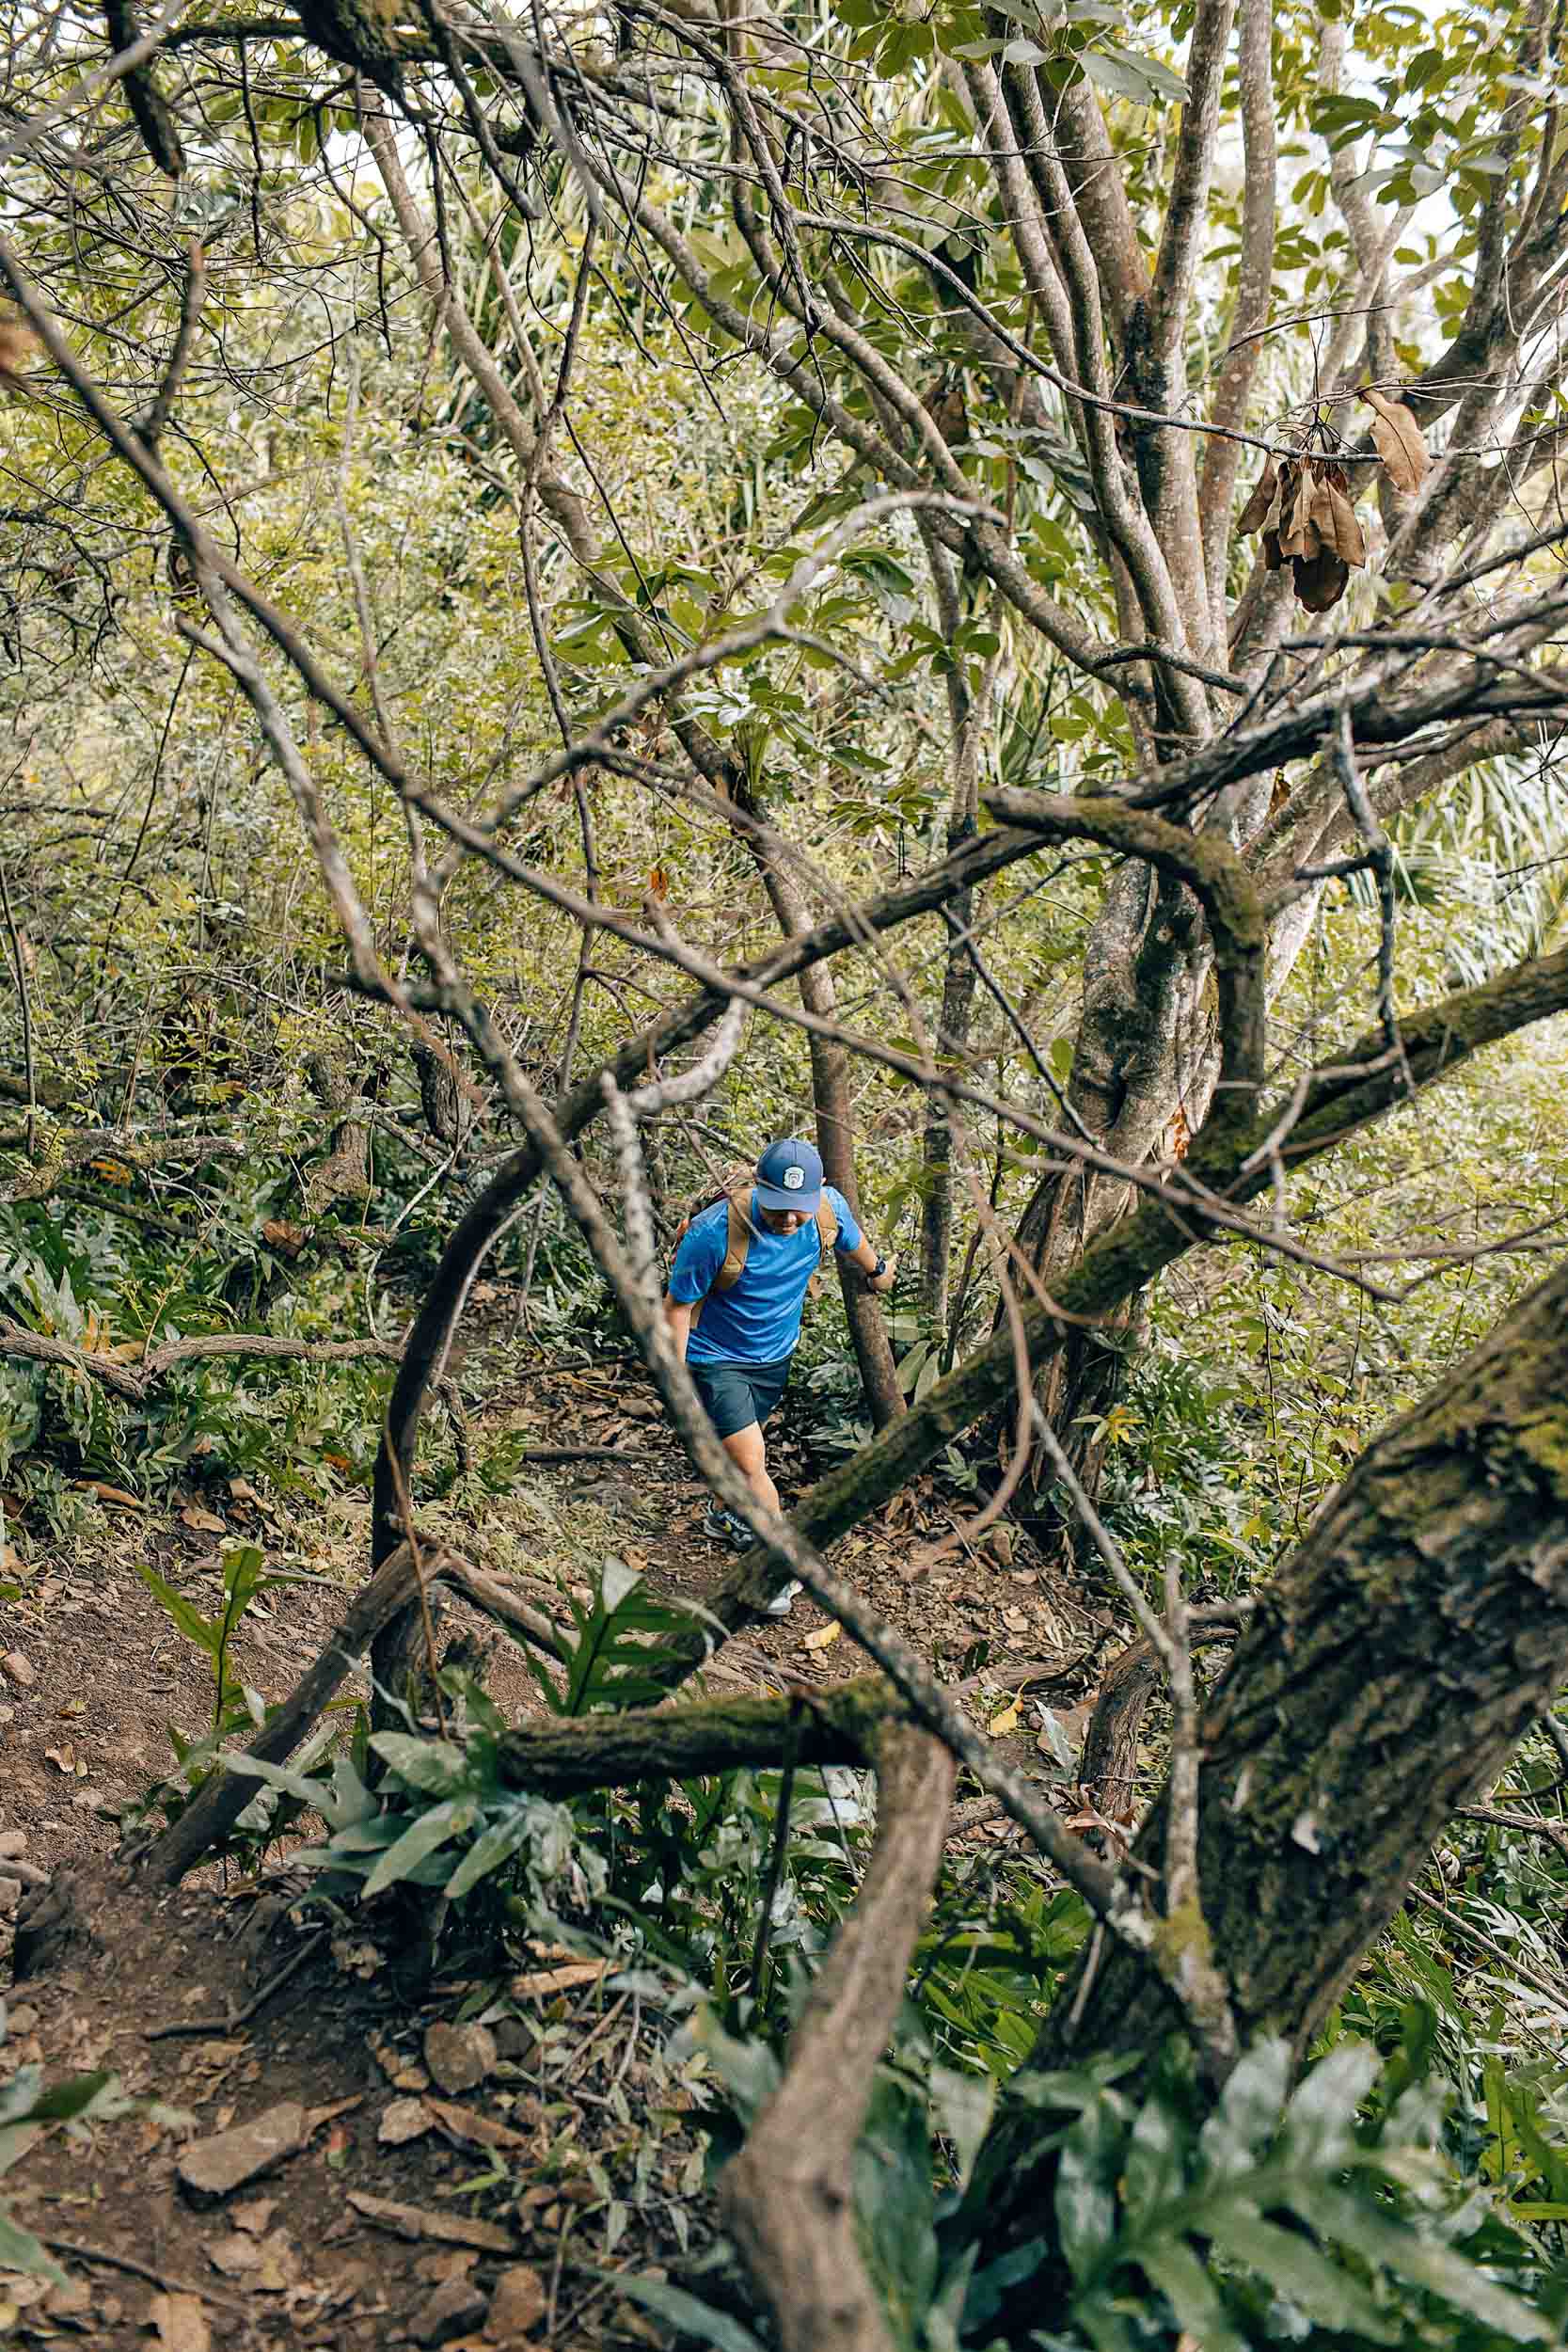
Surprisingly to get over to the actual Crouching Lion peak you will once again be fully covered, this time in the form of a tree tunnel! You will likely need to crouch down to make your way through here. Super fun!
Once you’re out of the tunnel you will basically be at the Crouching Lion peak. To my surprise, the lion is not the last peak but the first one you’ll see from here. From this angle it’s hard to see why it’s called Crouching Lion, I guess!
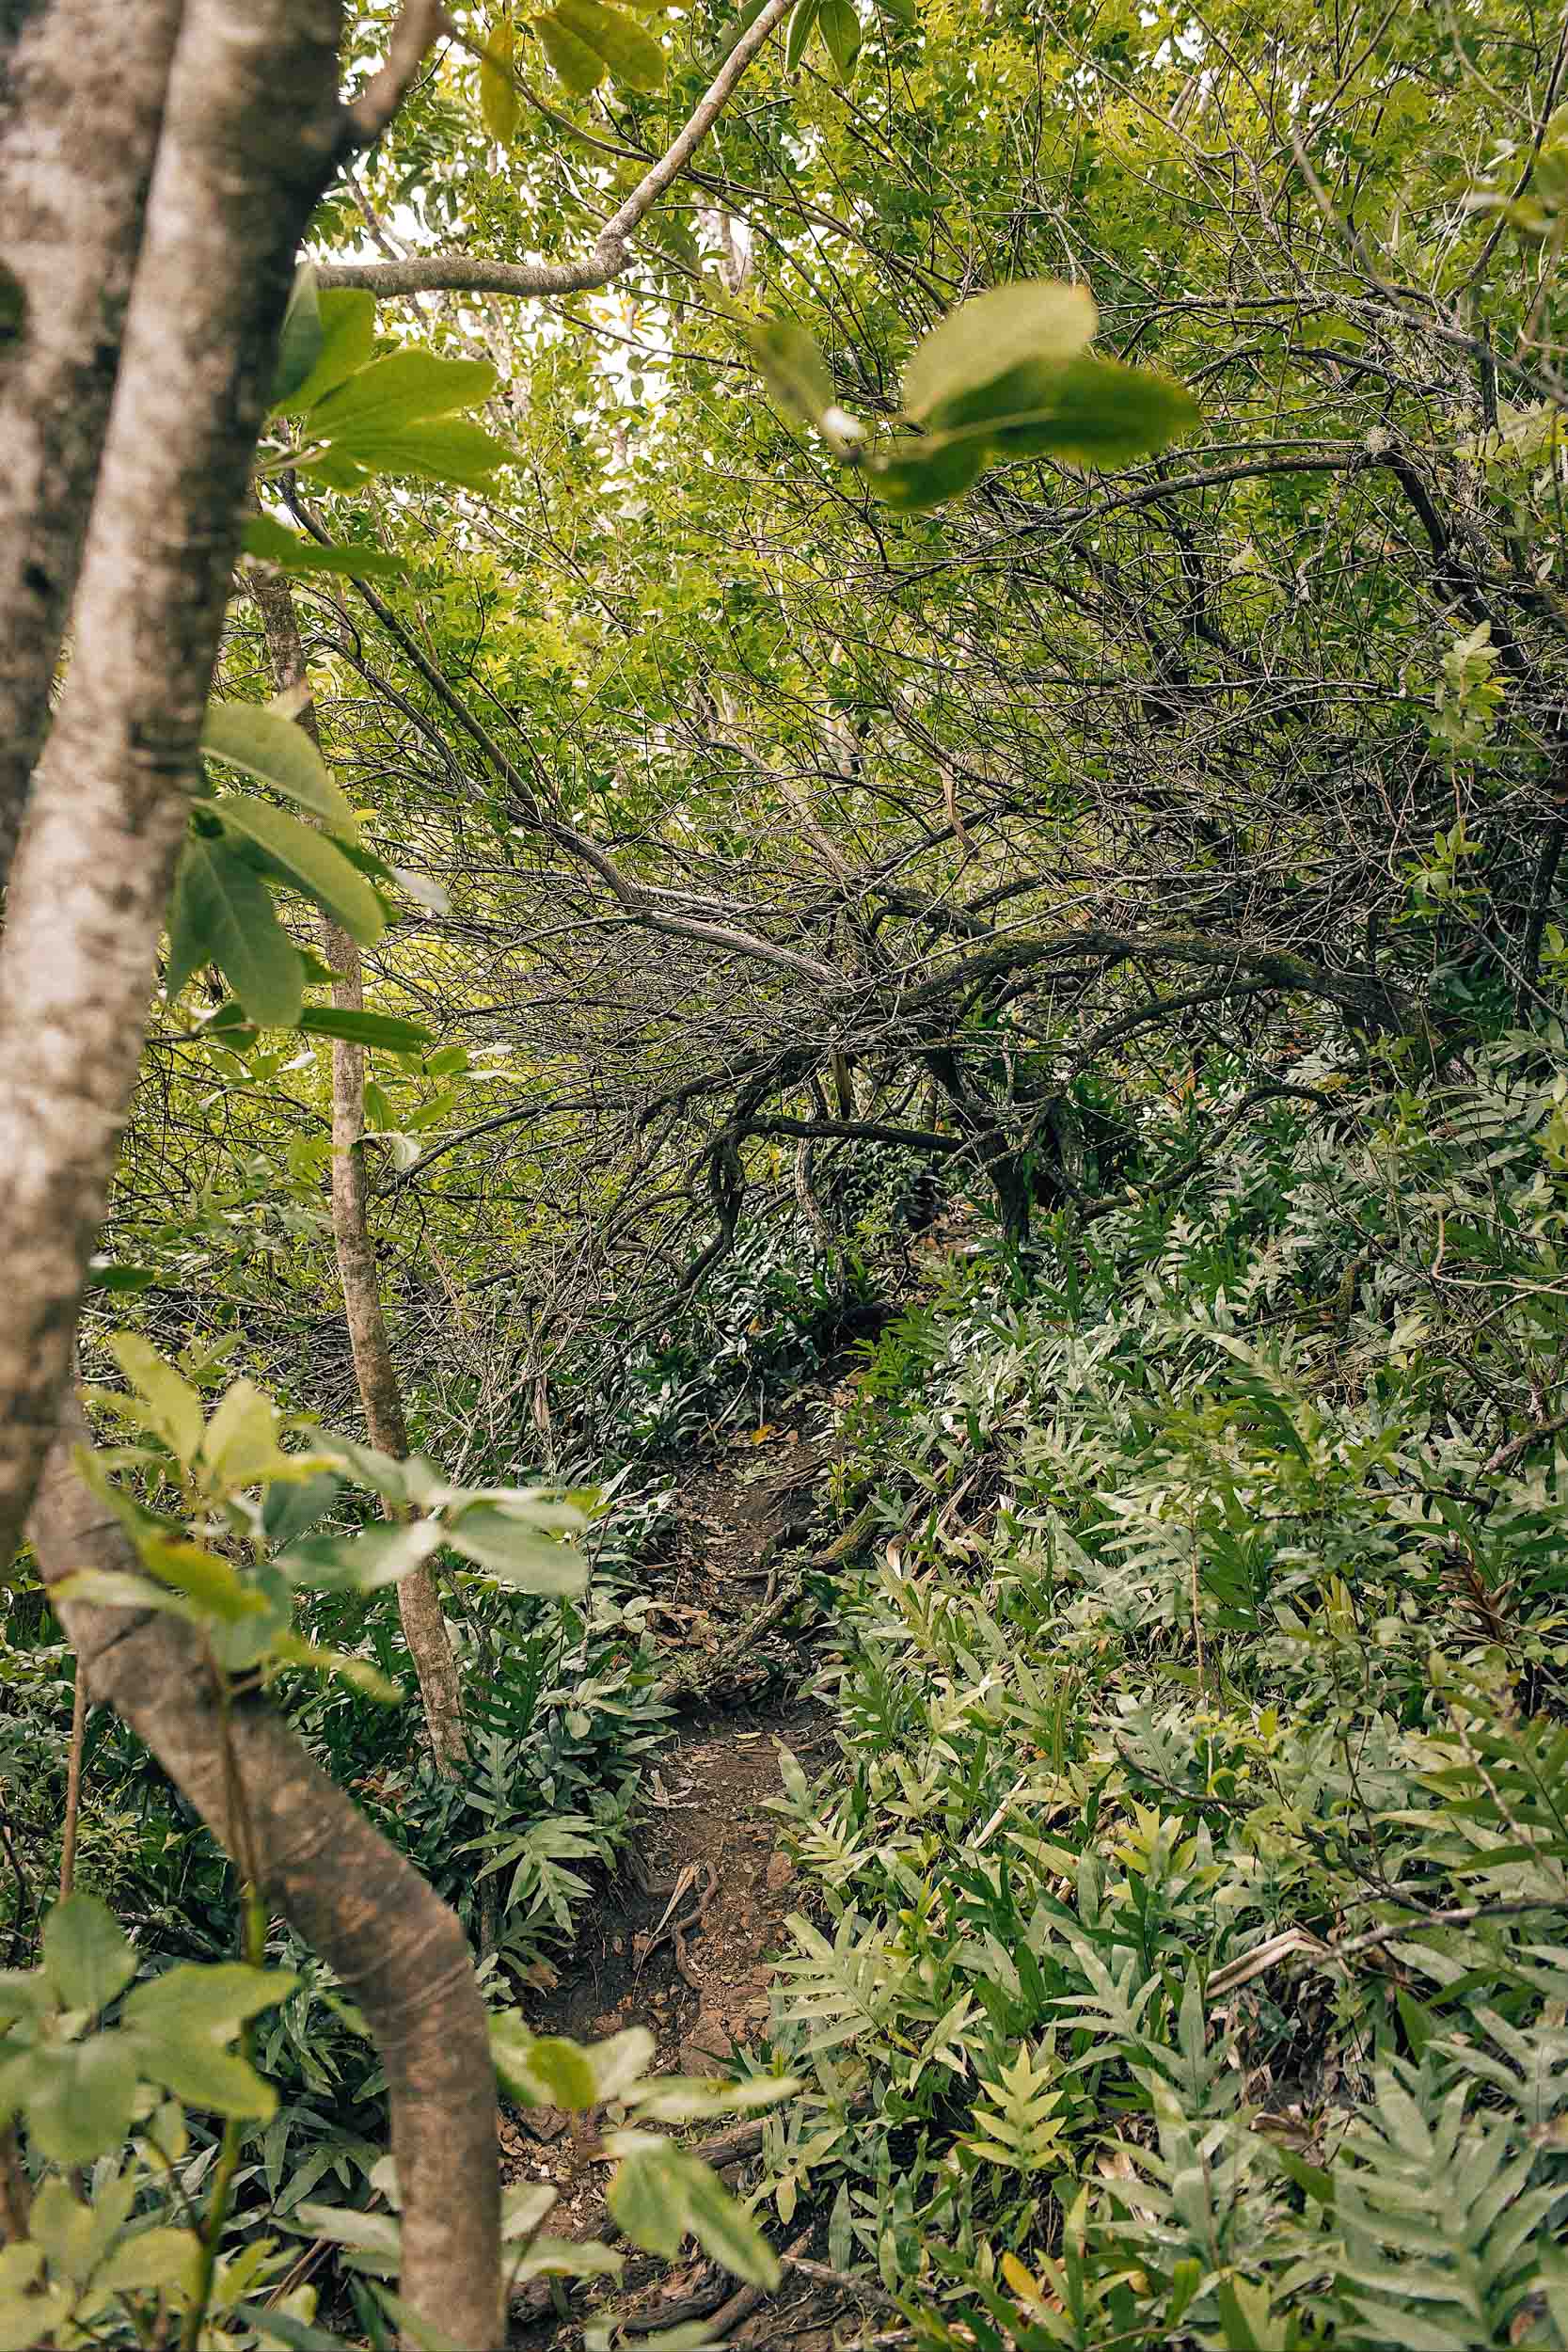
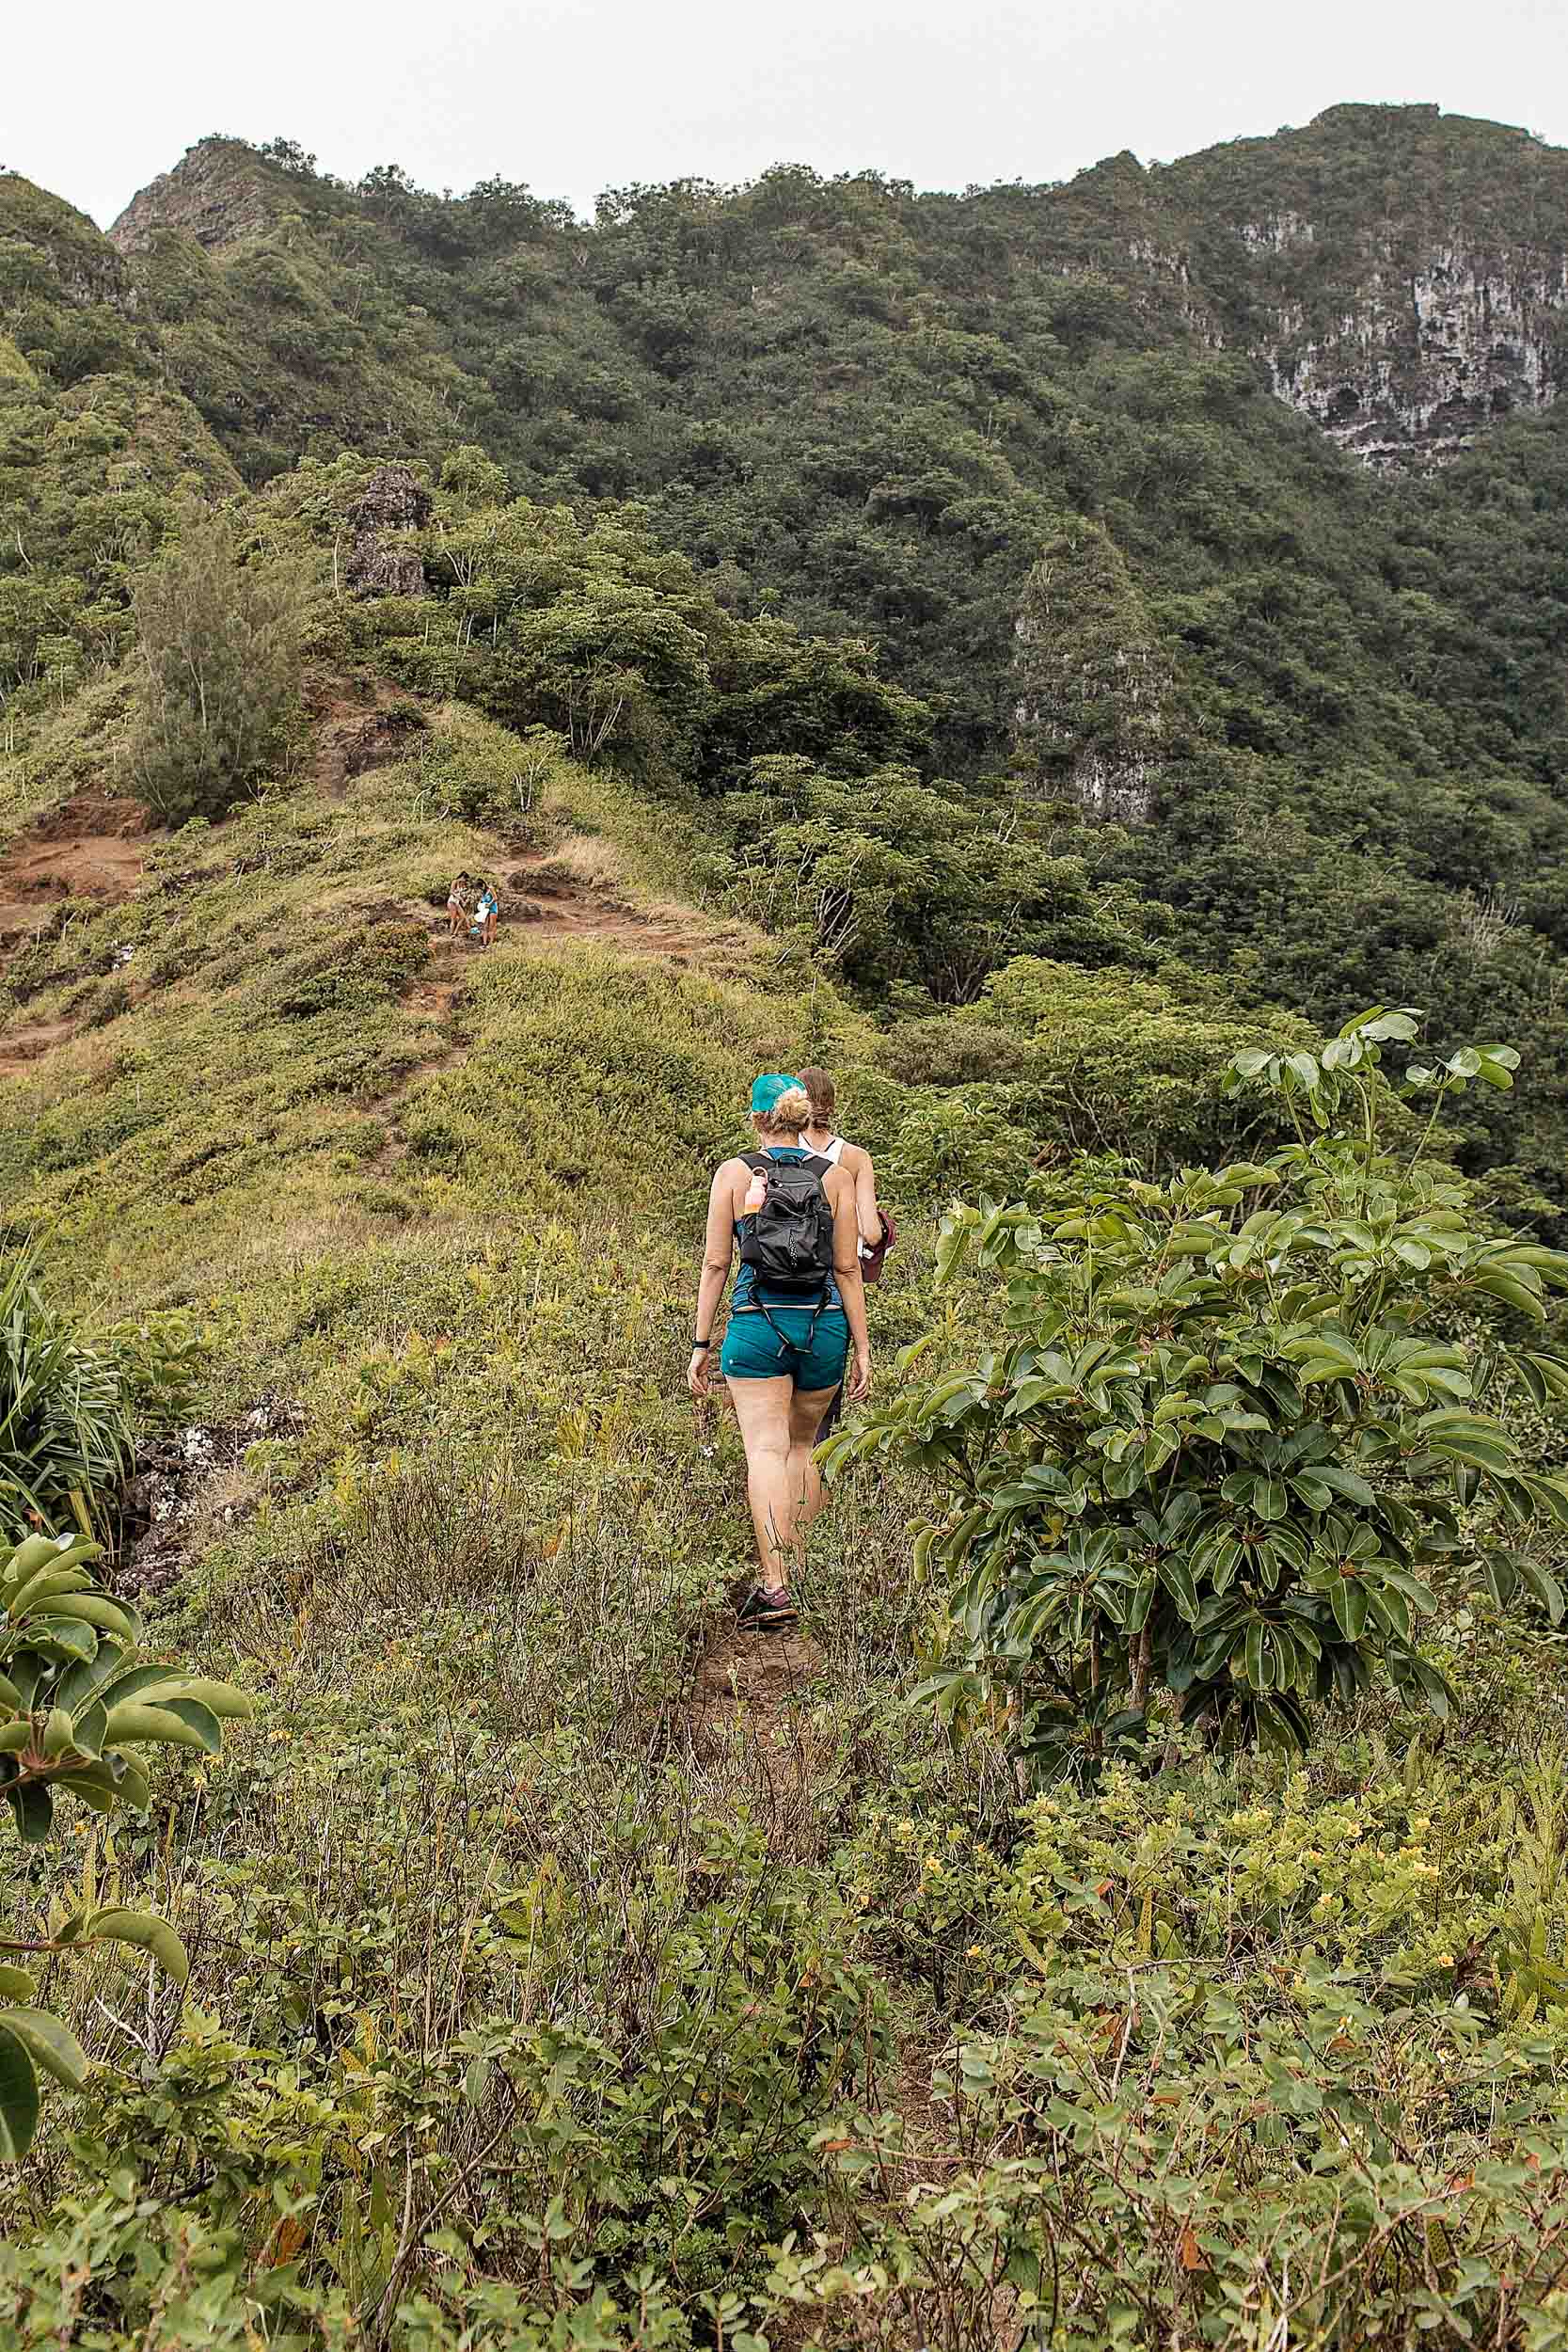
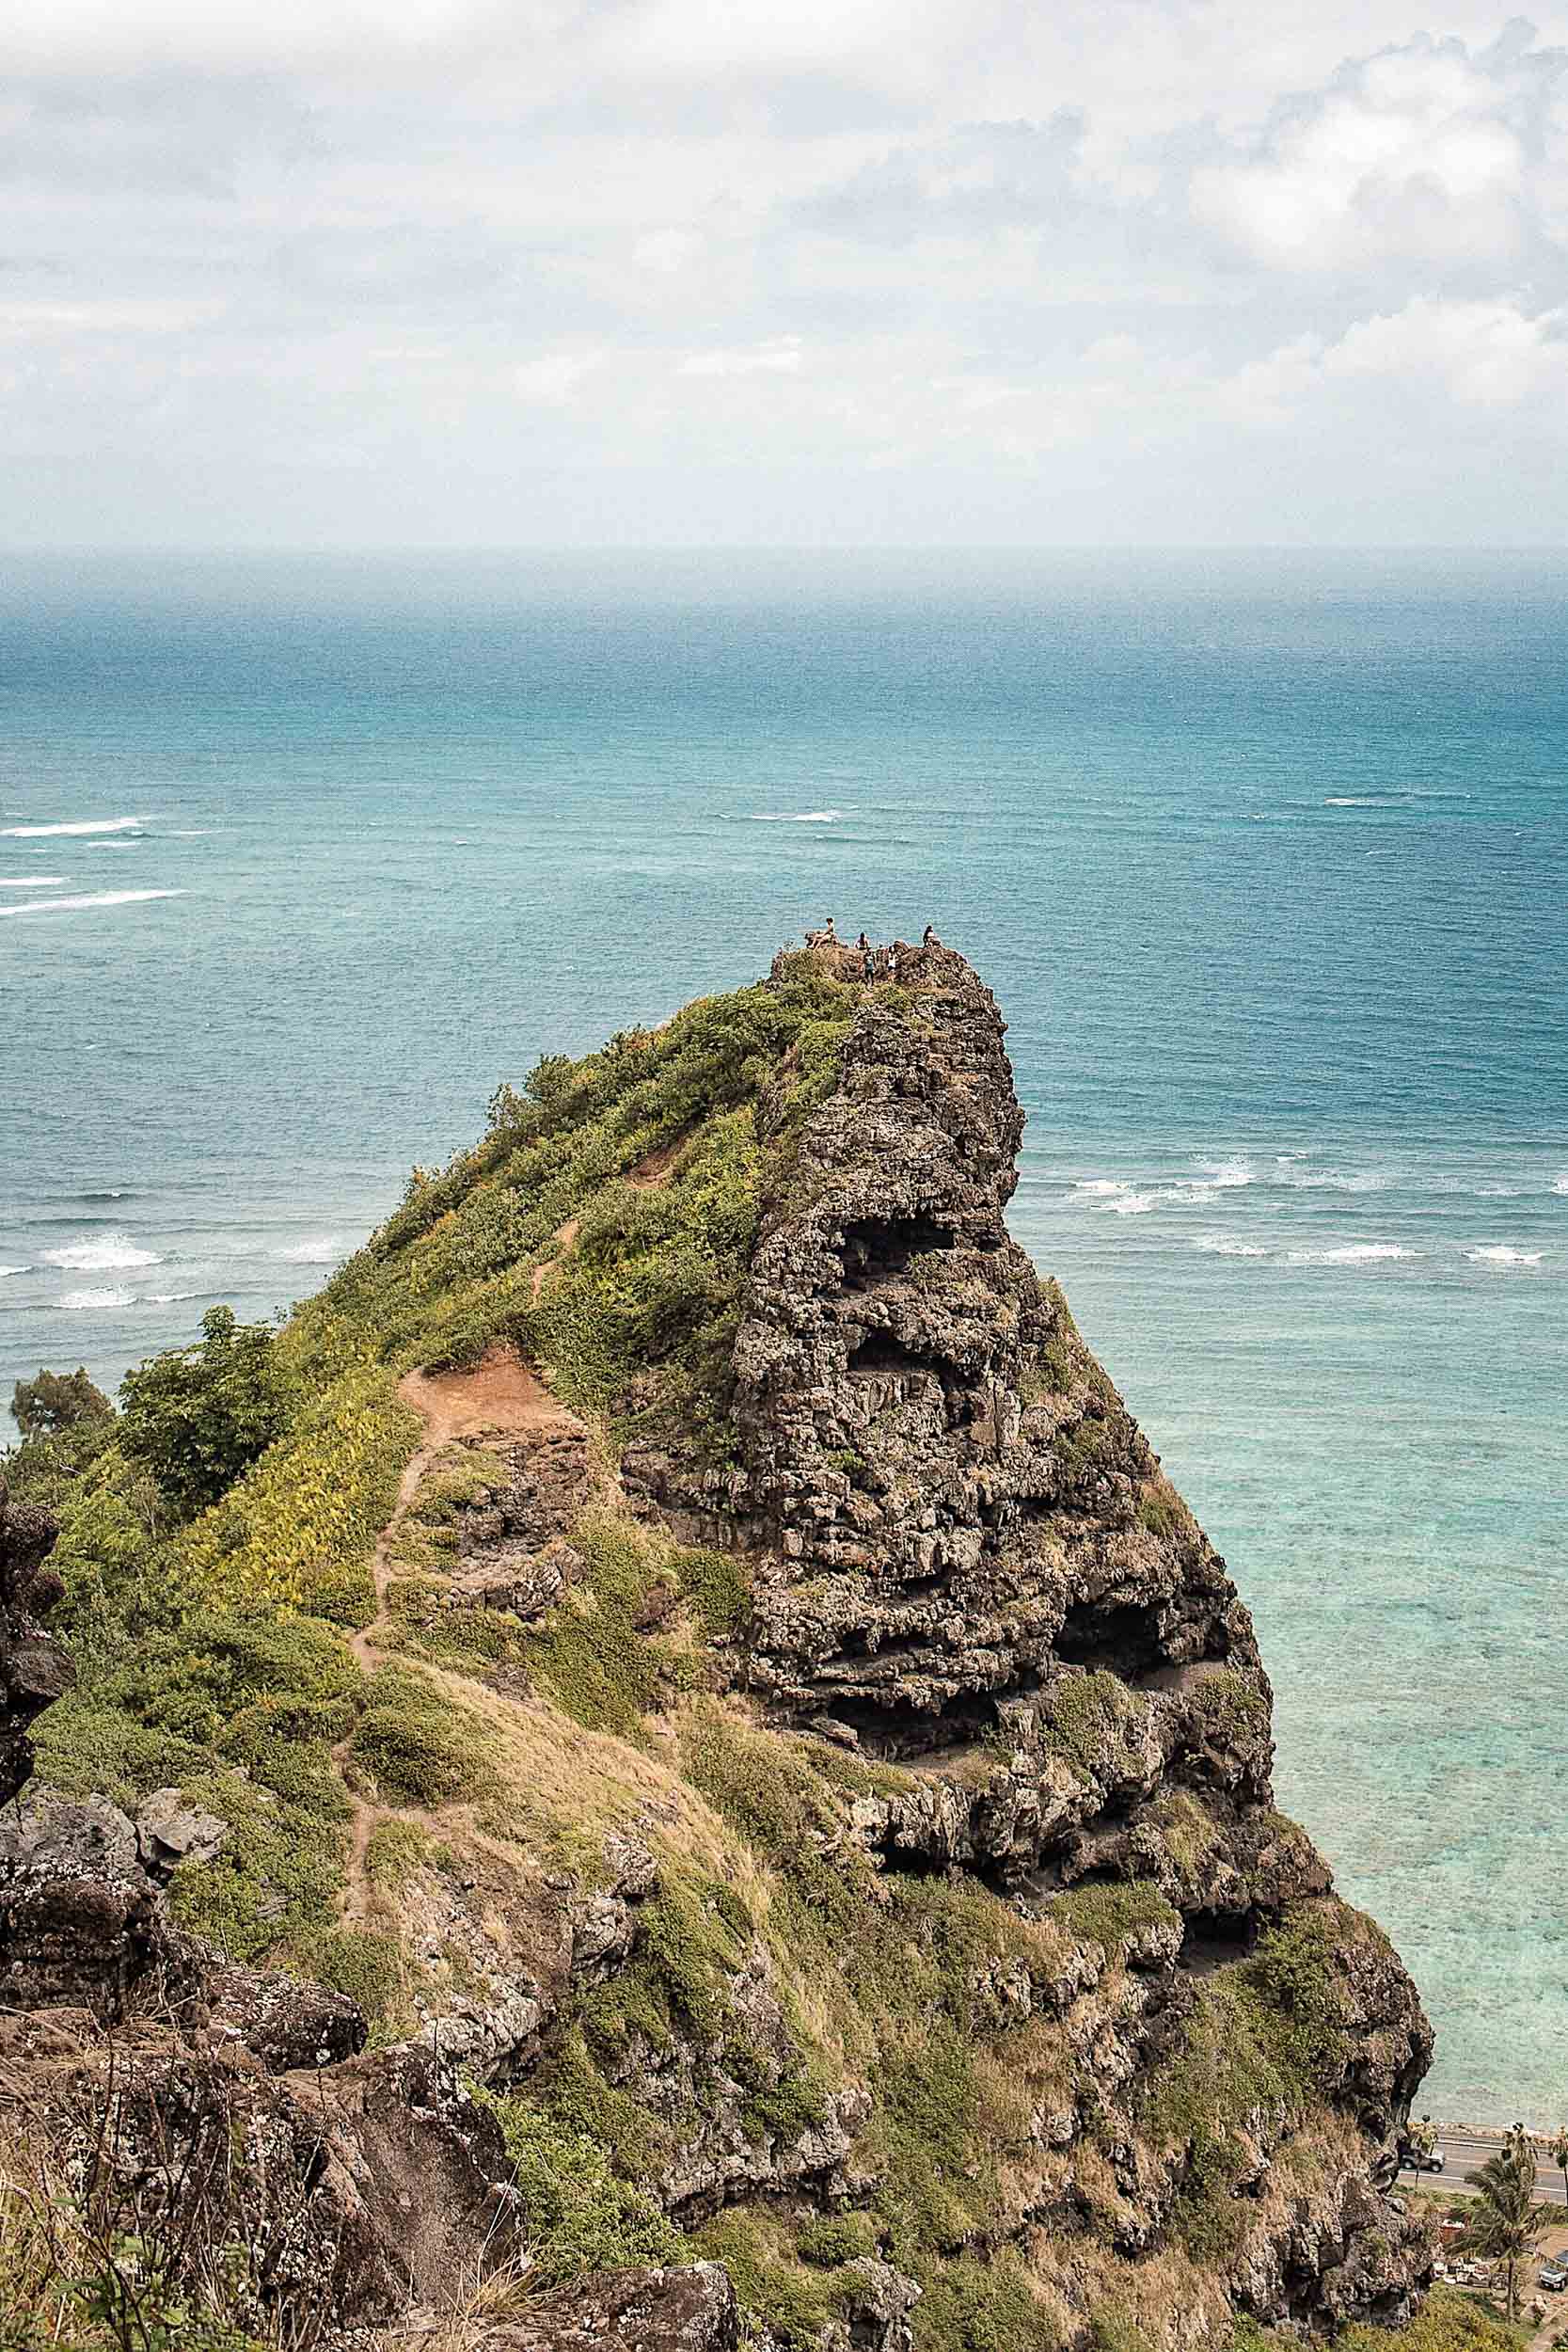
If you want you can continue onto the last peak. The trail to it is a bit sketchy and looks like the above photo. But this peak is where most people take their photos from as far as I can tell!
Once you are done, you will head back down the mountain the same way you came up! Or if you are like us, you’ll attempt to do that and end up on a slightly different path.
The good thing about the path we took down is that we ended up avoiding the rock climbing portion we went through on the way up. I’m not exactly sure where we took a different turn, all I know is we ended up a fair amount to the left of where we started! If you want to attempt to do the same, the trailhead is included in my custom Google Map above.

What to Pack for Hawaii
Wondering what to actually bring to Hawaii? Click here for my full Hawaii packing list!
And don’t forget your jewelry! Layering jewelry from SHOP CKANANI specifically. I'm a bit biased, of course, but hear me out. I’ve always loved jewelry but was tired of spending $60 on a necklace that would tarnish after 2-3 wears so I started making my own. I make them of incredibly high quality, primarily gold filled materials.
Gold filled items are great because they contain 100+ times (!) more real gold than gold plated items. An item being gold filled means that there is an actual layer of gold pressure bonded to another metal, making it much more valuable, durable, and tarnish resistant. This means it’s also perfect for everyday wear and for travel! Because who wants to spend their trip taking their jewelry on and off constantly? NOT ME!
After sharing pictures of necklaces and bracelets on my Instagram story, I finally gave in to the requests asking me to start selling my creations. And that’s how SHOP CKANANI was born! I’d really love and appreciate your support (especially if you’ve found the info in this post helpful) :) Click here to see current availability.
For Hawaii I especially recommend the Kahala necklace, the Global Citizen necklace (our best selling item), and the North Star necklace. Plus an arm full of various gold chain bracelets, of course! And as a special treat from me to you, use code “HAWAII10” for 10% off.
More Helpful Oahu Information
If you will be visiting Oahu, we have everything you need to plan your trip!
FOR WHAT TO PACK… click here for our Hawaii packing list.
FOR WHERE TO STAY… click here for the best hotels and resorts and here for the best Airbnbs.
FOR WHERE TO EAT… click here for a local’s guide to the best places to eat.
FOR WHAT TO DO… click here for my top 10 recommendations. My number one recommendation is to swim with dolphins in the wild. Click here for a detailed post about how to do that!
FOR A GUIDE TO VISITING KUALOA RANCH (JURASSIC PARK HAWAII)… click here.
FOR A GUIDE TO THE FAMOUS NORTH SHORE… click here.
FOR WHERE TO HIKE… click here for Crouching Lion (my absolute favorite) and here for the Lanikai Pillboxes (my second favorite!).
FOR THE BEST PHOTO OPPS… click here!
Also, subscribe below to get our FREE downloadable guide and we’ll also send you some step-by-step help to plan the Hawaii trip of your dreams!
Found this helpful? Please save it on Pinterest!