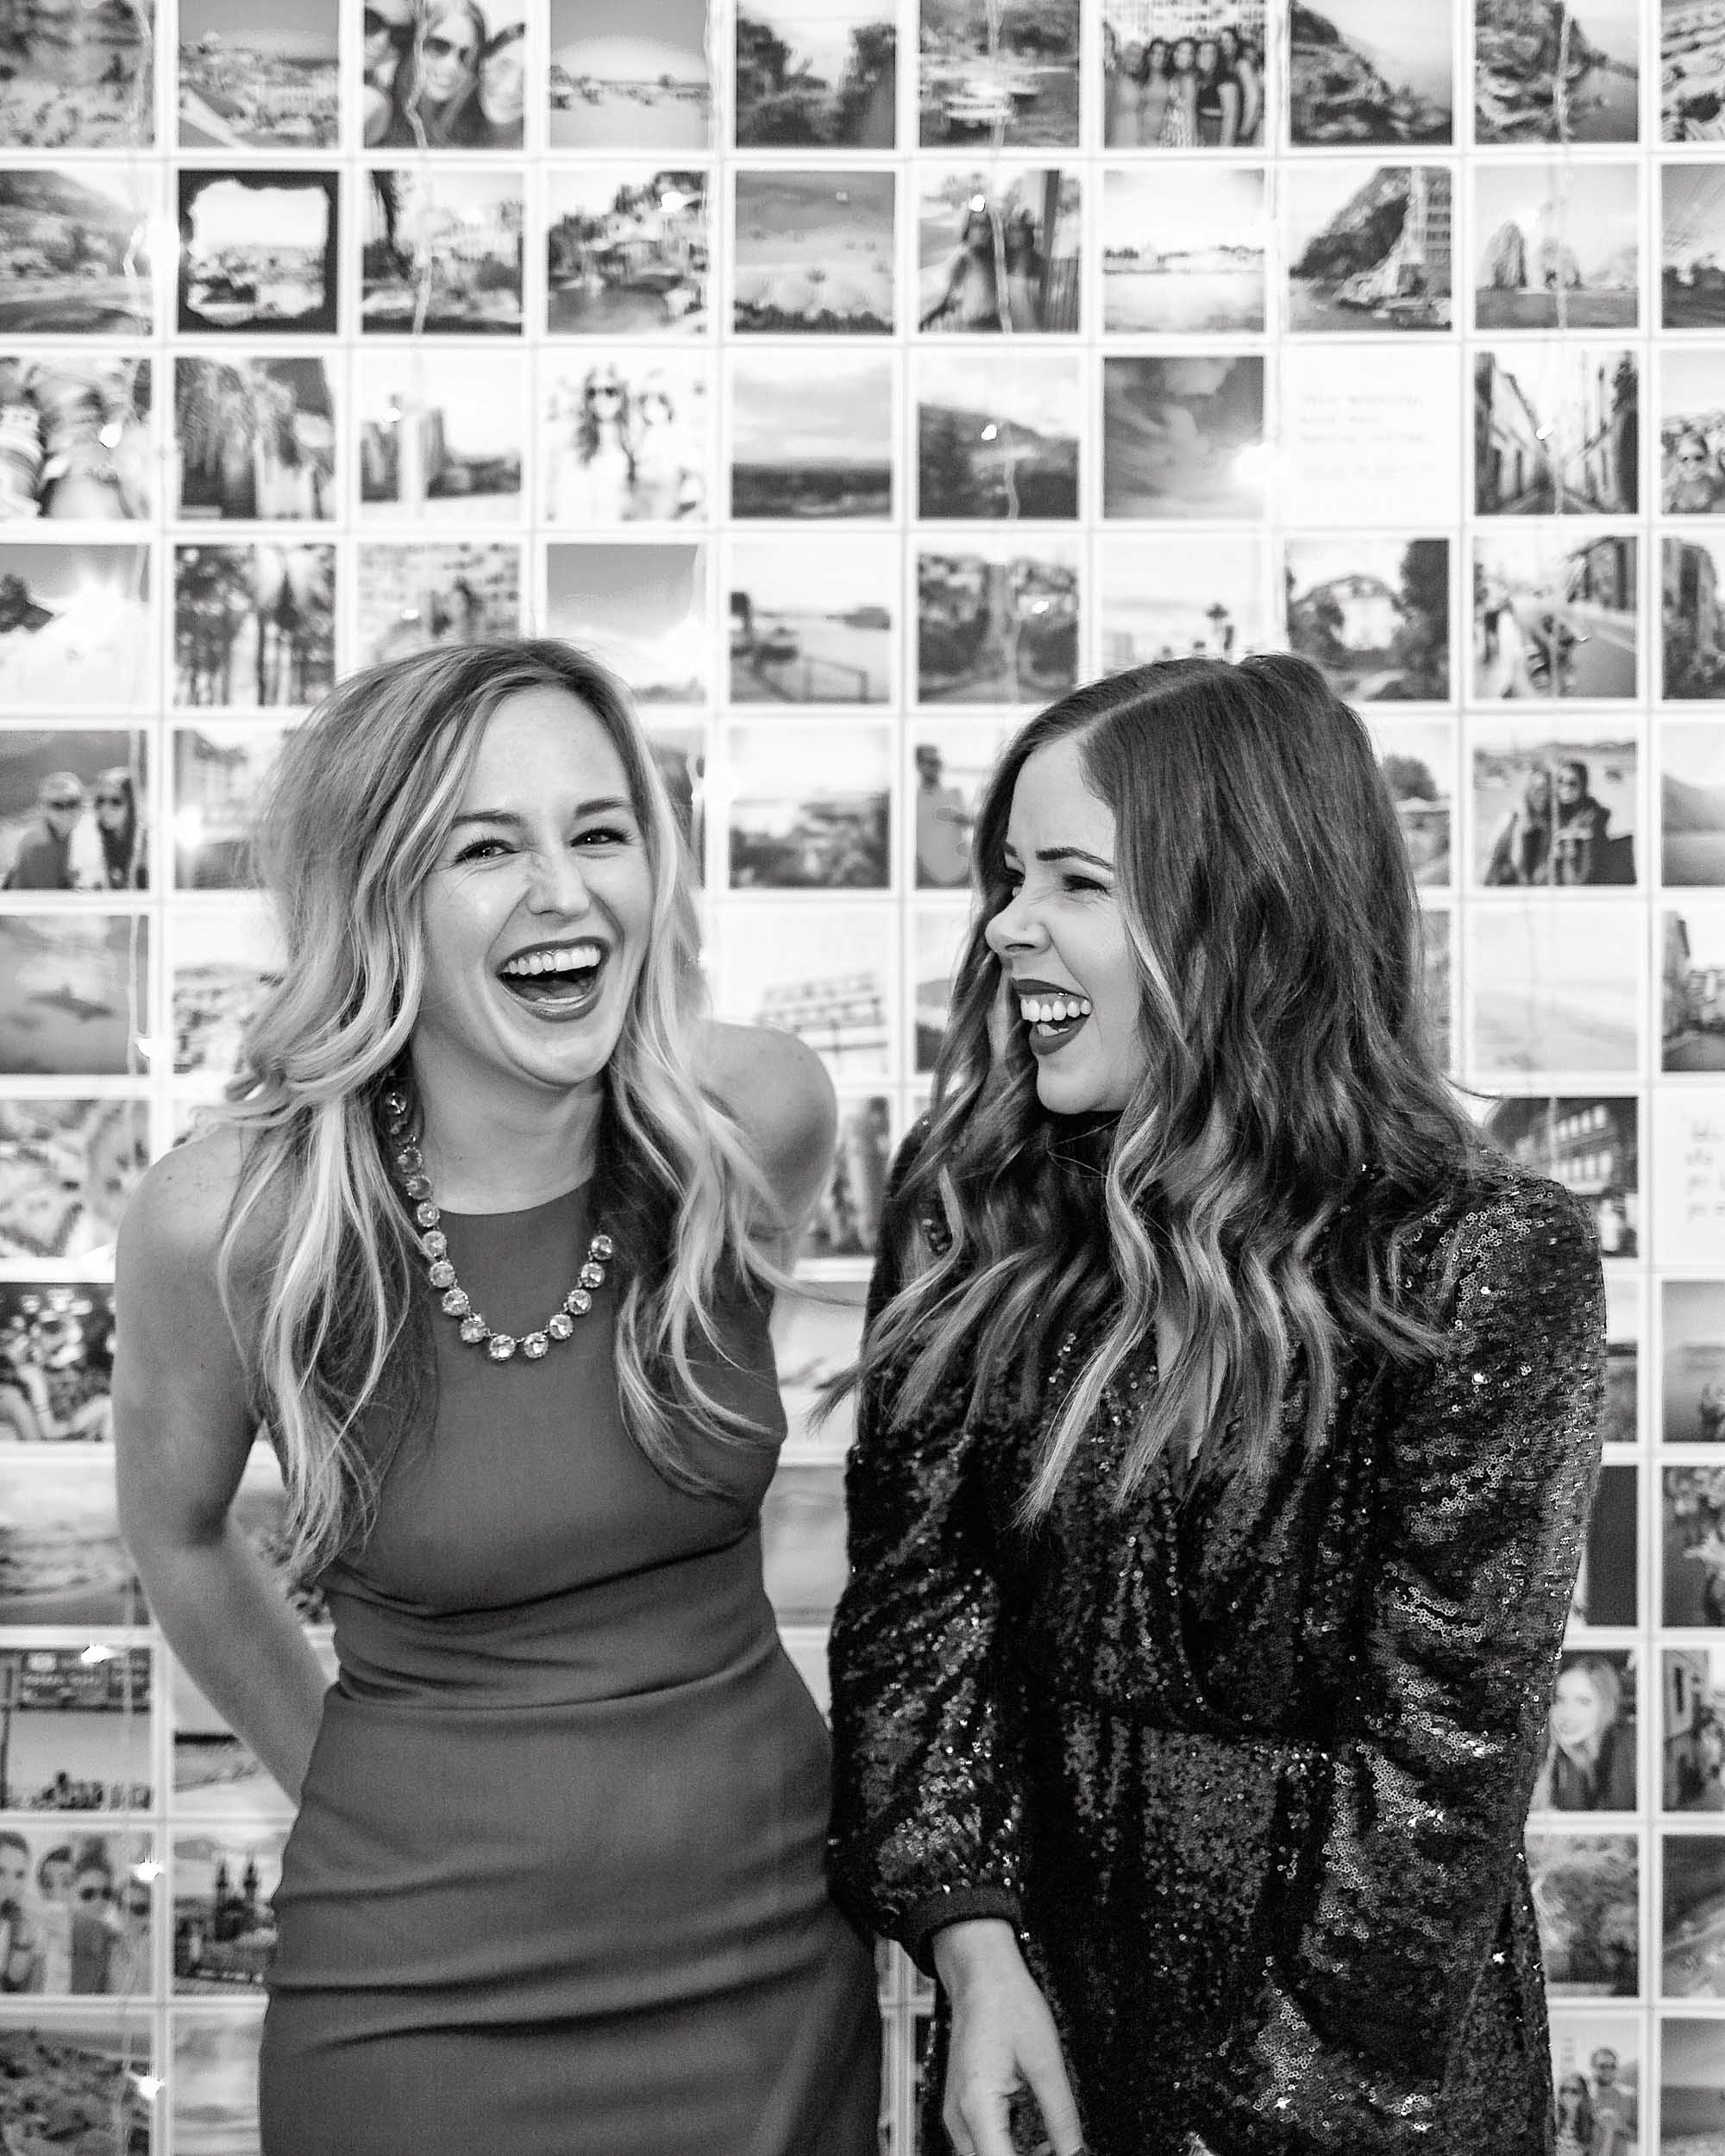
How to Take Good Pictures (Part Two)

Wondering how to take good pictures for your blog, Instagram, or just to record the important moments of your life? Since my first post on How to Take Better Travel Photos continues to be one of the most visited on my site month after month, I am back for round two!
Note: If you haven’t read the first one yet, make sure you start there, as these are more advanced and should be taken into account after those.
There are two things I constantly get asked about on Instagram: Italy and photography. In today’s day and age it seems like almost everyone has a camera, yet many don’t know how to use it to its full potential. If this hits home for you (or even if you are thinking about making the jump from iPhone to real camera), here are my tips for taking your photos to the next level!
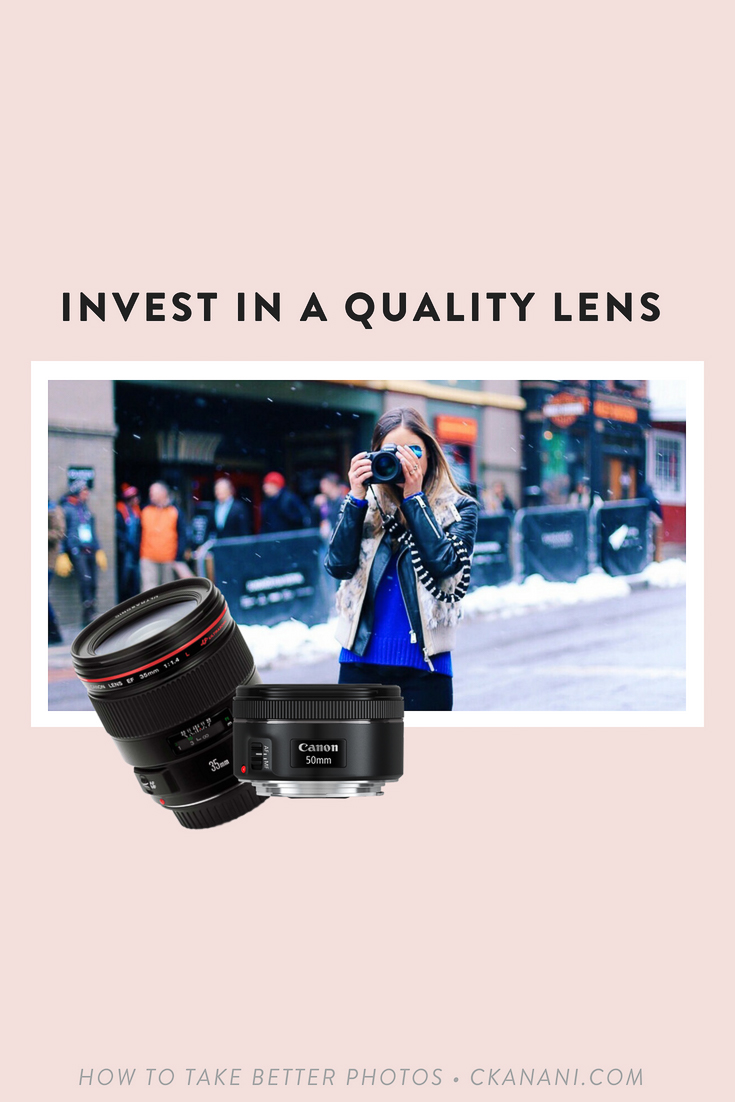
INVEST IN A QUALITY LENS
What lens you use is more important than your camera body. Yes, really. If you are on a budget and need to choose between upgrading your lens or upgrading your camera body, the answer is without a doubt upgrade your lens.
Did you know lenses have a much bigger impact on photo quality than your camera body does? And that they are much more timeless, meaning they hold their value unlike camera bodies which are updated basically constantly?
If you happen to be using a lens that came with your camera, you should definitely consider upgrading, as kit lenses are usually some of the worst. My all time favorite, which I highly recommend, is the 35mm. I use it almost always on both my Canon and my Sony.
In general, I much prefer a prime lens to a zoom lens. In fact, of all the lenses I’ve bought, I’ve never purchased a zoom lens. This is because primes (which have a fixed focal length) are generally significantly sharper than zoom lenses. They are also often smaller, which is certainly desirable when you travel for a living!
The 35mm I use with my Canon is this 35mm f/1.4L lens. If that price seems to high, Canon also makes a 35mm f/2 lens at a smaller price point. Even cheaper is the Canon 50mm f/1.8 which is less wide, of course, but great for portraits and very reasonably priced.
On my Sony I use the 35mm f/2.8.
Speaking of lenses, you will want to protect them! Click here for the most stylish camera bags for women.

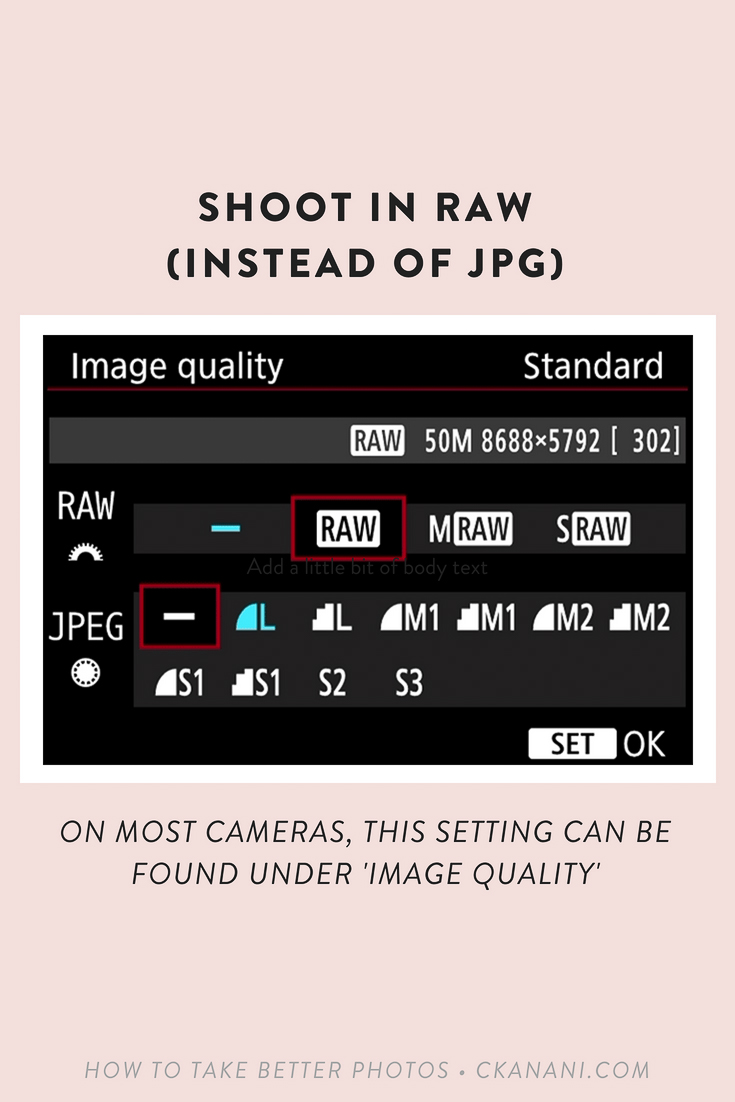
SHOOT IN RAW
RAW is a file format in which images are recorded by your camera’s sensor completely unprocessed. JPGs are compressed images that are processed by your camera. Translation? RAW allows you to create much higher quality images!
It’s hard to detail why RAW is so much better than JPG because it really is far superior in every way. With RAW quality isn’t lost, you can seamlessly correct white balance, you can fix exposure issues without drastically reducing quality, and detail is just better overall. You have better control all around over the end result you’ll be producing. It’s almost like having a negative (RAW) vs. having a print (JPG).
One thing to note is that RAW files do need to be processed. But, as mentioned in my first post, I very strongly believe all photos need to be edited at least a small amount so really this should not be a deal breaker. If you aren’t yet using Adobe Lightroom, now is the time!
What about the fact that RAW files are so much bigger than JPGs? I’m so glad you asked! My answer: who cares? :)
External hard drives are pretty inexpensive these days, making this a non-issue in my opinion. Get this 2TB one that I use for $64.99 and I promise you won’t be filling it up any time soon!
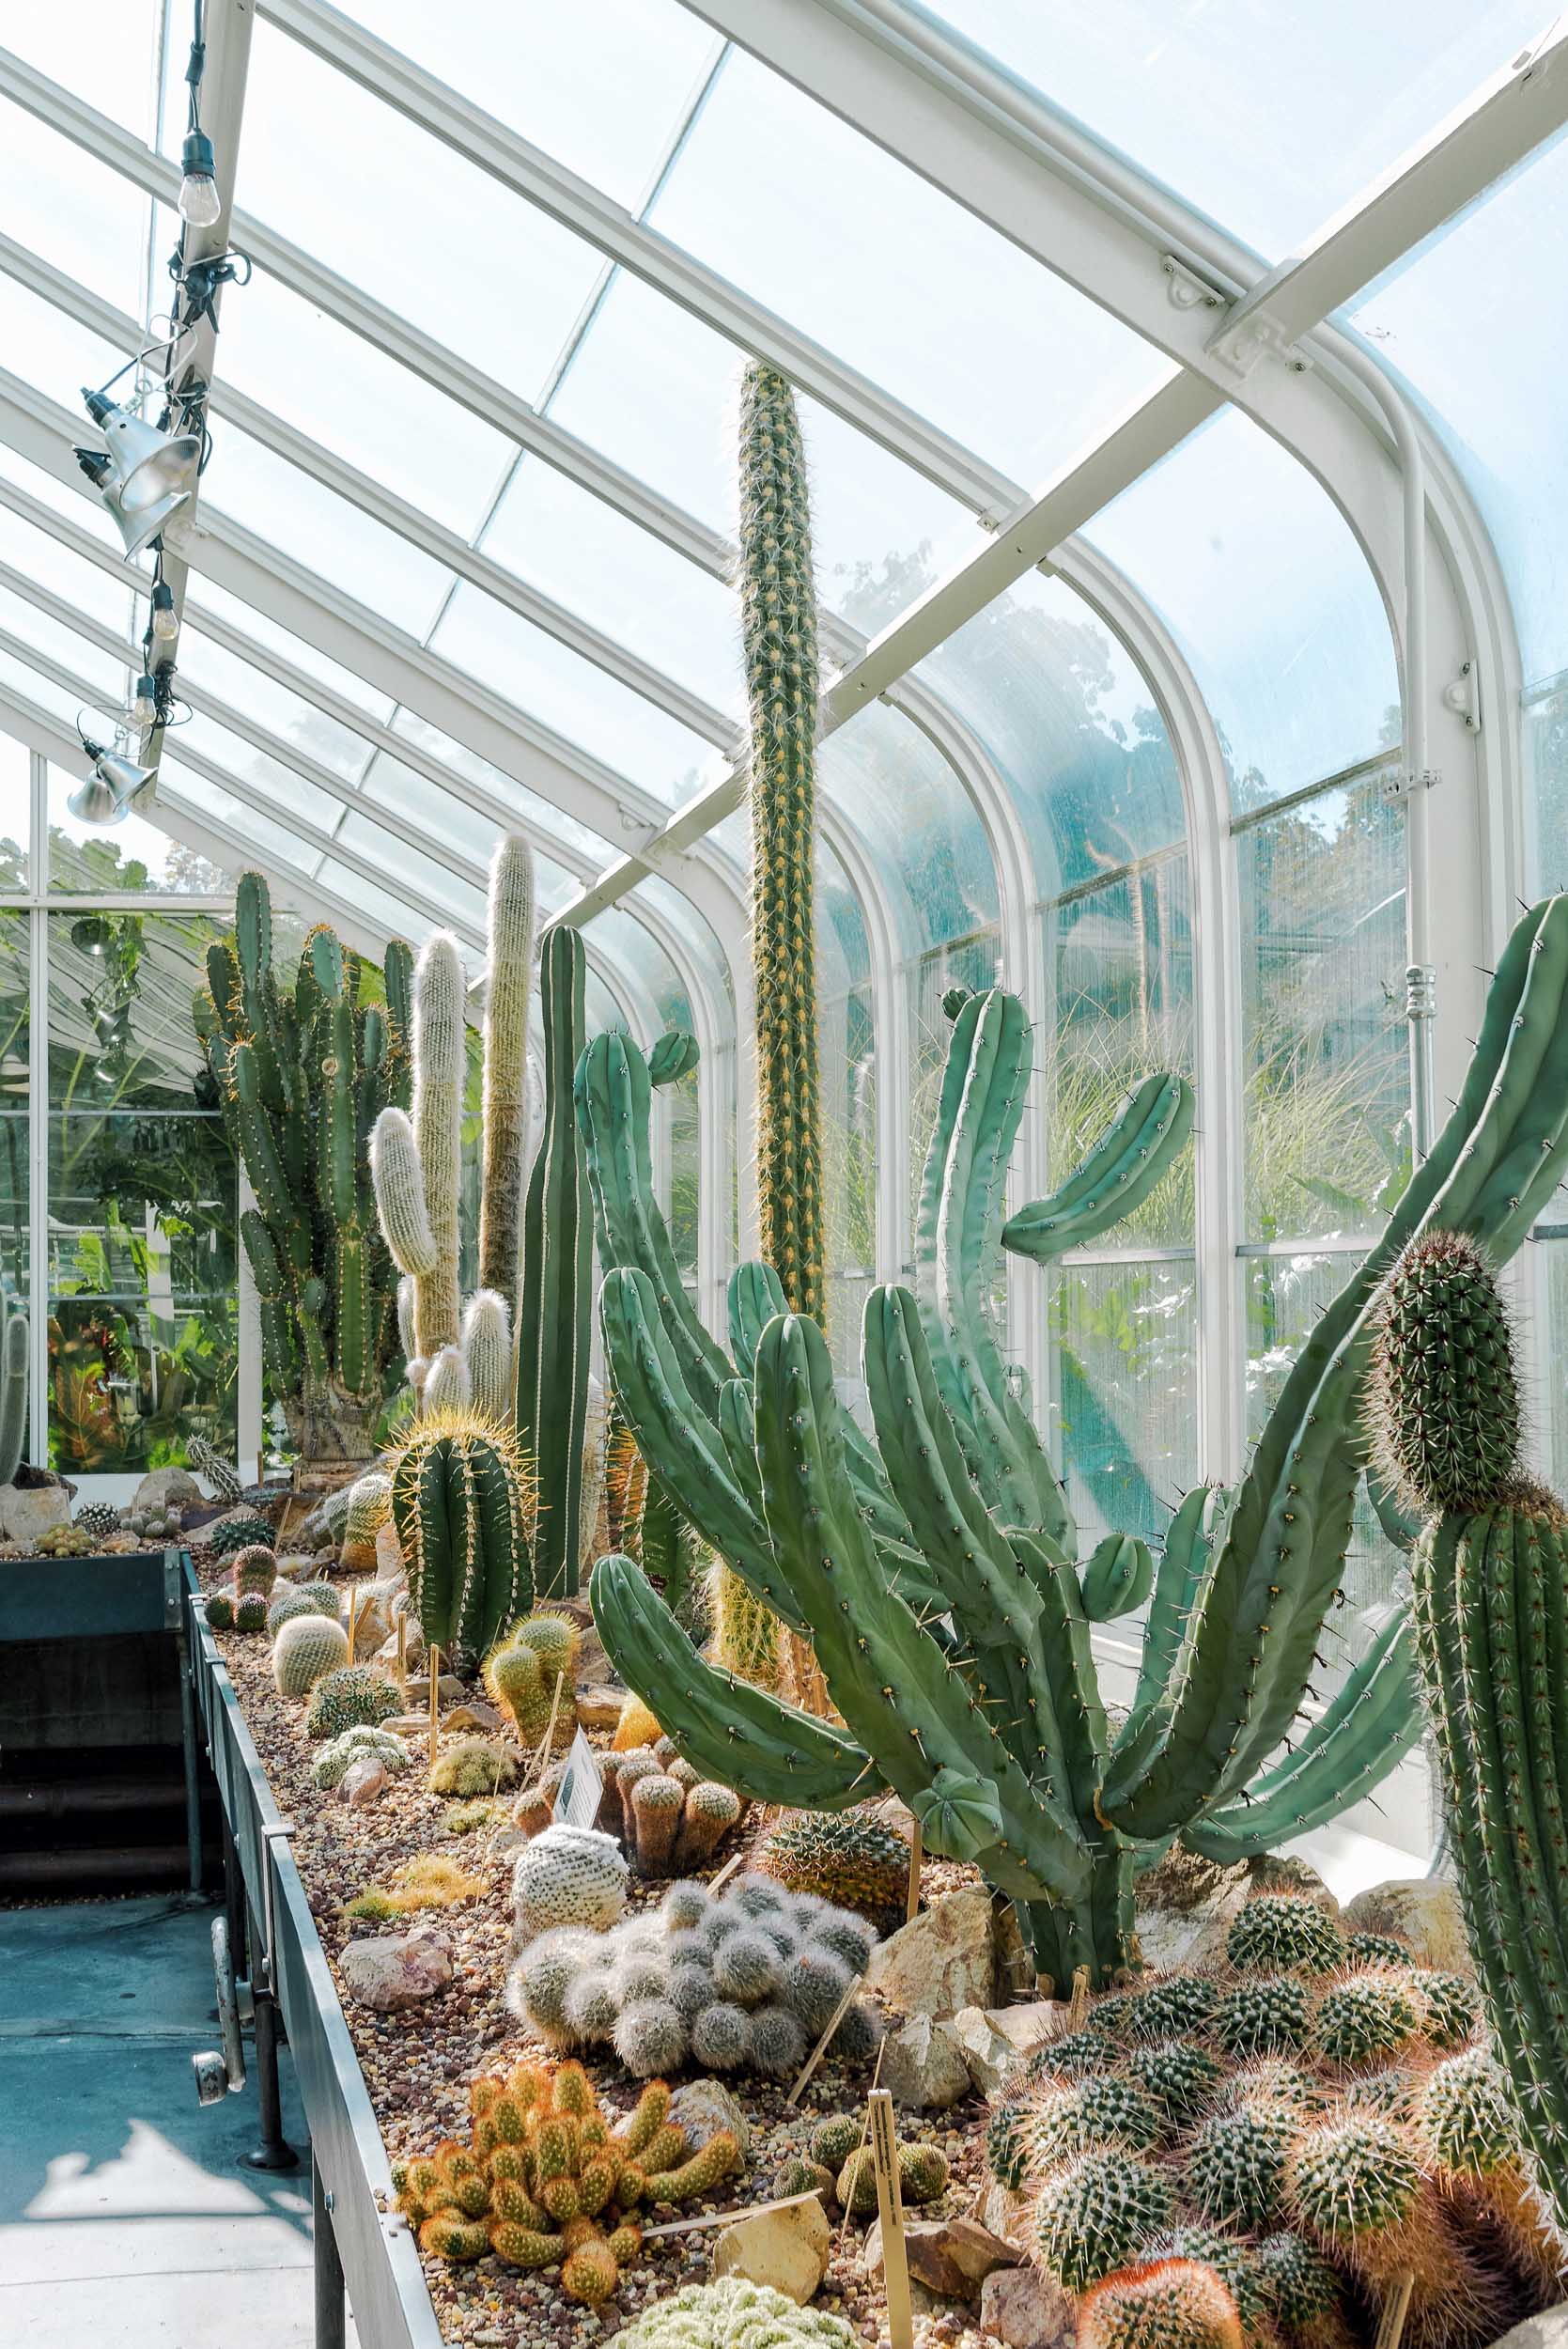
SLOW DOWN AND THINK ABOUT COMPOSITION
A lot of people will take a million photos of the same thing go home hoping that one of them looked good. While that is totally fine, I, on the other hand, prefer to instead take in the scene, think about how I want to capture it, and then take the shot. This saves me time both in capturing and editing, space, and helps me achieve what I want almost without fail.
Frame the image, set your focal point, adjust your settings, and then take the pic.
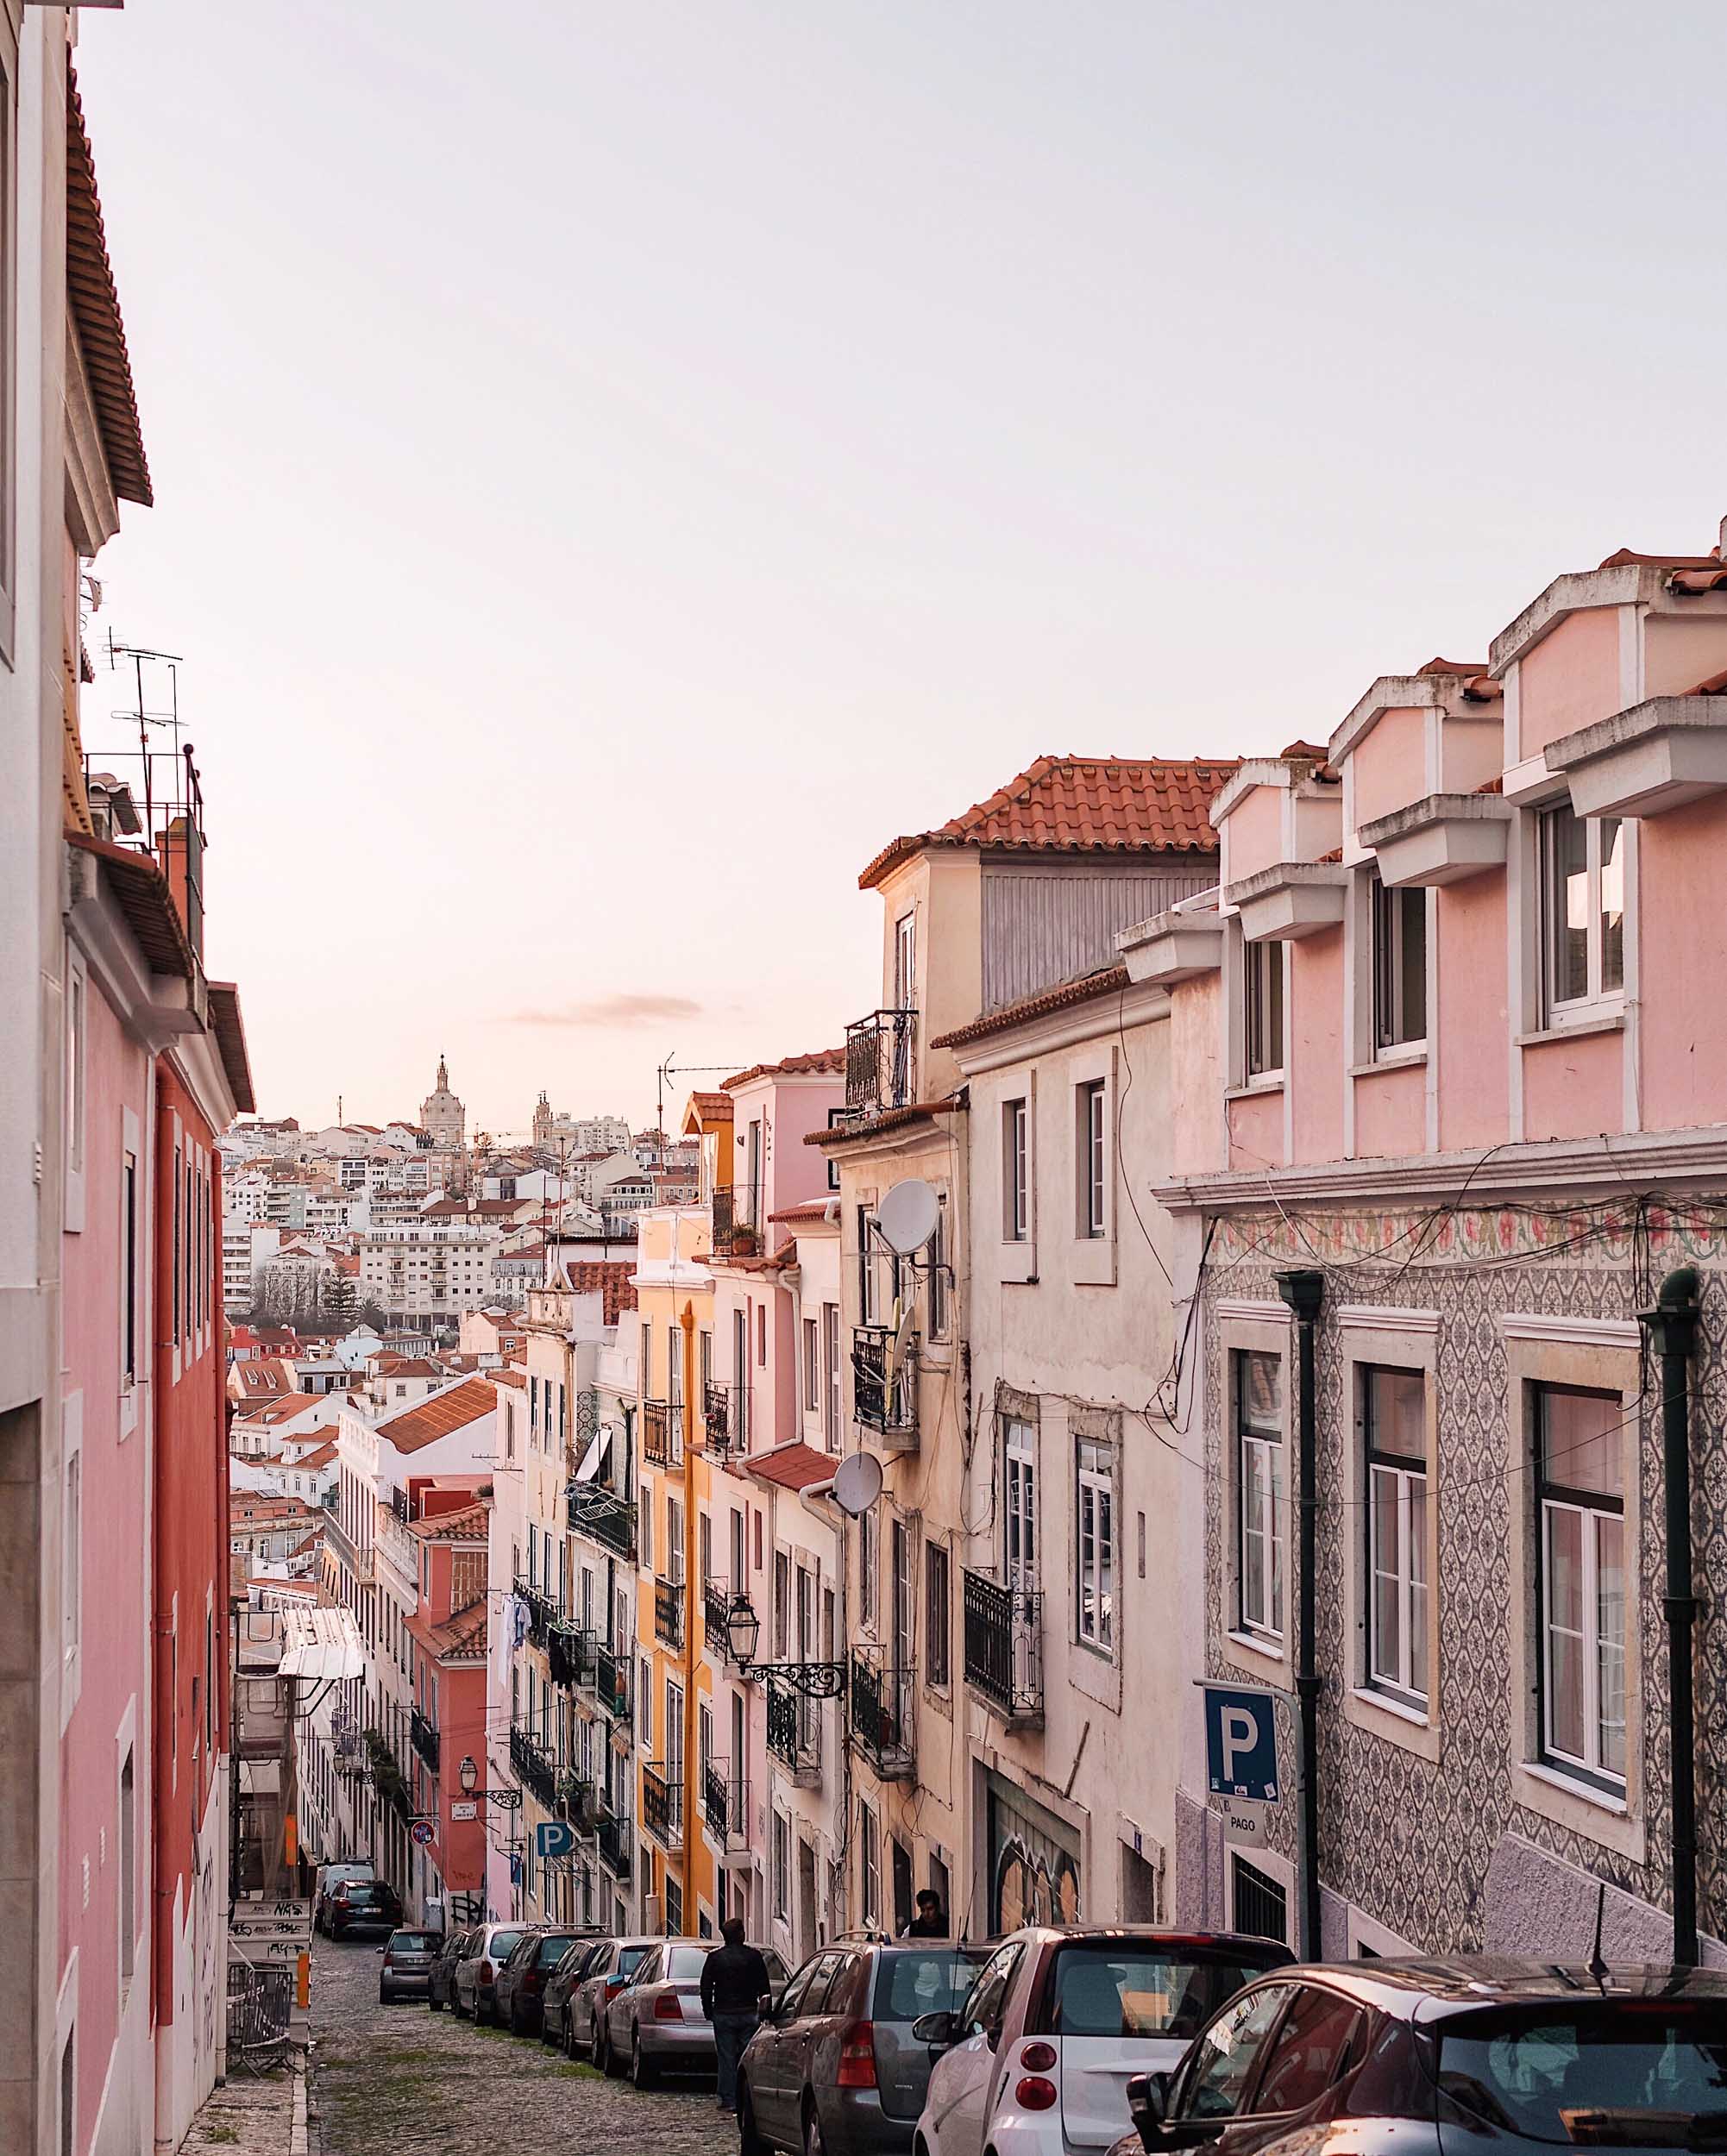
I do think it is good to take a lot of photos, but to take them more thoughtfully. The day I spent roaming Lisbon I captured over 1K photos (probably a record for me) but they were not photos of the same thing over and over. I generally take one to three photos of something and then move onto the next.
Side note: if you aren’t the kind of person that takes 100 photos of the same thing and likes to move along quickly, let’s be travel buddies? :)

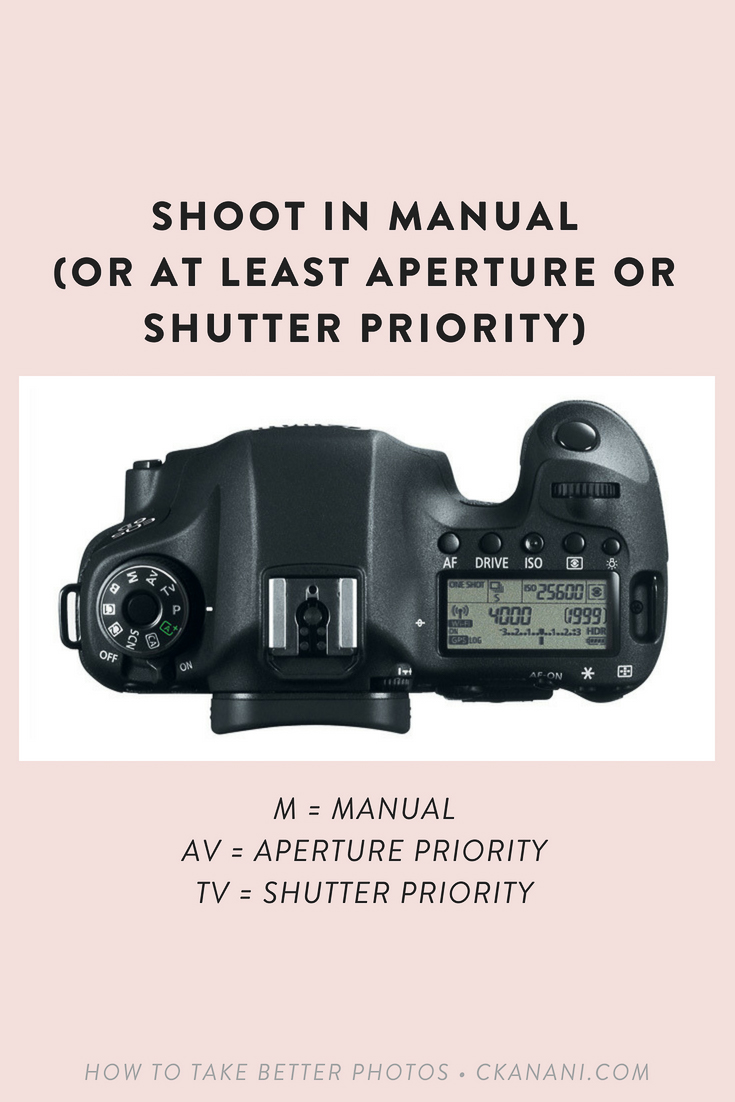
SHOOT IN MANUAL
Shooting in auto is basically saying “hey camera, I have no idea what I am trying to capture, so you go ahead and figure it out on your own”. Camera’s are smart, but they are not human. Sure, you might get lucky and get a good image here and there, but there’s a much easier way to make that happen and that is by setting everything yourself manually!
Shooting in manual allows you to manually set every aspect of your photo, including:
ISO - ISO controls the brightness of your photos. The more you increase the ISO, the grainier the photo will become, so you should try to keep this as close to 100 as possible.
SHUTTER SPEED - Shutter speed is how quickly how the shutter is opening and closing. If you are photographing a moving animal you’ll need a fast shutter speed, for example, in order to get a non-blurry image. And for long exposure photos of the stars in the sky, a slow one.
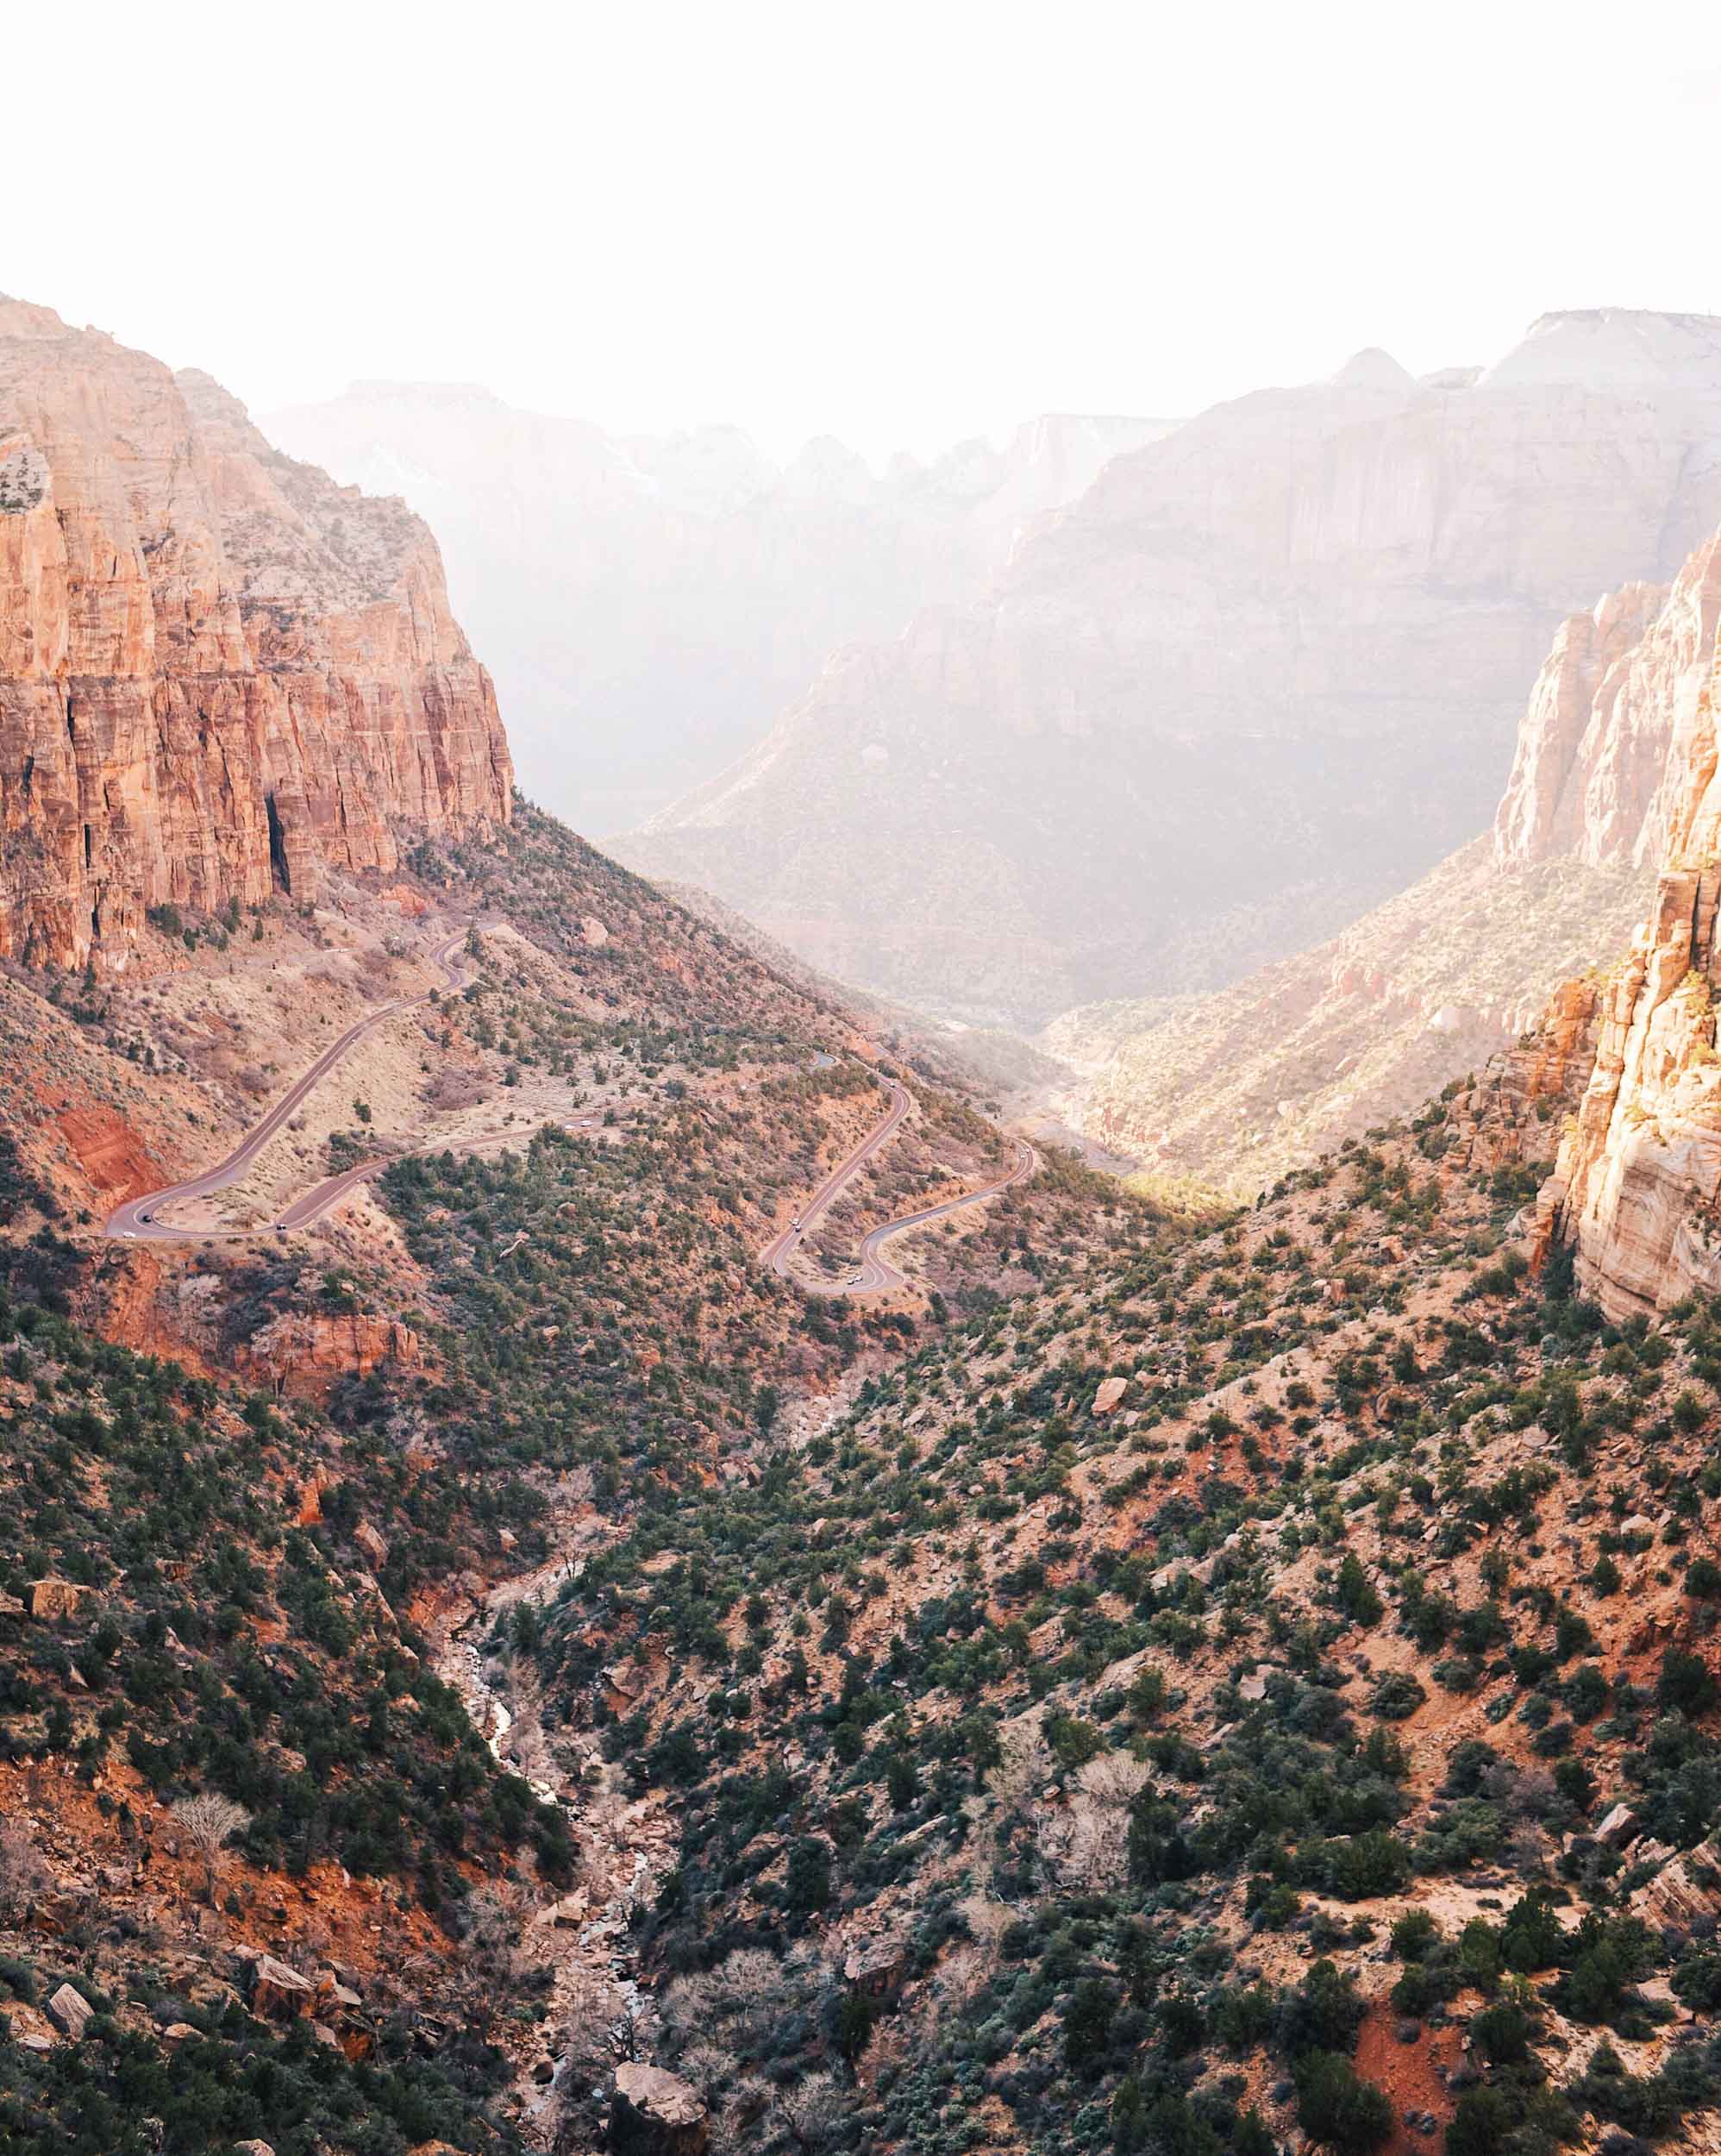
APERTURE - My favorite setting, aperture, is how you manipulate depth of field. This is represented in f-stops (f/1.8, f/22, etc.). If you are taking a portrait and want the subject to be in focus but the background by blurry, you’ll want to use a smaller aperture. For photos where you want everything in focus, such as an interior shot or landscape, a larger aperture.
Adjusting these three settings allows you to have complete control over what you capture.
…or at least aperture or shutter priority!
If you are currently shooting in auto and moving to manual seems like too big of a jump, start by switching to aperture or shutter priority. I actually did this myself when I was learning to shoot manual and I highly recommend it.
Because aperture is my favorite setting and the one I focus on the most, I chose aperture priority. Aperture priority is sort of a hybrid of auto and manual, in which you choose the aperture setting manually and then the camera automatically decides the shutter speed.
Alternatively, shutter priority is where you choose the shutter speed manually and the camera decides the aperture.
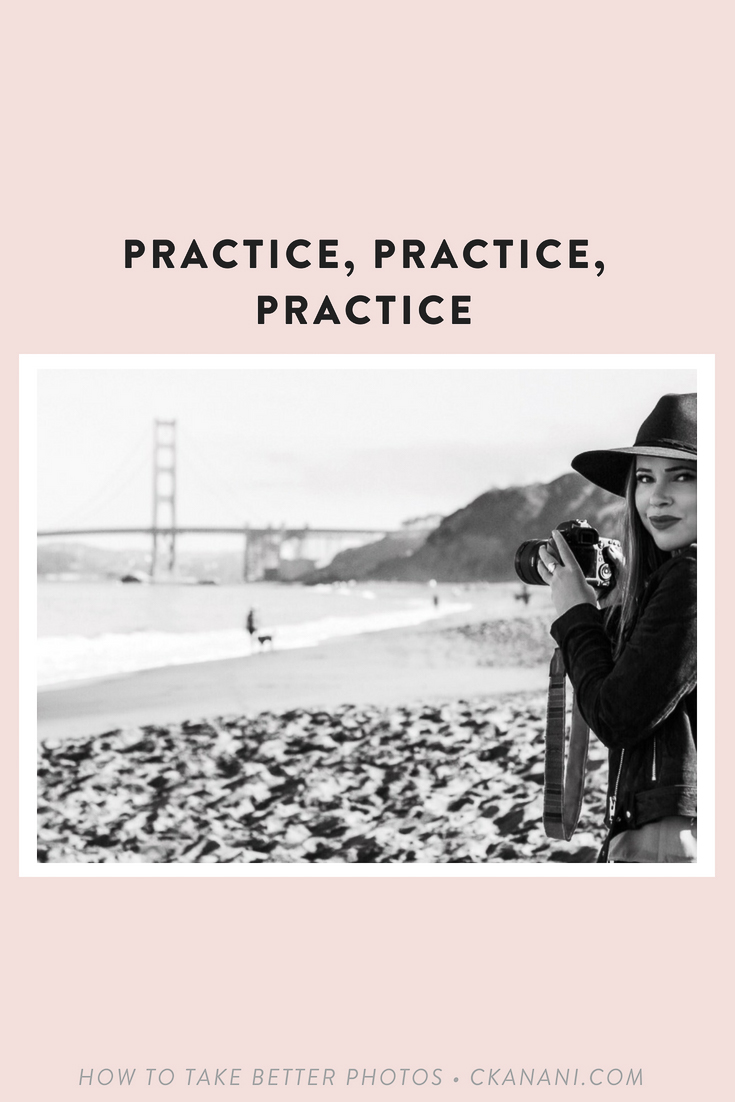
PRACTICE, PRACTICE, PRACTICE
This goes for photographers at all levels - no one is exempt. There is always more to learn.
For example, last year I started reading up on real estate photography. I was starting to do more and more sponsored hotel stays and therefore I thought it was important for me to learn to take better internal shots. I found a great real estate photographer’s blog and began reading through all of his tips.
They all made sense to me, so off I went to capture the (test) shot just as instructed. To my surprise, it didn’t turn out at all as expected, because there are countless different factors — time of day, amount of exterior light being let in, internal light sources, etc. Reading is simply not enough.
Practice makes perfect is a famous saying for a reason!
TRY NEW THINGS
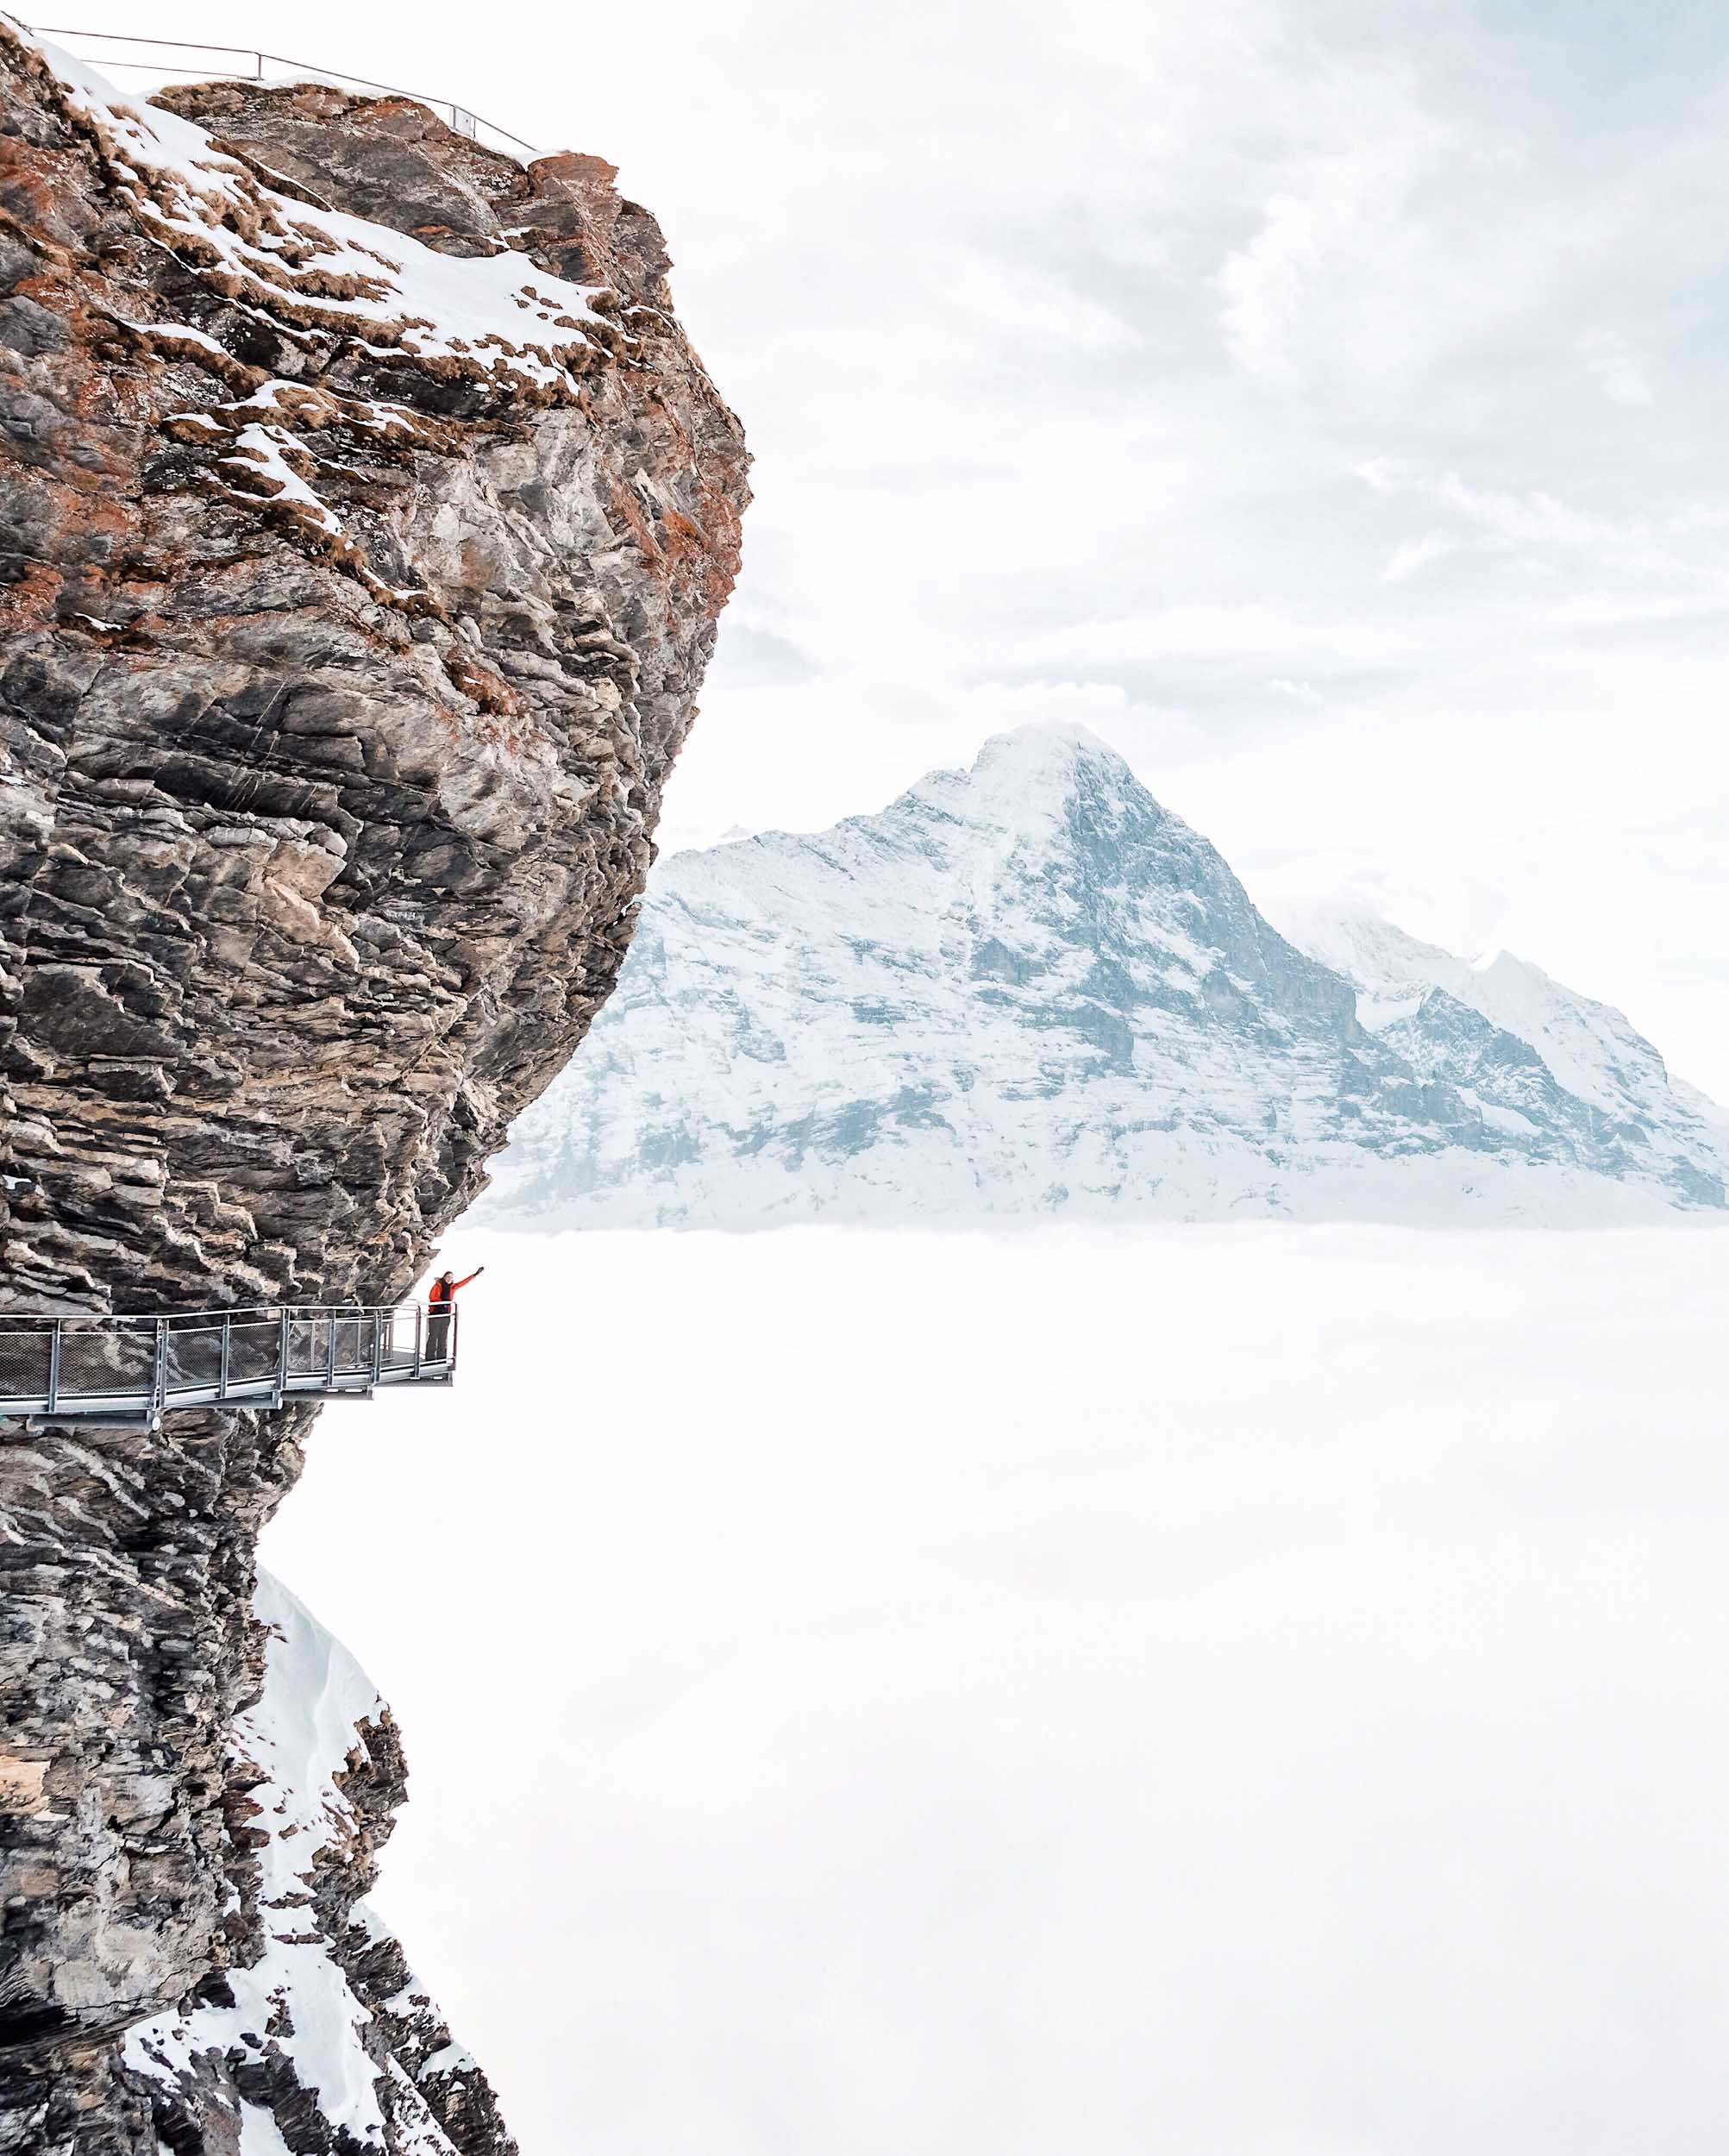
Along the lines of practicing, do not forget to try new things and step out of your comfort zone a bit. We are creatures of habit and often find ourselves doing the same things over and over, which for me means wide landscape photos that capture an entire view.
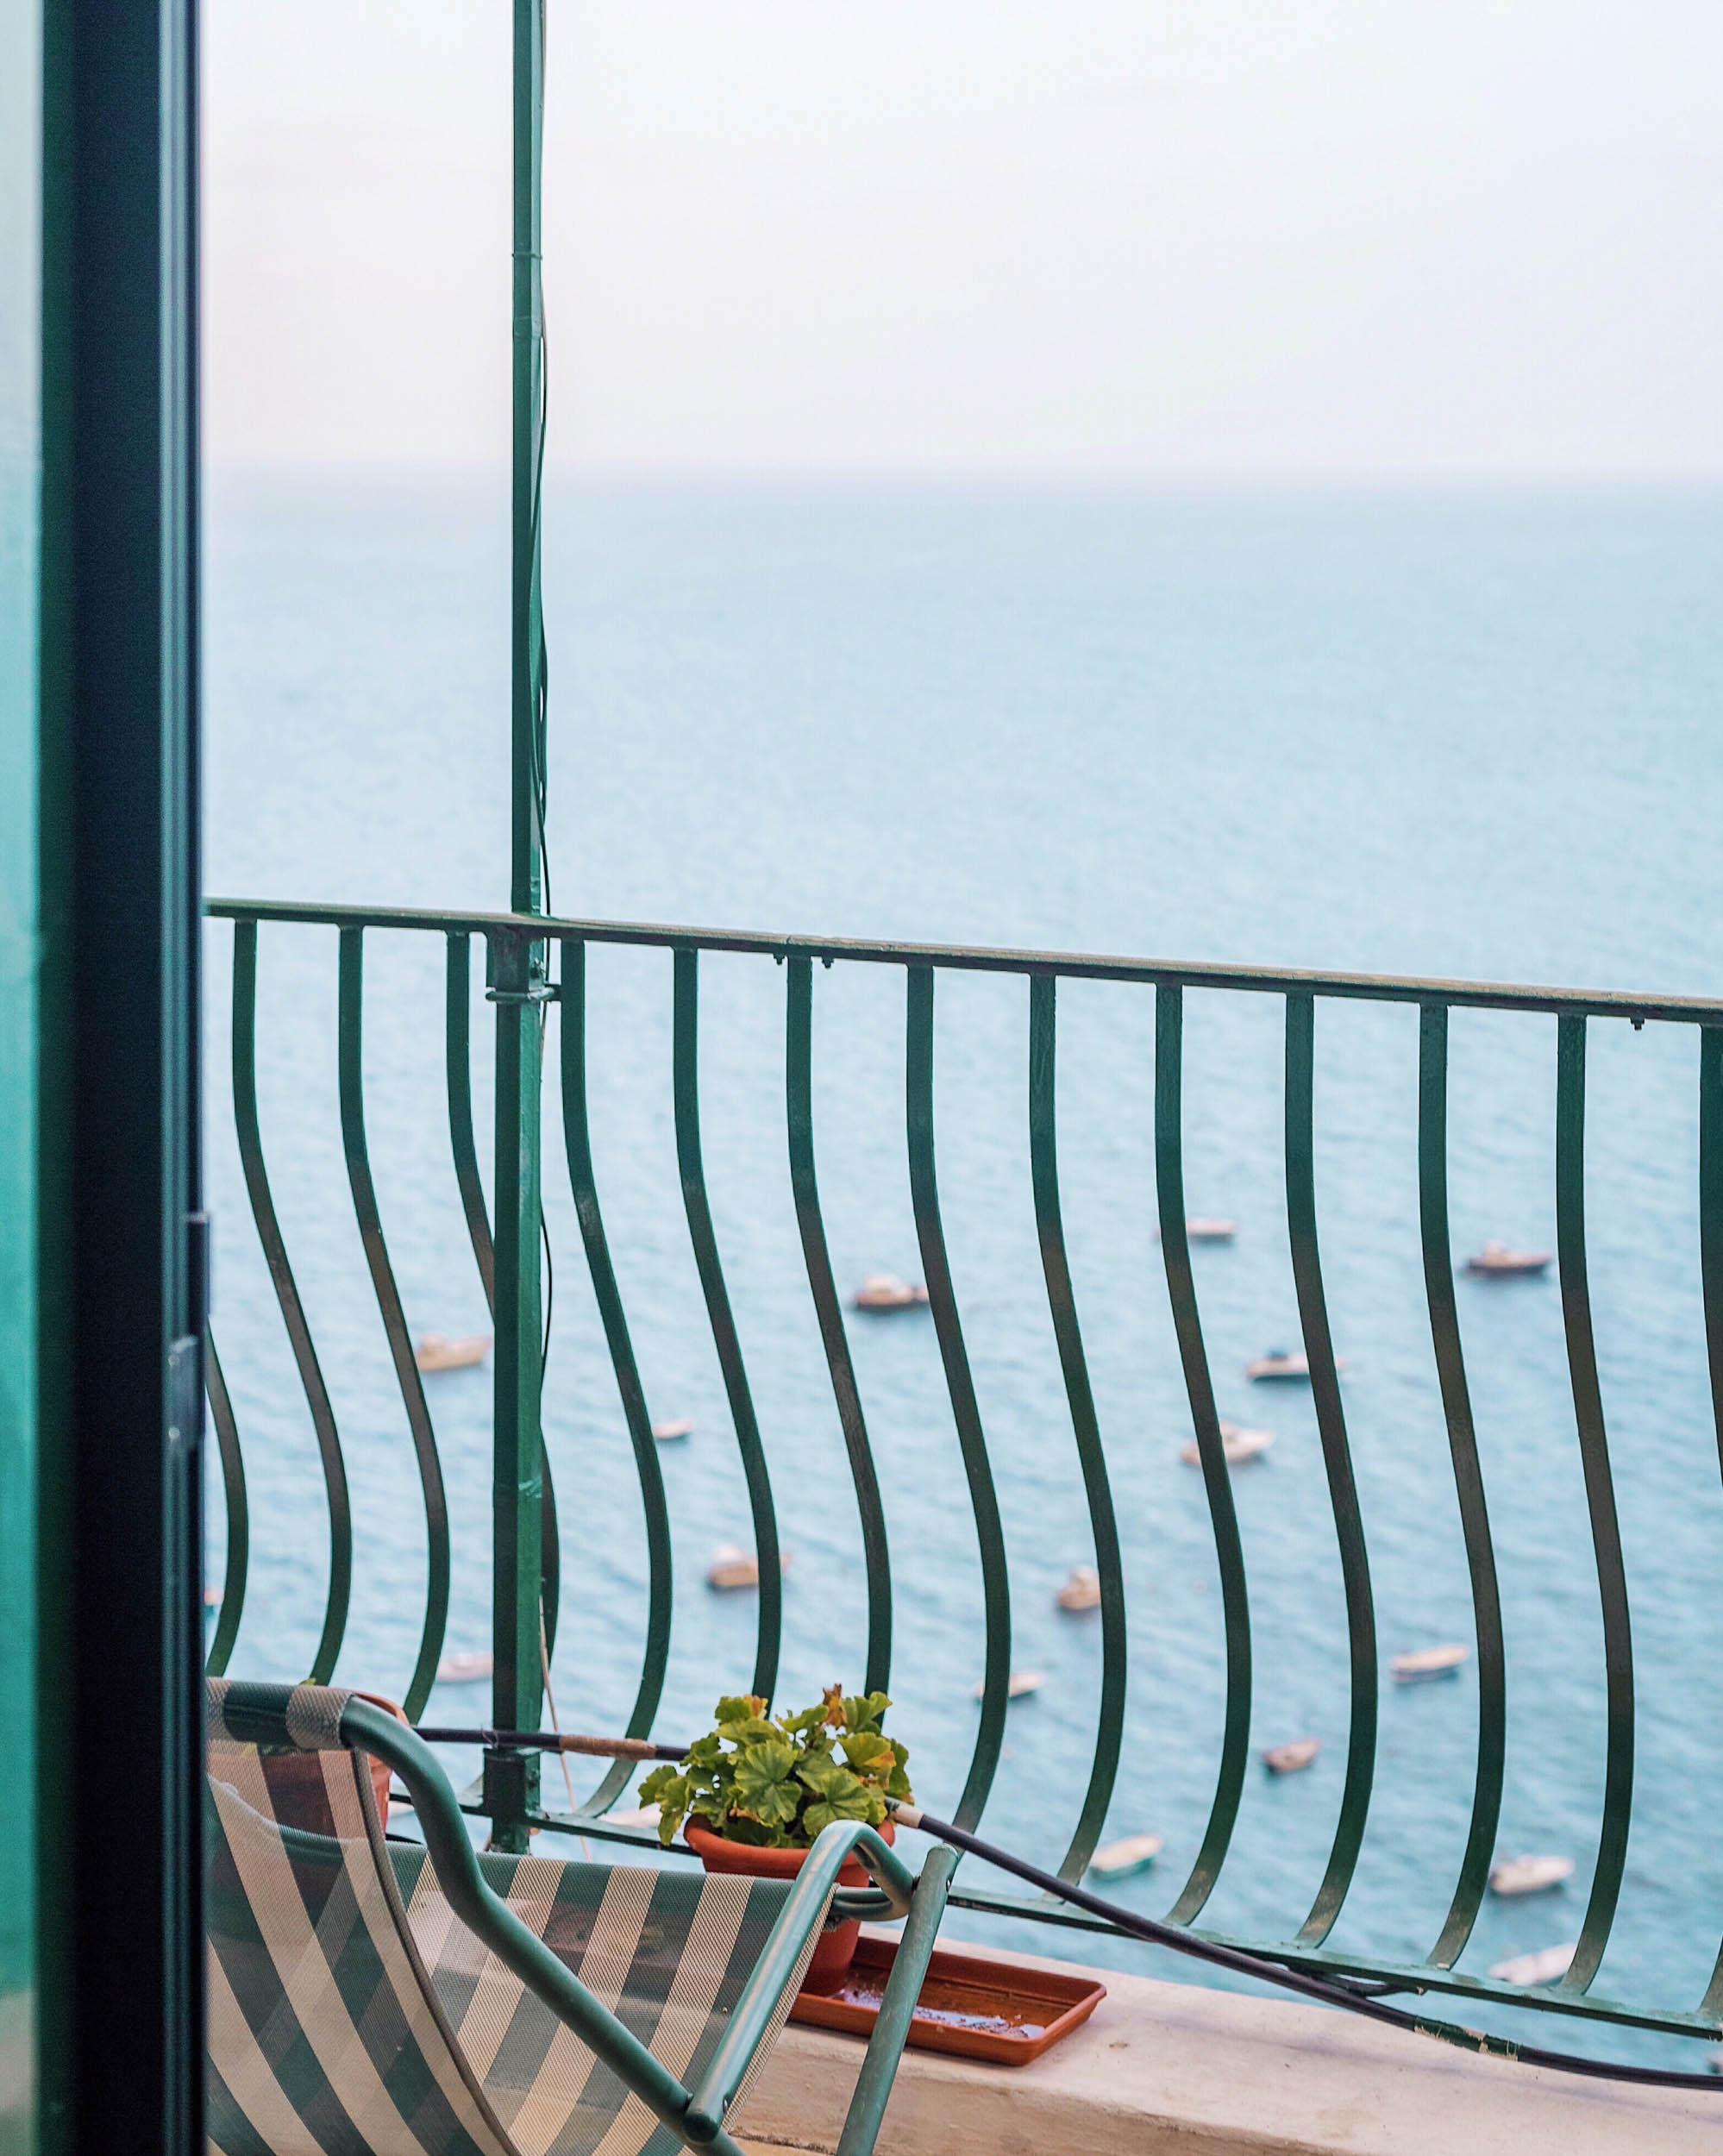
While I of course will continue to take those shots, I try to also remind myself constantly to experiment a bit. I love more detailed, close up shots yet rarely take them so while in Lisbon earlier this year I spent an entire day roaming the streets taking almost nothing but.
I recently came across this jaw-dropping reflection photo which has now inspired me to be on the hunt for reflection opportunities, something I've basically never shot before! I might even try a drone in 2019.

EXPERIMENT WITH LIGHTING
I know this is a bit of a no-brainer, but lighting really does make or break a photo. No matter how much skill and knowledge you have, proper lighting will make a huge difference. Bad lighting is sometimes so bad that I can’t even make the photo decent in post-production.
Don’t be afraid to play around with lighting either. Try having your subject be back lit, or capturing a lens flare from the sun. Playing with lighting is much more than just getting up for golden hour!
I hope that helps. If you have more specific requests (like a more detailed explanation of how to go from shooting auto to manual, etc.), let me know in the comments below!
Like this post? Please save it on Pinterest!